Stoker Review with Pulled Pork
Smoking-Meat.com is supported by its readers. We may earn an affiliate commission at no extra cost to you if you buy through a link on this page.
Read this article without ads
I met Kenny at rocksbarbque.com via email about a year ago or so and when I let him know that I would like to do a review of his Stoker Power Draft System that I'd heard so much about, he promptly sent me an entire setup for my 22.5 Weber Smokey Mountain cooker.
In this month's article, I will not only tell you exactly how I went about setting it up and how well it worked, but I am going to show you the mouth watering pictures of the 20 hour smoked pork butt that I cooked with this thing all pulled and made into the most delicious pulled pork sandwich you have ever seen!
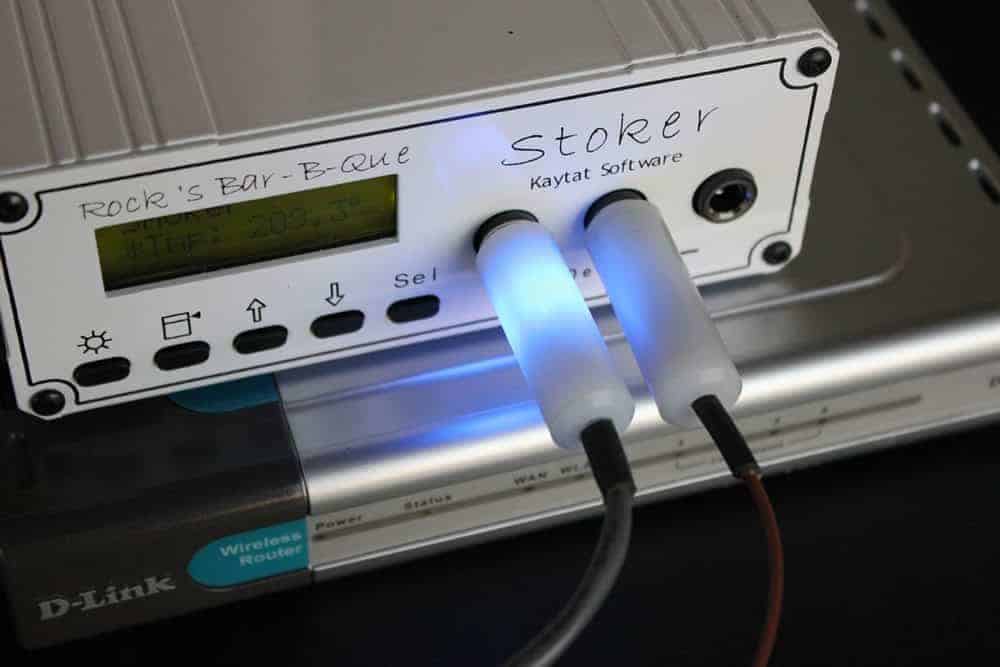
What is the Stoker?
Another really awesome feature of the Stoker is that it can easily be connected to your home network which allows your smoker to be controlled and monitored via an online web page. Why is this important? Let's say you are cooking a pork butt for a bbq competition and you don't want to be sitting by the fire all night.. you'd like to get a little sleep as well. You can easily sit your laptop or internet enabled smart phone by the bed for you to be able to monitor the temperature of the pit and the meat at a glance. If anything happens to get out of hand, the smoker needs more fuel or the meat gets finished, the alarm(s) that you setup will go off and you can go check it out.
I will show you some screen shots later in this article that I took of this while smoke cooking the pork butt.
What's in the Box
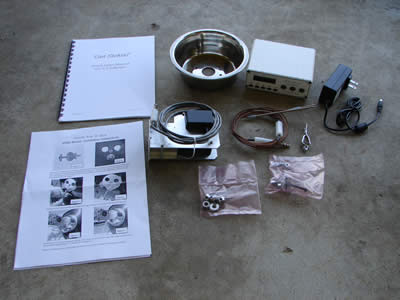
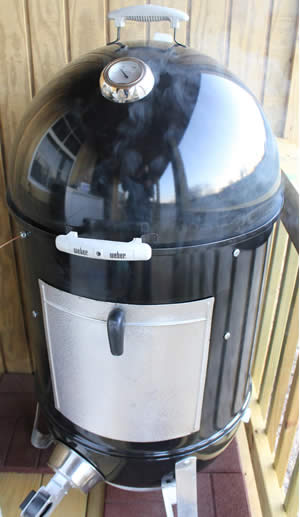
I am sure that the setup for the Stoker varies somewhat depending on which smoker or cooker you have and how you will be using it but as you know, I am using it on a 22.5 Weber Smokey Mountain (WSM) so let's take a look at what came in the box and my initial procedures for making it work with my cooker.
In the box..
- Stoker module
- Setup instructions
- Owners manual
- Fan
- WSM Adapter
- Hardware
- Pit probe
- Meat probe
- Probe clip
- A/C Adapter
- A rack of ribs to practice with (ok, just kidding about this one;-)
Everything was packaged really well and the instruction sheet and owners manual were laid out in a very easy to understand format.
Installing the Fan to the Smoker
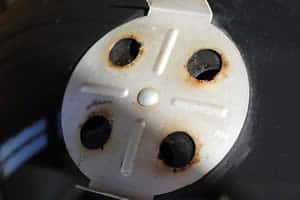
I wasted no time getting the fan attached to my smoker.. first the fan installation bolt/post must be attached to the bottom left hole in one of the bottom vents.
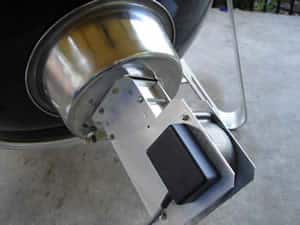
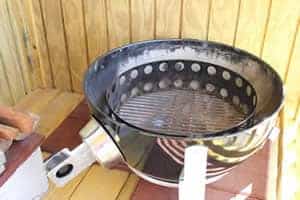
Next I used the (4) provided screws and washers to install the fan to the WSM adapter (I call it the bowl but I doubt if that is very technical) then installed the assembled unit over the bottom vent. Note the washer/wing nut in the bottom left side of the “bowl” that holds the fan to the vent. This makes it very quick and easy to remove and replace the fan as needed.
Installing the Probe Access Grommet
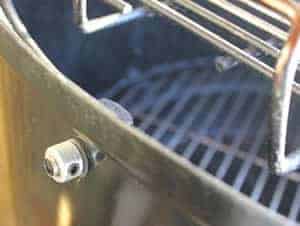
I Removed one of the screws in the top of the smoker body that holds the top grate bracket and replaced it with the provided screw/grommet. This is to allow you to run the wires for the pit probe and the food probe into the smoker without interfering with the lid.
This is a quick and easy install as well and is very important since any air leaks in your lid will throw off the temperature sensors and cause spikes in your pit temperature.
Getting the Smoker Ready
Before we can use the Stoker and run it through some paces, we need to get the smoker ready with some charcoal and fill the water pan.
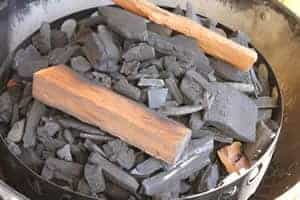
Lump charcoal mounded up with 6-7 mesquite chunks buried down in the charcoal and a few cherry splits on top for extra flavor.
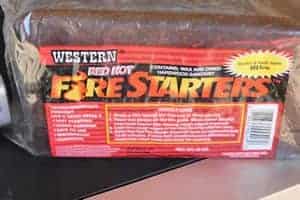
Here are the Fire Starters I like to use when I'm not doing the minion method. They are just wax and hardwood sawdust made into bricks that are about 3 x 6 x 3/4.
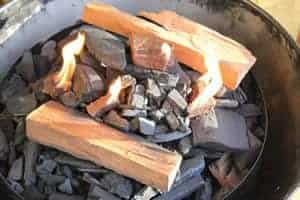
I break them into smaller pieces and scatter them over the charcoal for even lighting.
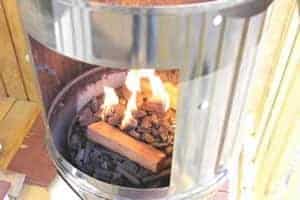
Immediately set the smoker body onto the charcoal pan
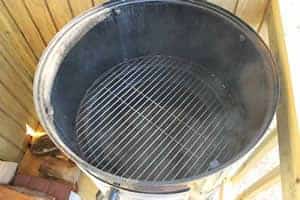
Set the water pan on the water pan brackets, fill the water pan with about 1.5 – 2 gallons of warm to hot water and set the bottom grate on top.
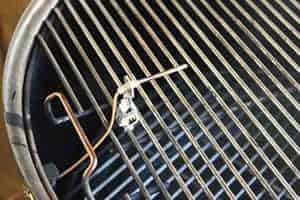
Set the top grate on the brackets at the top of the smoker body and route the pit probe through the grommet in the top side of the smoker body. Use the provided clamp to hold the pit probe just above the grate as shown. It is also a great idea to go ahead and route the meat probe through the grommet as well. I didn't do this at first and later wished I had!
Place the dome lid on the top of the smoker body
Be sure that all of the bottom vents are closed fully and that the top vent in the lid is open only 25%. This goes against what the WSM manual says to do but trust me when I say that this is very important for proper operation of the Stoker. The fan pushes positive airflow into the smoker and creates a faster moving smoke through the smoker allowing the smaller vent opening to be more than adequate.
Turn on the Stoker
Now the fun part.. make sure the fan and pit probe are plugged in securely to one of the device ports, plug the Stoker into an electrical outlet and turn on the stoker using the push switch in the back of the unit.
I had previously set the Stoker to maintain 220 degrees with my low alarm set to 210 and my high alarm set to 240. The lights on the plug side of the probe and fan came on for a few seconds indicating that it was running a self test and almost immediately I heard the fan kick on.
The fan is not super loud, just loud enough to let you know it is working as it should. I could also hear the metal flap/door on the fan being blown open by the fan and vibrating slightly. The cool thing is that this door closes automatically due to gravity just as soon as the fan goes off preventing temperature swings/spikes from air leakage.
The temperature continued to climb to my set temperature and the fan shut off just as soon as it reached 220 degrees.
I did notice that the pit temperature continued to climb to around 240 degrees even after the fan turned off. After talking to Kenny, it is obvious that I have air leaks in my smoker that need to be dealt with in order to fully give the Stoker control of my smoker temperature.
I gave the smoker an hour or so for the temperature to stabilize before adding any meat to the smoker.
Networking the Stoker
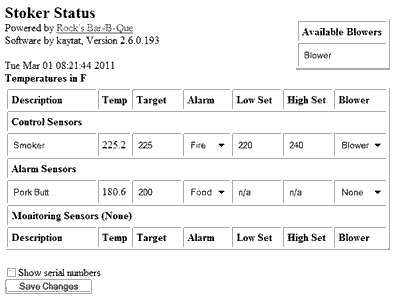
The Stoker will work just fine as it is sitting right next to the smoker and will easily allow you to set the temperature that you want to maintain in your smoker as well as the low and high alarms that you want for your pit probe and your meat probe. If that is what you want to do, then it does that very well.
I ran a few tests on the Stoker that way but in writing this review I also wanted to be able to test the network capabilities as well. After talking to Kenny, I opted to simply use a wireless router connected to the Stoker without internet connected.
My house is about 150 feet from my lab and I was able to easily log onto the wireless router inside my home and ultimately to the Stoker control panel (explained in great detail on the website and in the manual).
If I understand it correctly, you could take this a lot further and connect the Stoker to an internet enabled router as well and be able to control and monitor the temperature in your smoker theoretically from anywhere in the world via your internet enabled smart phone or PC. I am just nerdy enough to think that is super cool and something I would love to try sometime.
My Thoughts on the Stoker 20 Hours Later
I went on to smoke a pork butt (recipe below) of about 8 lbs for around 20 hours using the Stoker and I have to say that I am super impressed with this unit. I am not comparing it to other similar power draft systems as I have not used other units but I can tell you that it would take a lot for another unit to impress me this much.
I guess you could say I am stoked about this thing! (I love saying that;-)
Sure I had some air leaks in my smoker that I need to fix but all in all the Stoker kept my temperature pretty much right on the money for around 12 hours. At this point, I may have jumped the gun when I didn't need to but I added more charcoal to the firebox.
The temperature dropped about 15 degrees and I assumed that the charcoal was getting close to the end of it's useful life. Come to find out, if I had ran my meat probe through the grommet instead of under the lid, I probably would have gotten several more hours out of the charcoal. The slightly raised lid produced a significant air leak and introduced a variable that should not have been there.
If I were looking for an electric or gas smoker due to ease of use and a set-it-and-forget-it way to smoke meat, I would certainly go with a Stoker paired with a charcoal smoker such as the WSM over an electric or gas smoker. The charcoal and wood will give you great flavor and a beautiful smoke ring that is second to none and the Stoker will give you the ease of use that you are looking for. Just makes perfect sense to me.
How to Get More Information on the Stoker
If you need more information or you want to order one of these units, find your way over to the Stoker website at https://www.rocksbarbque.com and be sure to tell them that you heard about this from Smoking-Meat.com. I don't make anything off of this but I do appreciate the expertise that has gone into making such a fine product and I don't mind promoting products that I feel are above and beyond.
Smoking a Pork Butt for Pulled Pork Sandwiches Using the Stoker
Note: Be sure to purchase my recipes for this.. it just isn't the same without them;-)
While using that Stoker, I smoked up some of the best pulled pork I've ever made and I just had to write about it as well.. would seem like a shame to leave it untouched.
There are slight variations from region to region as to what goes on a pulled pork sandwich but what I have shown here is how I like to do it and you need to trust me when I say it is way too good for words!
What You'll Need
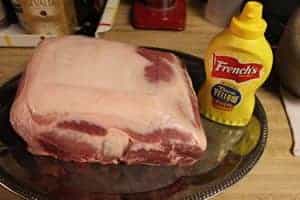
(1) Pork butt around 6-8 lbs note: may also be called a Boston butt
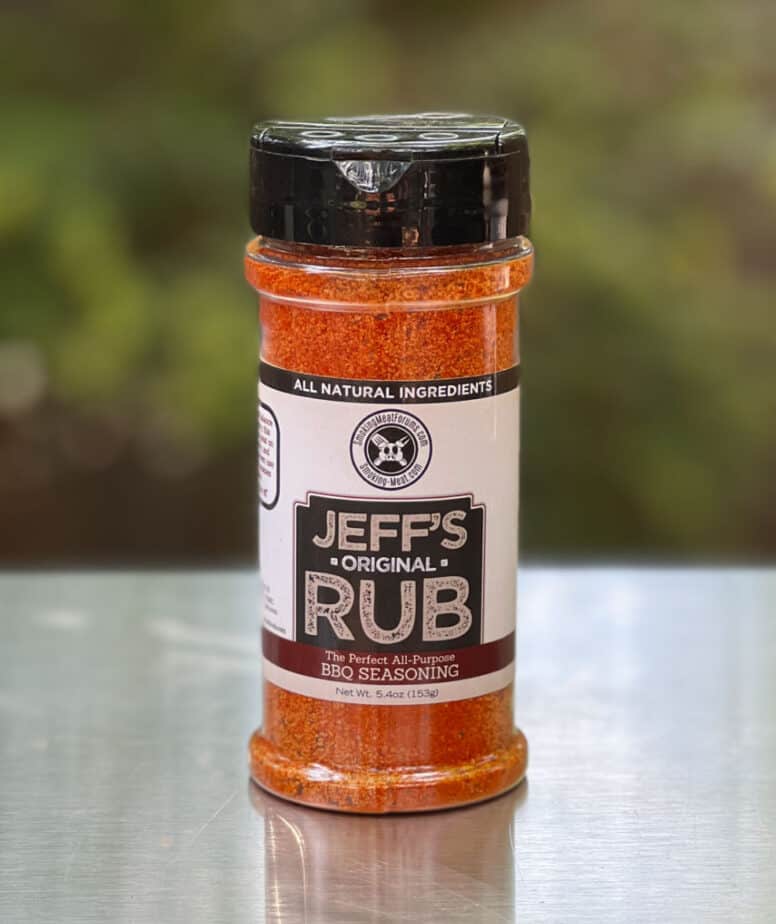
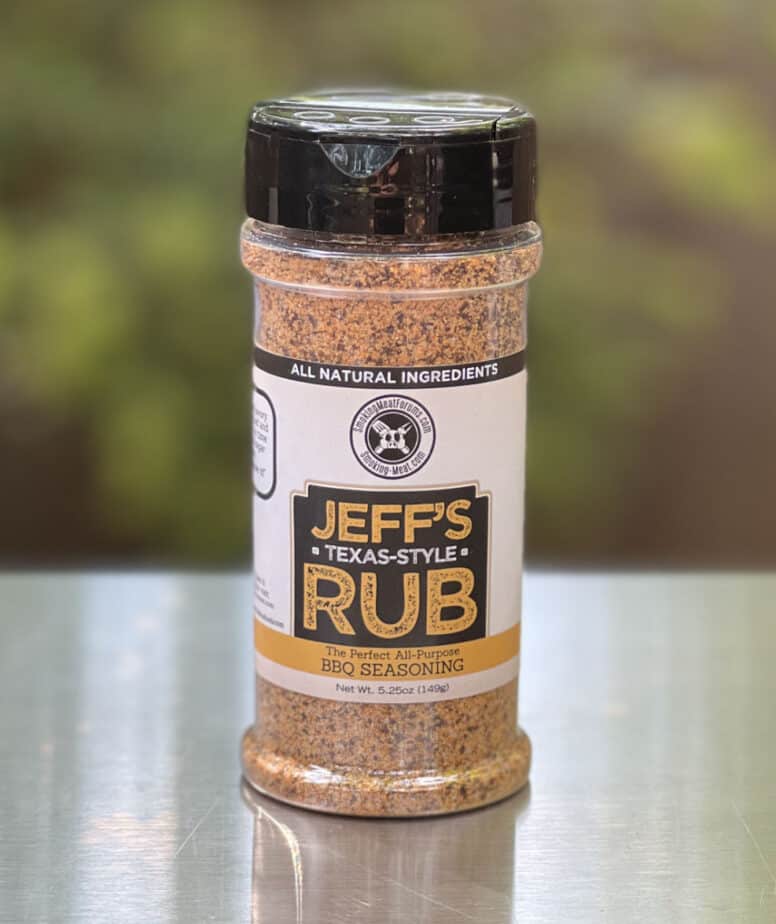
(1) Batch of Jeff's Rub
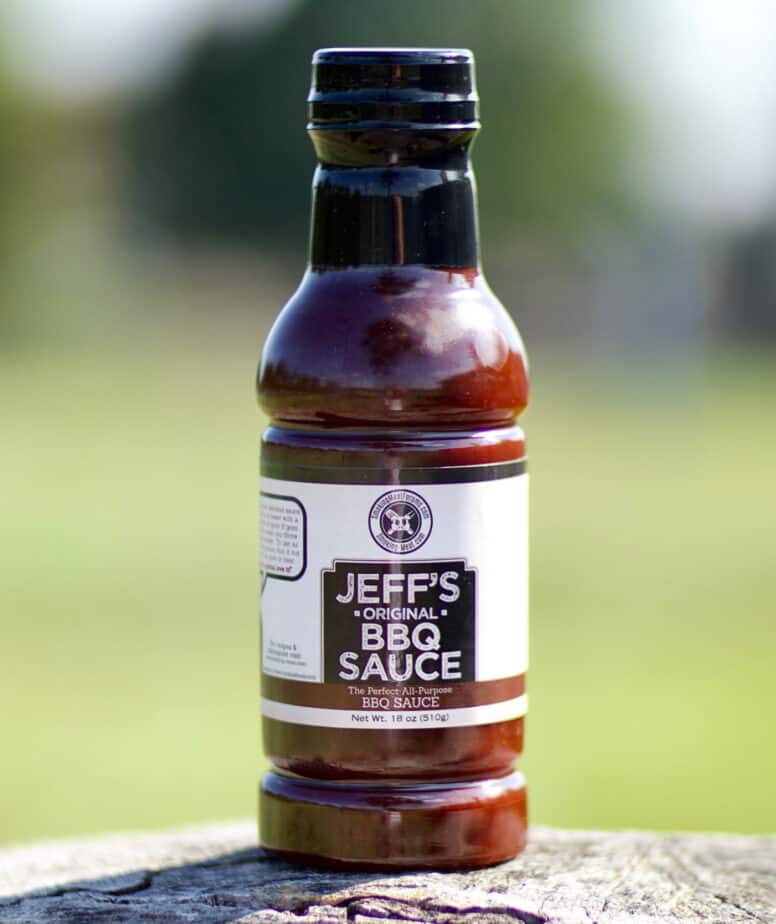
(1) Batch of Jeff's barbecue sauce
You can also use a pork picnic for this recipe but I think the flavor in the butt is superior to the picnic and I don't like fooling with the thick skin on the picnic. A butt is usually your best bet.
Look for plenty of fat marbling in the meat and deep red color to the meat.
How to Prepare the Pork Butt for Smoking
Remove the pork butt from the packaging and lay the it on a flat surface such as a cutting board or cookie sheet.
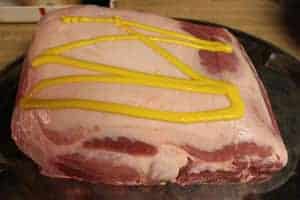
We are going to add some rub to the outside of this pork butt for amazing flavor and you really want the rub to stick to the meat. To make this happen, use yellow mustard or even spray canola oil on the outside of the meat. I prefer the mustard personally.
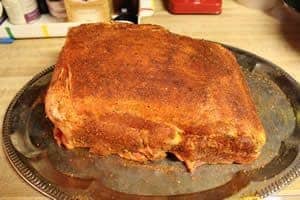
Once the mustard or other sticking agent is applied to the meat, make up a batch of my rib rub if you have the recipe (if not you might want to order it real quick) or you can use your own pork rub recipe if you have one that you really like. Pour or sprinkle on about 1/2 cup of the rub making sure to get it in all of the nooks and crannies of the pork butt. You can use more or less depending on how you like it.
The pork butt is now ready to cook.
Smoking the Pork Butt
Go out and get the smoker ready for cooking at about 220-225 degrees. The lower temperatures are to ensure that the rub does not burn but becomes a beautiful and tasty crust on the outside of the pork butt.
As we have stated above in the Stoker review, I opted to use mesquite and cherry for this one. Feel free to experiment with different woods to see what flavors of wood you like better. I tend to go for the more robust flavors but some folks prefer the milder flavors such as apple.
Note: keep the smoke going for at least 6 hours for best results. If you can do it, you'll get great results by keeping it going even longer. By burying the mesquite chunks in the charcoal, I had smoke going almost the entire cook time and it could not have been more delicious!
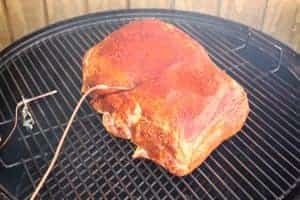
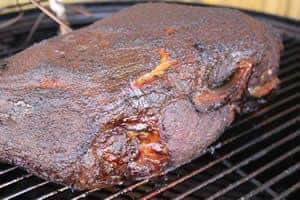
Place the pork butt directly on the grate in the center just over the water pan.
Insert the meat probe from the stoker into the pork butt making sure the wire is run through the grommet in the smoker body.
This allows you to leave the lid closed the entire time the pork butt is smoking except for adding water and a quick spritz with apple juice if that is your thing. For this experiment, I only opened the lid on the smoker twice to add water.
To Foil or Not to Foil
Many folks will recommend that you wrap the pork butt in foil once it reaches about 160 degrees F. This is entirely up to you and partially depends on if you like the bark on the outside of the meat or not.
I love the flavor of the bark and the color variation that it adds to pulled pork so I usually opt to cook pork butt directly on the grates for the entire time. If you don't really care about the bark and want super moist and tender pork then feel free to wrap the pork butt in heavy duty foil once it reaches about 160 degrees F. Place it back on the grate wrapped and quickly close the lid.
Finishing up the Pork Butt
Foiled or not, continue to cook the pork butt until it reaches at least 200 degrees. Normally this will require about 1.5 to 2 hours per pound depending on how well you maintain the temperature. With the Stoker in charge of this cooking session, we maintained a very steady 220 to 230 throughout the entire smoke and the only reason it went up was because I told it to;-)
For some reason, this pork butt was one of those out of the ordinary pieces of meat that took a lot longer than normal.. it just happens sometimes at the low temperatures. It took 20 hours for the meat to reach 192 degrees and I finally had to call that good enough due to an appointment that could not be missed. I had planned on this being a 16 hour cook at worst case.
As it turns out, I barely got the pork butt off of the grate and into the house without it falling into pieces.
Pulled Pork Anyone?
This pork butt had a destiny called pulled pork sandwiches and this was probably some of the best I have ever eaten hands down. I slid the bone out of the meat.. that's right.. it just slid right out like hot butter!
I then stirred the meat around with a fork and it pretty much pulled itself. It fell into pieces and with very little effort I had pulled pork ready to be placed on a a bun.
Here is an a picture of the pulled pork sandwich that I made using french onion buns, pulled pork, my barbecue sauce, cole slaw and a side of salt and vinegar chips with a Kosher dill spear. Words cannot even describe the smile that I must have had on my face as I tasted of the smoky goodness on this plate.

