Smoked Brisket and Burnt Ends

Smoking-Meat.com is supported by its readers. We may earn an affiliate commission at no extra cost to you if you buy through a link on this page.
Read this article without ads
In this recipe, we will be going into extensive details about smoking brisket and then going on to make delicious smoked burnt ends from the point end of the brisket.
When done up right, they are amazingly tender and with my original rub and barbecue sauce and smoked to perfection, they are tasty beyond belief.
- 10-12 lb Brisket
- 1 can of beef broth
- Heavy duty foil
- Large foil pan
- Olive oil
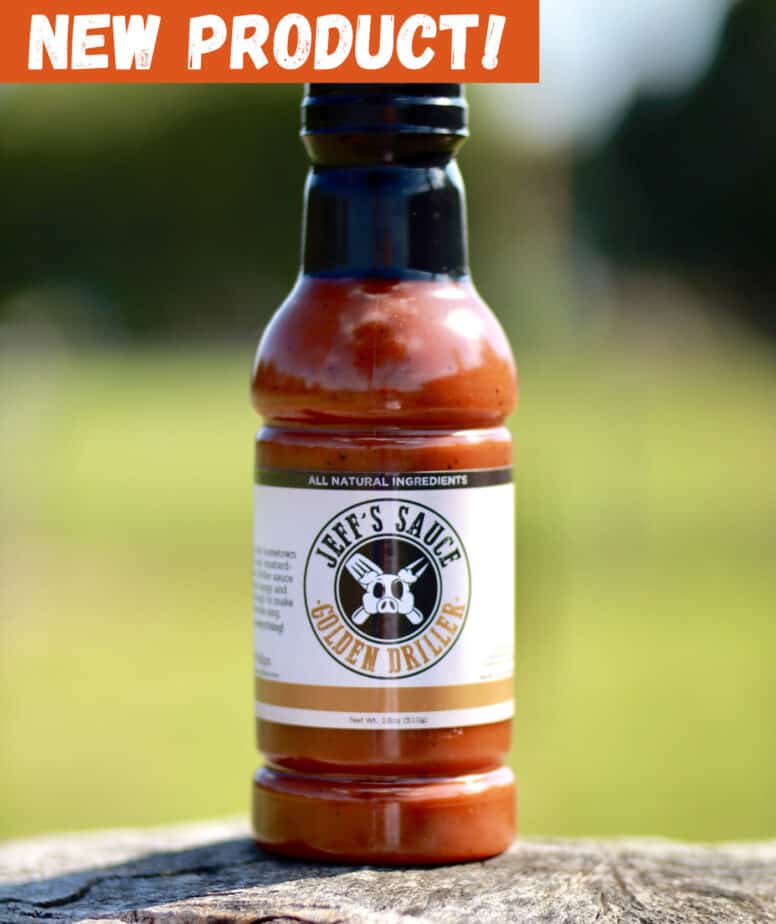
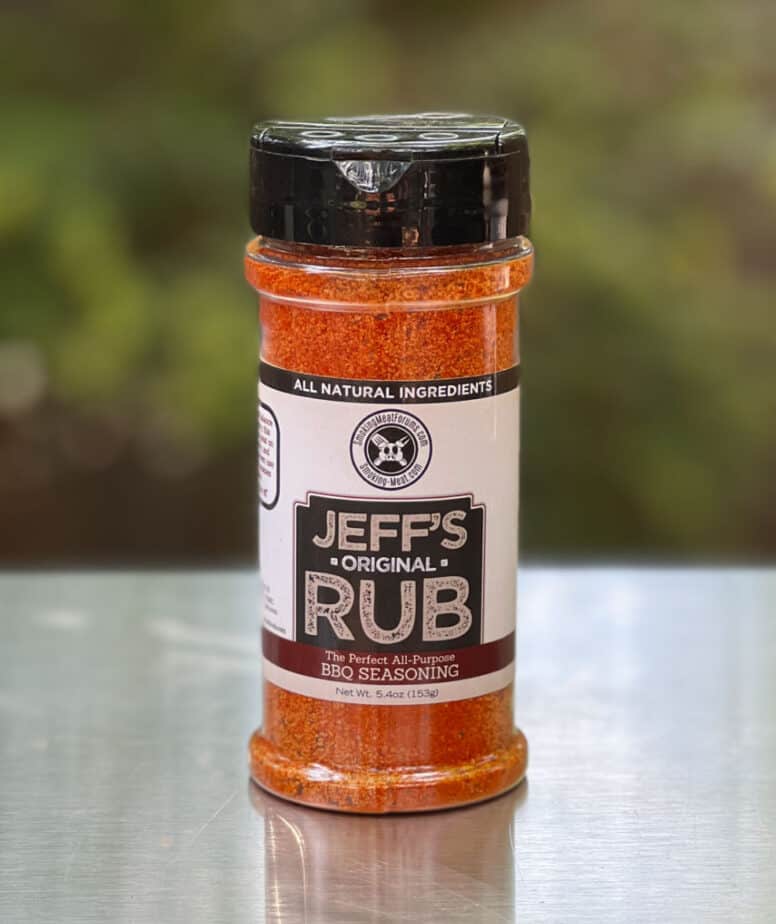
- 1 batch of Jeff's rub
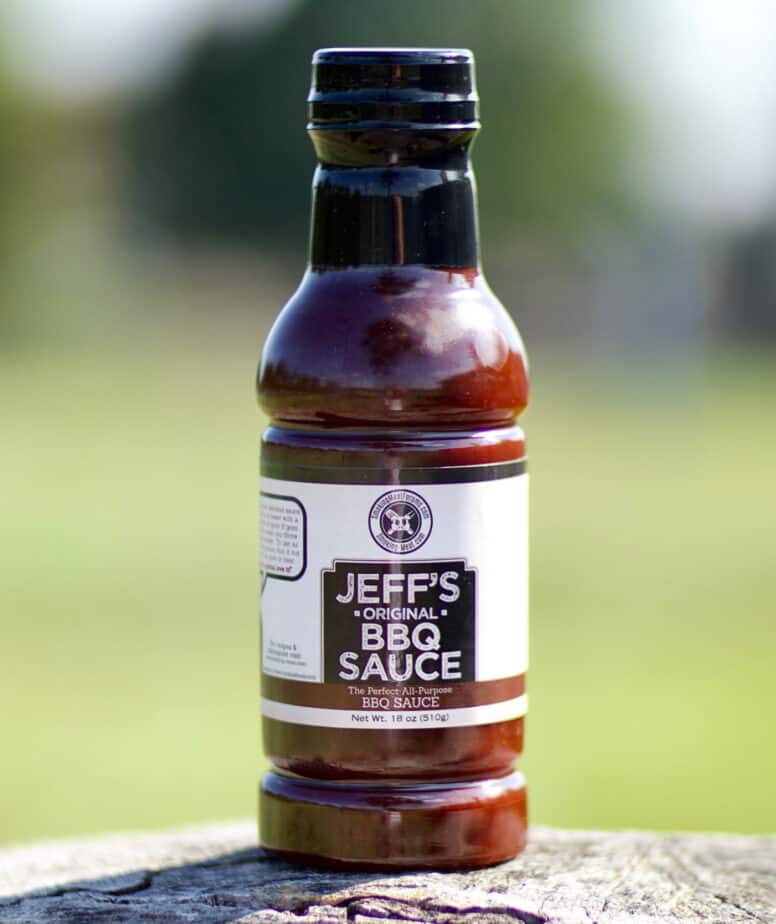
- 1 batch of Jeff's sauce
When choosing a brisket, I tend to go for the ones in the 10-12 pound range that are untrimmed (usually labeled “Packer Brisket). Look for a hard, white fat cap on one side.


While it is nice to buy top quality meat, including briskets, that carry the prime or wagyu label, true barbecue is about being able to take the lower quality pieces of meat and turning them into something really wonderful using fire, smoke and seasonings.
Briskets are usually relatively flat on one end (the flat) and thicker at the other end (the point).
The flat is great for slicing but the point has more fat, takes longer to render out and is separated from the flat by a thick layer of fat.
Start off by making a batch of rub and a batch of sauce it's really simple and really, really good and it's a great way to turn ordinary brisket into WOW! moments. I actually recommend that you make the sauce a day ahead and put it in the fridge to sort of “steep”. The taste on the 1st day is really good but it's even better the 2nd day.


I usually trim briskets a little making sure to leave only about 1/4 inch of fat cap but this time I decided to go with the “no trim” version. With the thick fat cap on one side, it made no sense to put seasoning on that side for now so I just put my rub on the meat side.
Why “no trim” version?
Some folks recently have been claiming that the secret to a really juicy brisket is to put the brisket in the smoker with ALL of the fat intact and I wanted to try it and see if it really made a huge difference over my usual method.
It is very important that the brisket flat be sliced across the grain once it's finished cooking. To make this easy, look at the grain direction before you season the meat and slice a corner off of the brisket perpendicular to the grain direction as a marker. (notice bottom right corner of picture)

To make the rub stick to the meat you can use mustard or almost anything wet for that matter. I decided to brush on some olive oil. A shaker bottle with large 1/8 inch holes or larger is ideal for sprinkling on the rub evenly.


With large briskets being a bit cumbersome to move around, I decided to smoke it on a Bradley rack to make it really easy to get into and out of the smoker. I left it laying on the cabinet for a few minutes while I went out and fired up the smoker.

Notice the “Fat Cap Down” orientation.. this is so as to not disturb the rub on the meat side. This brisket should be fat cap down throughout the entire time it is in the smoker. It is also ok to place it fat cap up if you prefer.
Setup your smoker for cooking at around 250°F using indirect heat.
If your smoker uses a water pan, fill it up.
Sit back and relax for about 5 hours making sure to keep the smoke going by adding chips when the smoke stops and adding more water if it needs it.
Note: Add very hot water to the water pan to maintain your heat in the smoker. Adding cold water will steal some of your Btu's initially to heat the water and your temperature will drop. Adding hot water, reduces this effect.
Here's my relaxing spot.. notice the mason jars full of iced tea, smart phone at the ready so I can answer incoming email and keep notes on the brisket, digital remote meat thermometer so I don't have to get up to check the temperature and the pan with foil top ready for once the brisket hits 150°F. I also have tunes playing in the background.. That's just how I roll;-)


Sometimes I leave the brisket on the grate the entire time, and other times I place it in a pan for the entire time. I have developed a hybrid of that process in hopes of getting the best of both worlds by smoking it directly on the grates until it hits about 150 degrees then transferring it to a pan covered with foil for the remaining time.
You could also just wrap it in foil if you don't have a pan but I have found that the foil pans work so much better and they prevent LEAKS!
When the brisket hits 150°F as measured in the flat end of the brisket (not the point), place it fat side down in the foil pan, pour a can of beef broth down in the pan around the brisket making sure you don't disturb the rub on the meaty side then cover it with foil. Do this quickly so as to not lose any more heat than you have to.


By placing the brisket in the pan and covering it with foil, it seems to cook faster, and the stall is so much less than it would be otherwise.
The stall is what we call that period of time where large cuts such as brisket and pork shoulder seem to get stuck and stop cooking. This normally happens at around 150-160°F for me. I have had stalls that lasted up to 4 hours or more and eventually it will start climbing up again. There is much discussion as to what causes this and how to prevent it but I have discovered that foil helps so I don't have to get all scientific to just “do what works” and help it along.
Going forward, just keep maintaining your smoker at 250°F as we did in the beginning but you do not need to continue adding wood chips since the foil will prevent the smoke from flavoring the meat anyway. So unless you just want to smell it, you don't need to add any more.
Continue keeping the water pan full of water since it acts as a heat sink as well as a means of blocking direct heat from below.
Let the brisket cook completely undisturbed until it reaches 195-200°F. I prefer 200°F but if you want to check it for fork tenderness at 195, feel free to do so.
Once it reaches the finished temperature, remove the pan from the smoker, and let it sit with the foil just partially covering or tented over the brisket for about 30 minutes to let the meat rest. During this time, the juices will redistribute throughout the meat.
If you have plenty of time and want to further tenderize the meat, you can pour off some of the juices then quickly re-cover the meat with foil, wrap the pan in a thick towel and place it in an empty ice cooler for an hour or two. Fill in any remaining space in the cooler with more towels, blankets, pillows or whatever you can find to insulate it and help it to hold it's heat.

Once the brisket has rested, remove it from the pan and set it on a cutting board fat side down. The pan will be full of juices consisting of rendered fat, beef broth and other meat juices.


Remember that corner we cut off so we would know which way to slice it? Well, this is where that becomes very valuable. Cut a 1/4 inch slice from that same corner and marvel at the beautiful smoke ring.

Once you're done being proud of yourself, use a long, sharp knife and separate the flat end from the point end. Some separate the meat horizontally but I like to just cut it in half then it's easier to work with.

There will be a 1/2 inch fat layer on the bottom of the flat end, remove it with the long knife and then slice the meat into 1/4 inch pieces at a 45 degree angle. These slices will be meaty with almost no fat on them. Great for sandwiches or whatever.

This is what you've been waiting for and all of the previous steps are necessary to get us to this point. But as you will see, it's so worth it.
The point end has a layer of fat that runs along the bottom of it and another thick layer through the center. I like to run a long, sharp knife horizontally through the center of the point separating the top half from the bottom half.
Then you can remove the fat layer from the bottom of the bottom layer.

The point can now be cut into 1 inch cubes on the cutting board and placed into a foil pan. Generously sprinkle my rub all over the cubed brisket point and stir to coat.


At this point you can cook them a couple of different ways:
Mix about a cup of my sauce into the cubed brisket pieces (more or less depending on how many burnt ends you have and they shouldn't be overly saucy in my opinion) then place the uncovered pan in the smoker at 250 degrees for about 2 hours for more smoke, more fat rendering and a little char around the edges.
Stir the pieces every 30 minutes and add another good sprinkle of my rub each time. When the pieces are dark to your liking, and they taste like heaven, they are finished.
This is my favorite way to do it and they get done pretty fast this way.. plus I just like to fire up my grill every once in a while and listen to the fat sizzling on the bottom of the pan.
Place the pan on the grill over high heat stirring them every 5 minutes or so making sure the bottom gets to char a little but not burn. Add a good sprinkle of the rub about every 15 minutes or so until they start to darken to your liking.
Once they are almost done, mix in about 1 cup of my barbecue sauce (depending on how many burnt ends you have. I don't like them to be real saucy.) 1 cup was perfect for the amount that I had.
Continue cooking and stirring until they are perfectly done to your liking and the color is right.


- Make a batch of Jeff's original rub and Jeff's barbecue sauce
- Place brisket on cutting board with fat cap down
- Slice off a small corner perpendicular to grain direction to mark for slicing
- Brush olive oil onto the meat side
- Sprinkle on a generous layer of Jeff's original rub
- Place brisket fat cap down onto a Bradley rack for easy transport
- Prepare smoker for cooking at 250°F with mesquite chips recommended
- Place Bradley rack with brisket onto grate (maintain fat cap down throughout)
- Smoke for about 5 hours or until it reaches 150°F (measured in the flat end)
- Quickly place brisket in foil pan (fat side down)
- Pour 1 can of beef broth into bottom of pan and cover with foil
- Put pan of brisket back into smoker and maintain 250°F
- Once brisket reaches 200°F, remove from smoker and uncover slightly to cool
- Let the brisket rest for about 30 minutes
- Separate flat from point
- Slice flat into slices following our mark that we made by cutting off the corner
- Trim excess fat from point and cut into 1-inch cubes
- Place cubes into pan and sprinkle generously with Jeff's original rub and 1 cup of Jeff's barbecue sauce
- Cook cubed meat in smoker for about 2 hours or on the grill over high heat
- When the correct amount of caramelizing and darkness is achieved, they are done.
- Eat and enjoy
I kept good notes on how the temperature of the brisket moved over time and I thought you might find it interesting to see how the foil almost completely eliminated the stall. Once in the foil at 11:45 it had a small recovery time but then it climbed at a pretty steep pitch all the way up to 180 degrees where it slowed down just a little but still stayed steady.

Jeff,
You the man!
Hey Jeff, what do you recommend as far as having the burnt ends and the brisket done at the same time?
Nice write up! I have found the crutch is a great way f doing be brisket. I too have a propane smoker and find that is very difficult to get to that sweet spot of 225-250. My smoker looks very similar to yours and retains the heat very well (mine is a master built from Cabelas) it seems that when I turn the dial all the way to low, the best temp I can get is about 260-265, unless I really limit the amount of propane coming from the tank, but then I worry about the wind blowing my flame out. This morning I started my 9lb brisket at 6am, I fell asleep and woke up at 8am and my IT was already 140 and my ambient was 265. I have stabilized it and am about 10 degrees away from crutching.
Does anyone know of a company that makes burnt ends pre-cooked for sale?
Just ordered your rub recipie. Which one of the 2. Do you reccomenb for brisket
Jeff, I am getting ready to buy a smoker but I can't decide on which one to get, the Bradley or the Masterbuilt 40 inch. Which one do you prefer?
Randy, both smokers are good units however, a downside to the Bradley is that it takes a while to heat up and recover when the outside temperatures are low and you have to use proprietary wood pucks to create smoke. I buy the pucks on Amazon in all flavors and I enjoy being able to sleep a little while it cooks and smokes the food so these are not real issues for me.
The Masterbuilt is not quite as hands off so you will be adding wood chips fairly often however, it does seem to do better that the Bradley in cold weather.
The decision should be made based on whether you plan to cook a lot in cold weather and just how hand’s off you want it to be.
I use a kamado style smoker, could I just up the temp in it for the burnt ends? What temp would you recommend?
I asume the last line on your time chart is supposed to say 6:10PM, not 6:10AM, correct?