Pulled Chuck Roast with Grilled Onions
Smoking-Meat.com is supported by its readers. We may earn an affiliate commission at no extra cost to you if you buy through a link on this page.
Read this article without ads
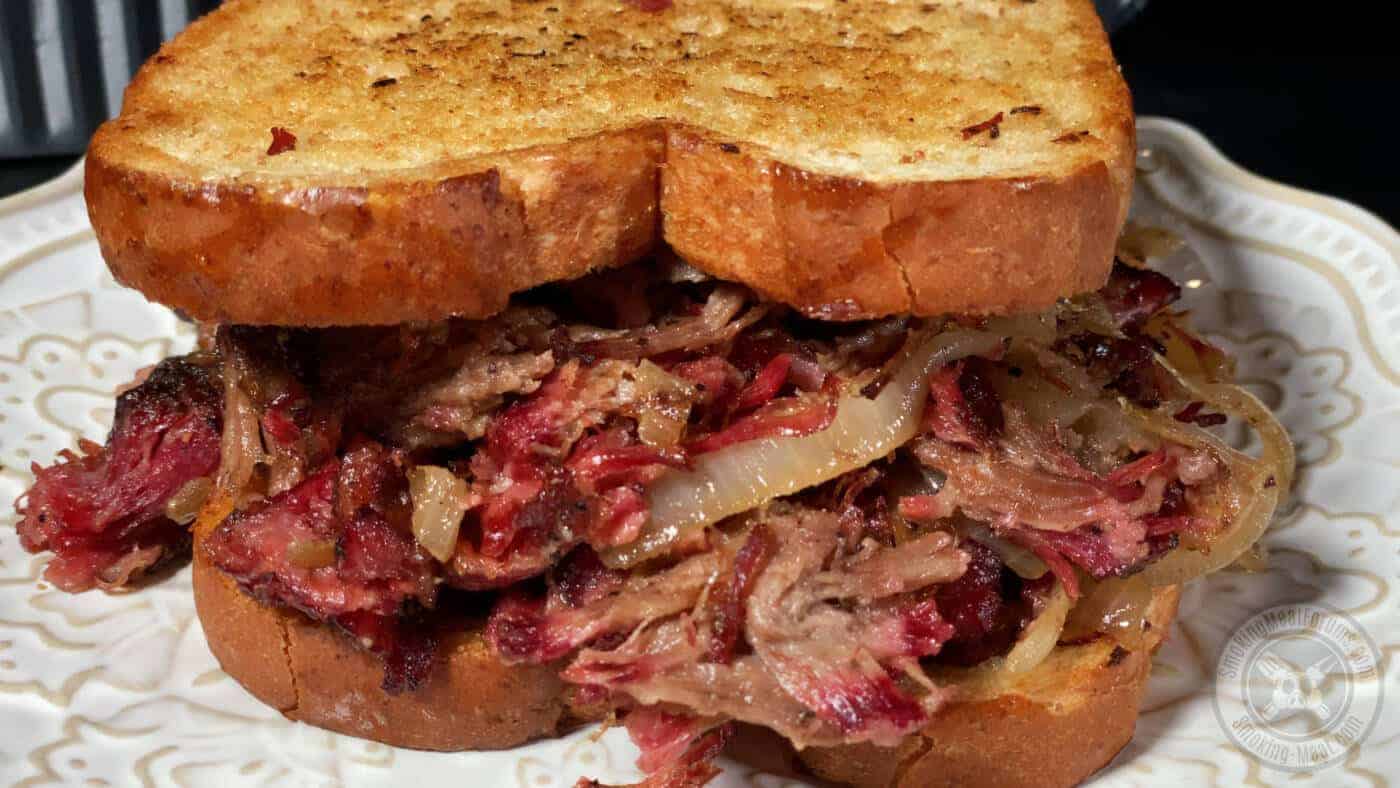
When most people think of pulled meat they often think of pork but this pulled chuck roast which I mixed with grilled onions is versatile enough to go on a sandwich, fajitas, tacos, pizza– let the sky be the limit and the flavor will back it up all the way.
- Prep Time: 10 minutes
- Dry Brine Time: Overnight or about 6- 8 hours
- Cook Time: 8 hours
- Smoker Temp: 240°F
- Meat Finish Temp: 208-210°F
- Recommended Wood: Hickory and Cherry
- 1 or more chuck roasts, about 3 lbs each
- 2 teaspoons coarse kosher salt
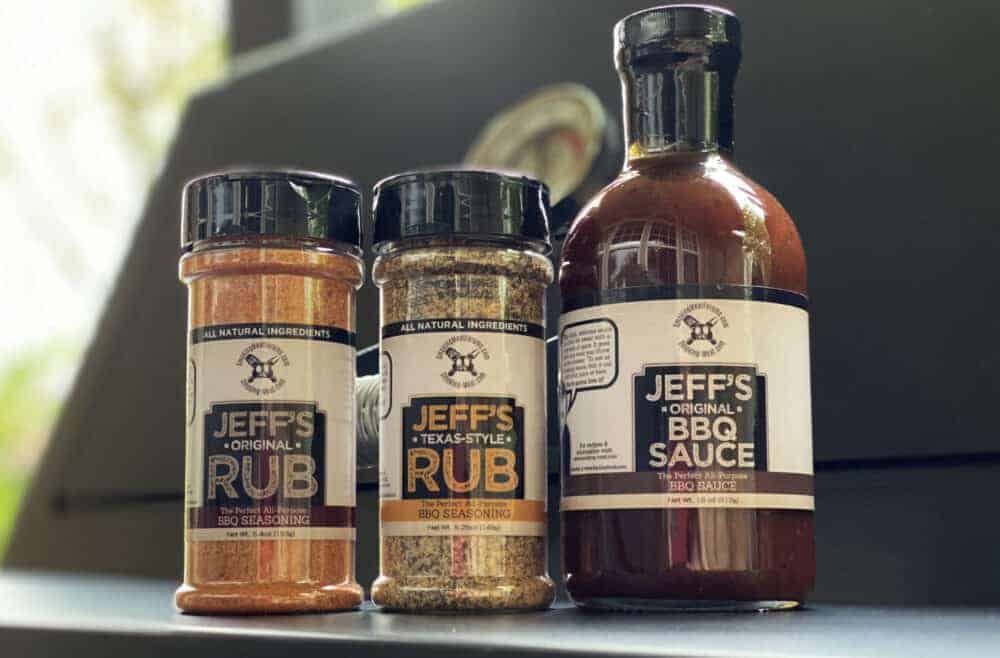
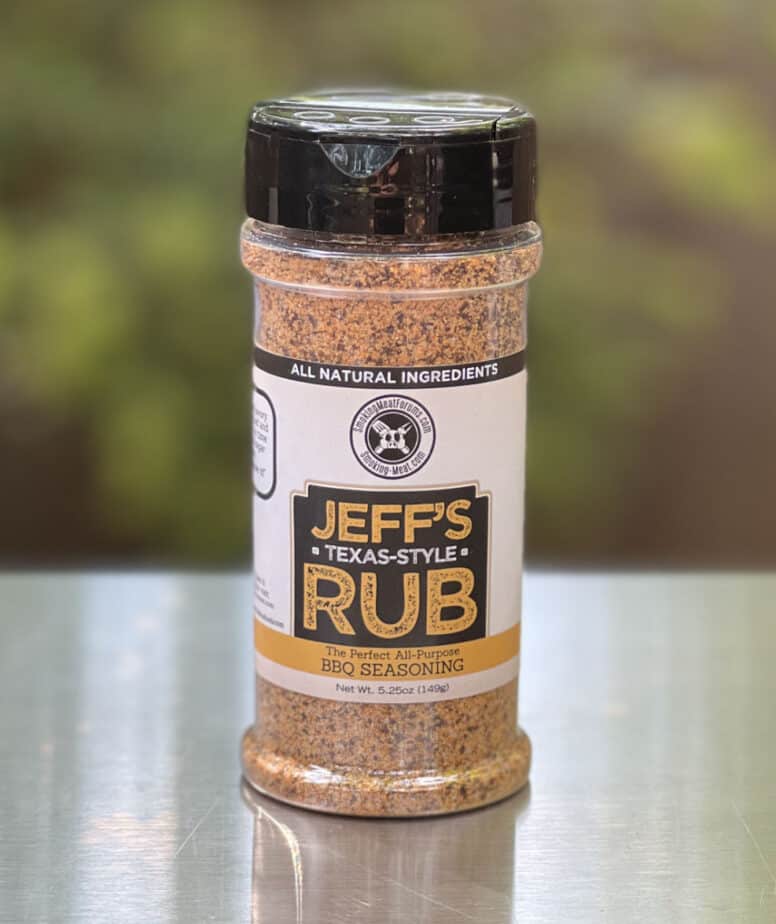
- 2 tablespoons Jeff's Texas style rub
- 1 can of beef broth or about 15 ounces
- ½ can cream of mushroom soup or about 5 ounces (condensed)
- 2 medium onions, sliced into half rings
- 1 tablespoon olive oil
- 1 tablespoon butter per sandwich, softened
- 2 slices of loaf bread per sandwich (you can also use buns if preferred)
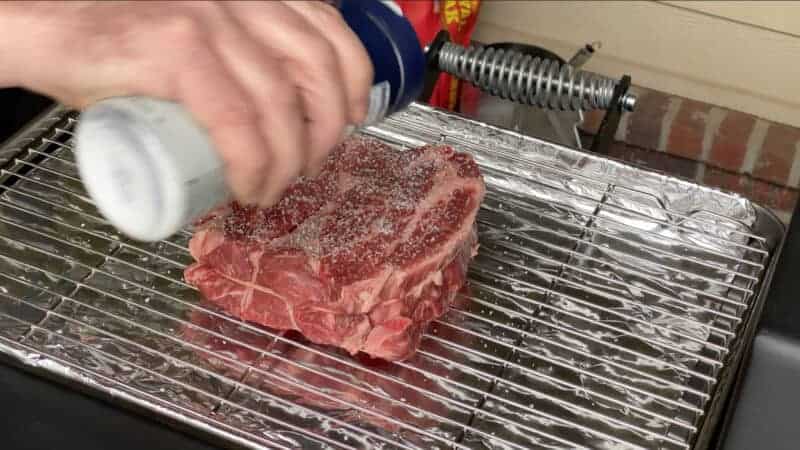
Use ½ teaspoon of coarse kosher salt per pound of meat when dry brining meat such as this chuck roast. This chuck was 3 lbs so I can use up to 1.5 teaspoons of salt.
I made the decision to use only 1 teaspoon of coarse kosher salt and some of my Texas style rub which has a small amount of salt as well.
First the salt..
Then the Texas style rub ..
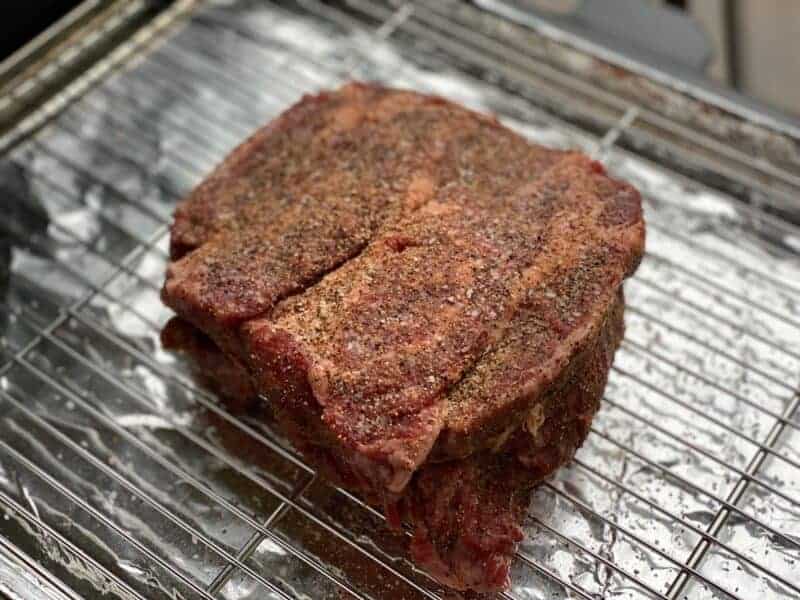
Now place that pan with the chuck roast in the fridge overnight or for at least 6 hours to let the salt and seasoning to do its magic!
Just before the brine time is over, set up your smoker for cooking indirect at about 225-240°F and if your smoker uses a water pan, fill it up.
You will notice that I used the 20×36 by Lone Star Grillz.. not only was it super easy to maintain my temperature but the quality and craftsmanship on this thing is phenomenal!
If you're in the market for a patio sized offset smoker.. this one is perfectly sized and of course they have other sizes as well. You can check them out at lonestargrillz.com
You'll hear me talking more about this smoker in future newsletters and videos.
Once the smoker is ready and the dry brining is done, place the meat in the smoker.
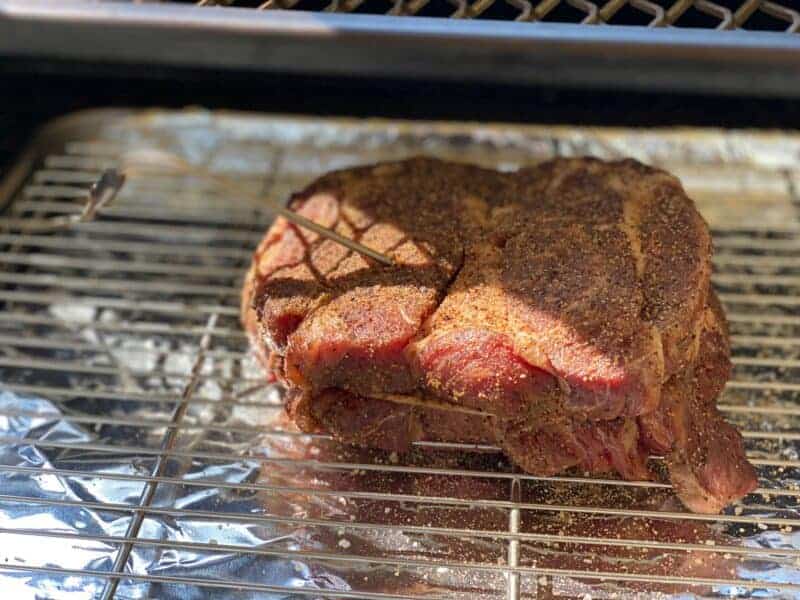
I like to use a pan with a rack to cut down on smoker cleaning while still allowing the smoke to get to every side of the meat. The one I use was purchased on Amazon HERE but anything similar will work just fine. Mine is a full size stainless steel pan with fitted stainless steel rack and it came with (2) sets of these.
Maintain 225 to 240°F for the entire cook time. I used a mix of cherry and hickory but use what you have available.
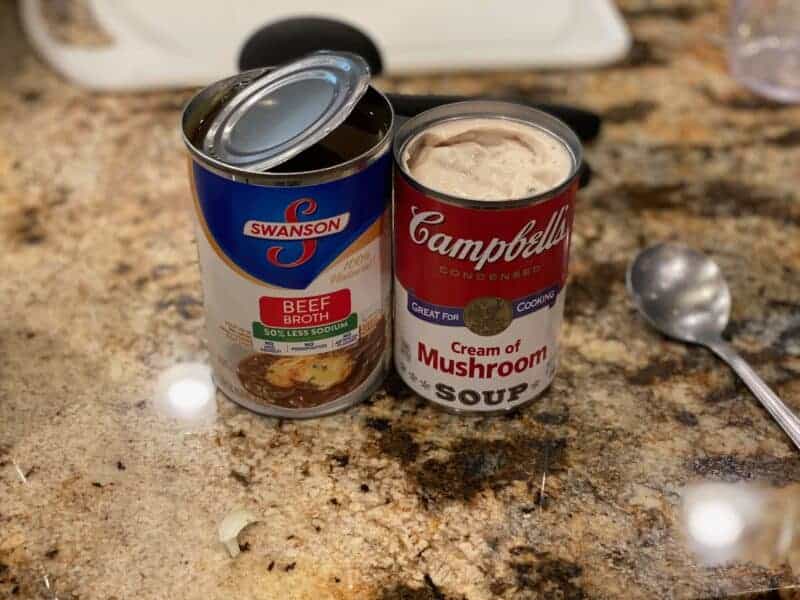
Let the chuck roast smoke along until it reaches about 145-150°F and then move it to a foil pan filled with a can of beef broth and a half can of cream of mushroom soup.
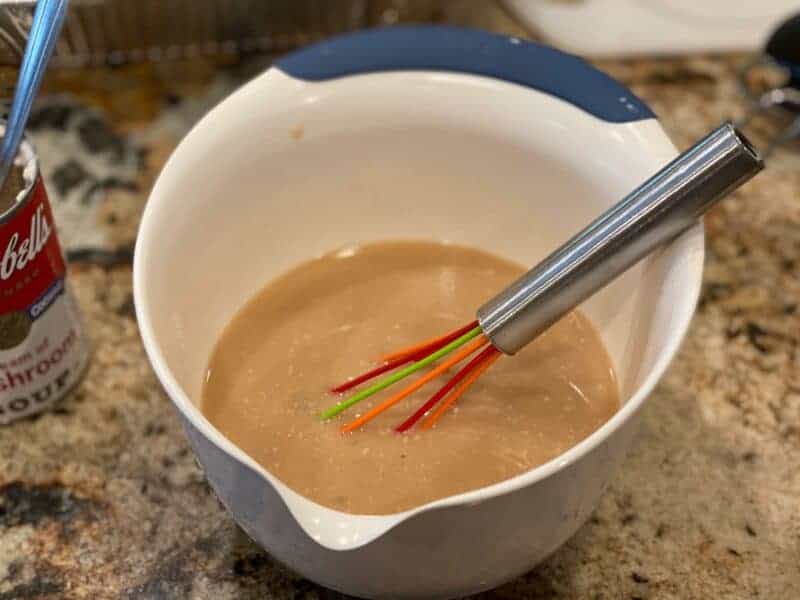
I mixed the ingredients into a small bowl before adding it to the pan..
Place the meat down into the foil pan with the liquid and let it continue cooking.
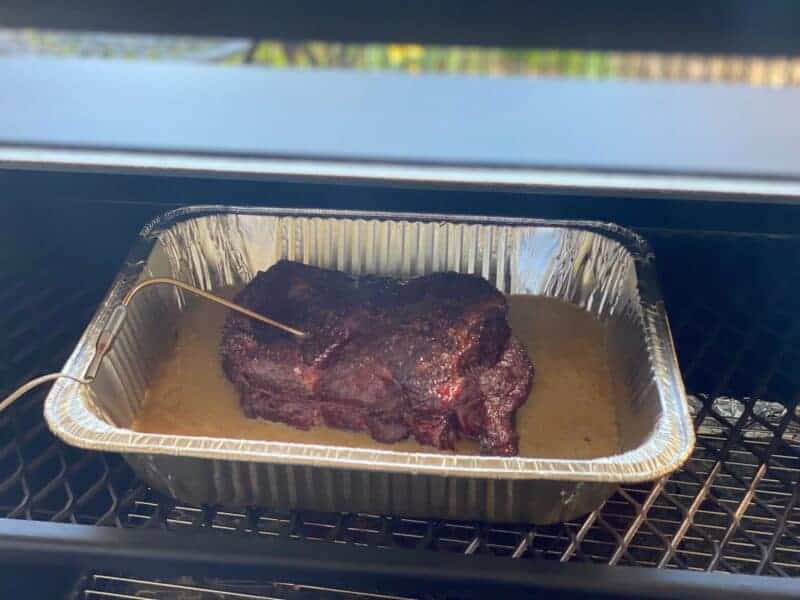
When the meat reaches 175°F, you'll want to wrap it up or just place a piece of foil tightly over the foil pan. This will allow the liquid to create steam and braise the meat to make it more tender.
Let it stay wrapped and cooking until it is fall apart tender. Mine ended up going all the way to 208°F and I figure that you'll probably have a similar experience. Fortunately, these have plenty of fat to keep them moist even when you cook them to these extremes to tenderize them.
When the meat is tender, best determined by pushing a probe or other sharp object into the meat and feeling for no resistance, remove the pan from the smoker and let it sit, still covered, and rest for up to an hour or two but at least 10-15 minutes.
If you have some help, let them pull the meat into pieces while you grill up the onions and toast the bread. Otherwise, you can go ahead and pull the chuck roast while the onions and bread are on the griddle.
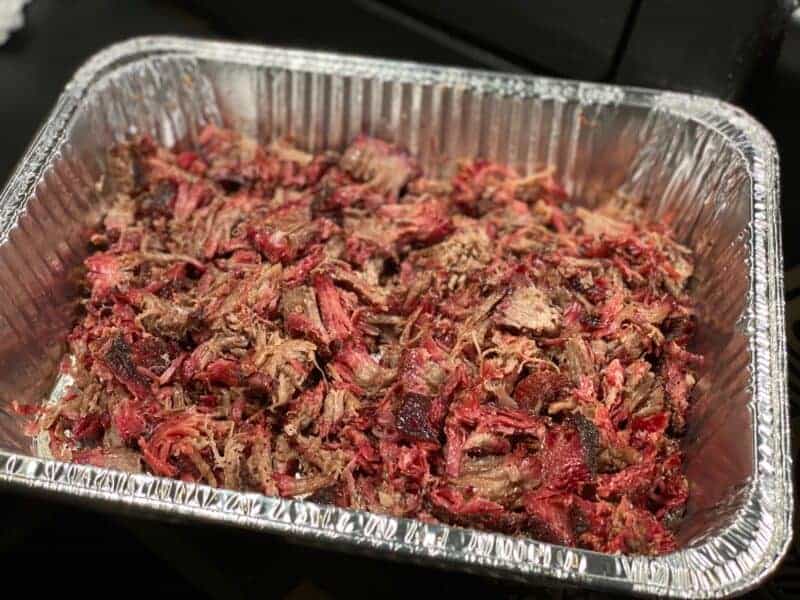
If you have a griddle such as Camp Chef or Blackstone, that will work great. This new smoker came with a griddle over the top of the firebox and boy it worked great! It was right around 365°F when I started and that worked perfectly for what I was doing.
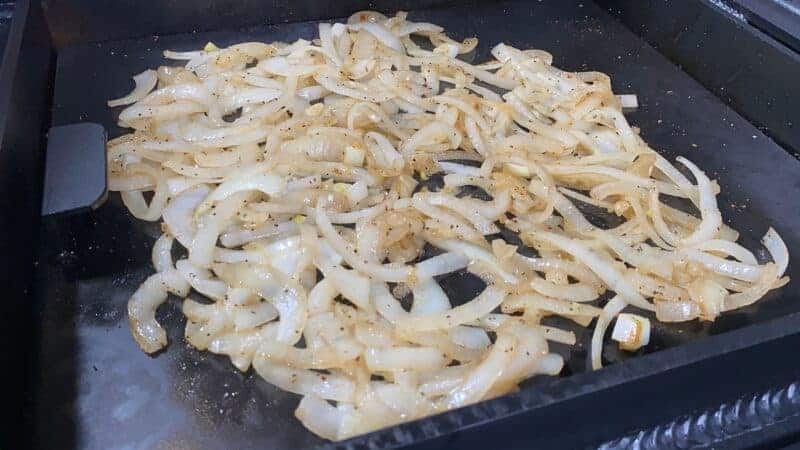
If you want to grill some onions, use half slices or even the whole rings if you want to. Pour the onions on the griddle with about a tablespoon of olive oil and about a tablespoon of my Texas style rub on top. Mix it all in and just stir it around here and there until they get really soft and wimpy. Delicious!!
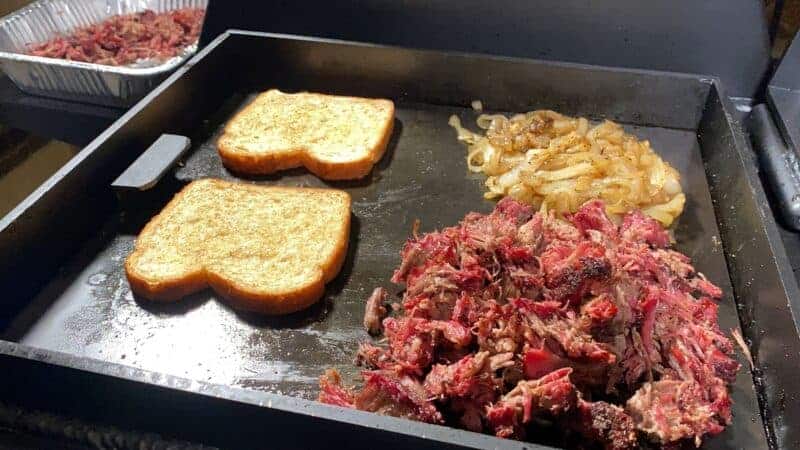
To grill the bread, just butter both sides and grill both sides until it gets a nice crisp surface.
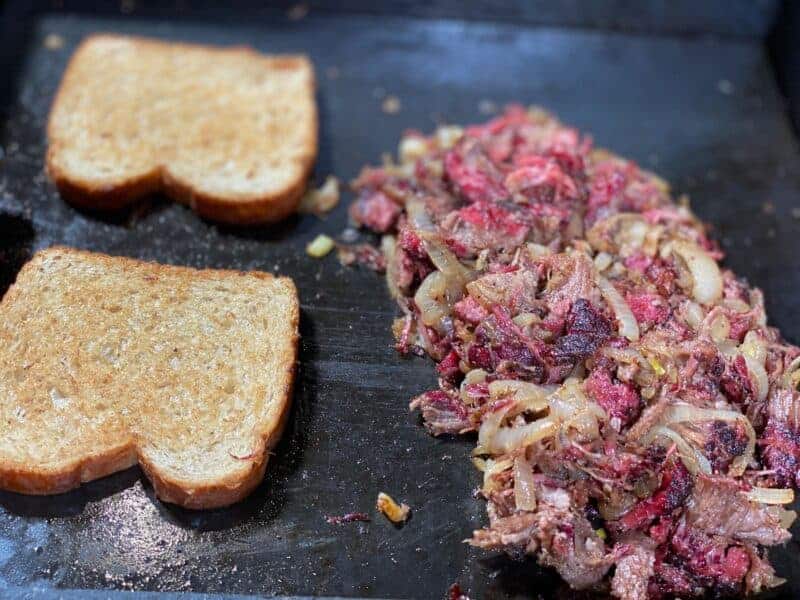
I went ahead and mixed the meat with some of the onions on the griddle to warm it all up for the sandwich.
Pile the meat and grills onions on the toast and make yourself a sandwich that will make you smile!
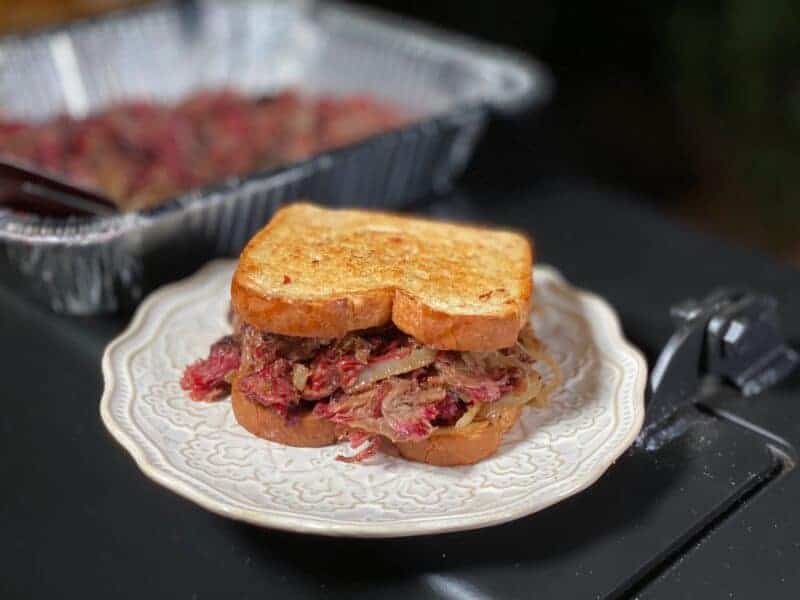
If you don't want to mix the meat and onions together, you can place the meat on the bread with the onions on top of that.
You can also add cheese to the sandwich and/or some barbecue sauce drizzled on top if you want to.
If you make this at home, I'd love to see a picture of it!
Pulled Chuck Roast with Grilled Onions
Ingredients
- 1 chuck roast (about 3 lbs)
- 2 teaspoons coarse kosher salt
- 2 tablespoons Jeff's Texas style rub
- 1 can Beef broth (about 15 ounces total)
- ½ can cream of mushroom soup (about 5 ounces total)
- 2 medium onions (sliced into half rings)
- 1 tablespoon olive oil
- 1 tablespoon butter per sandwich (softened)
- 2 slices of loaf bread per sandwich (you can also use buns if preferred)
Instructions
- Use ½ teaspoon per pound of meat when dry brining meat such as this chuck roast. This chuck was 3 lbs so I can use about 1.5 teaspoons of salt.
- I made the decision to use 1 teaspoon of coarse kosher salt and some of my Texas style rub which has a small amount of salt as well.
- First the salt.. then the Texas style rub..
- Now place that pan with the chuck roast in the fridge overnight or for at least 6 hours to let the salt and seasoning to do its magic!
- Just before the brine time is over, set up your smoker for cooking indirect at about 225-240°F and if your smoker uses a water pan, fill it up.
- You will notice that I used my new 20×36 by Lone Star Grillz.. not only was it super easy to maintain my temperature but the quality and craftsmanship on this thing is phenomenal!
- If you're in the market for a patio sized offset smoker.. this one is perfectly sized and of course they have other sizes as well. You can check them out at lonestargrillz.com
- You'll hear me talking more about this smoker in future newsletters and videos.
- Once the smoker is ready and the dry brining is done, place the meat in the smoker.
- You will notice that I like to use a pan with a rack to cut down on smoker cleaning while still allowing the smoke to get to every side of the meat. The one I use was purchased on Amazon but anything similar will work just fine. Mine is a full size stainless steel pan with fitted stainless steel rack and it came with (2) sets of these.
- Maintain 225 to 240°F for the entire cook time. I used a mix of cherry and hickory but use what you have available.
- Let the chuck roast smoke along until it reaches about 145-150°F and then move it to a foil pan filled with a can of beef broth and a half can of cream of mushroom soup.
- I mixed the ingredients into a small bowl before adding it to the pan..
- Place the meat down into the foil pan with the liquid and let it continue cooking.
- When the meat reaches 175°F, you'll want to wrap it up or just place a piece of foil tightly over the foil pan. This will allow the liquid to create steam and braise the meat to make it more tender.
- Let it stay wrapped and cooking until it is fall apart tender. Mine ended up going all the way to 208°F and I figure that you'll probably have a similar experience. Fortunately, these have plenty of fat to keep them moist even when you cook them to these extremes to tenderize them.
- When the meat is tender, best determined by pushing a probe or other sharp object into the meat and feeling for no resistance, remove the pan from the smoker and let it sit, still covered, and rest for up to an hour or two but at least 10-15 minutes.
- If you have some help, let them pull the meat into pieces while you grill up the onions and toast the bread. Otherwise, you can go ahead and pull the chuck roast while the onions and bread are on the griddle.
- If you have a griddle such as Camp Chef or Blackstone, that will work great. This new smoker came with a griddle over the top of the firebox and boy it worked great! It was right around 365 °F when I started and that worked perfectly for what I was doing.
- If you want to grill some onions, use half slices or even the whole rings if you want to. Pour the onions on the griddle with about a tablespoon of olive oil and about a tablespoon of my Texas style rub on top. Mix it all in and just stir it around here and there until they get really soft and wimpy. Delicious!!
- To grill the bread, just butter both sides and grill both sides until it gets a nice crisp surface.
- I went ahead and mixed the meat with some of the onions on the griddle to warm it all up for the sandwich.
- Pile the meat and grills onions on the toast and make yourself a sandwich that will make you smile!

Looked so good I’m trying it out and I’ve got my 3 lb. chuck seasoned and cooling in the fridge. My question is do I need to cover it in the fridge to keep it from drying out too much?
A true five star, make it again, recipe. Plus, multiple alternative uses for the leftovers as suggested at the top of the printable recipe.
I’ve been wanting to try this recipe ever you sent it out, I believe in April of 2020. I finally pulled the trigger on it, and my only regret is not making it sooner! I followed the recipe precisely, and repeated the same process just 14 days later since it was such a hit! It is now a “go to” recipe in my smoking meats toolbox, thanks Jeff!!
Made this and it was a family favorite. Sautéed onions and mushrooms, and topped each sandwich with smoked Gouda. Used the soup mix as an au jus dip…..outstanding.
I made this for dinner tonight, and I have to say it was delicious. It didn’t pull like I thought it would in spite of reaching the desired temperature, but I thinly sliced it. The smoke ring was a thing of beauty. This will probably become a staple in my house.
Followed your instructions to the “T” but some of the Roast was tough ? Wondeful it was the cut of beef ???
Jeff,
Would this work for a moose roast?
Home run, don’t skip the onions or toasted bread. Served with a drizzle of a homemade vinegar style bbq sauce that gave it a nice kick.
Oh my goodness! I have my new favorite smoking item and I’ve smoked a good deal of things. This was absolutely to die for. I followed directions exactly (I bought your rub recipe over 15 yrs ago and keep it made up). I smoked it on Saturday, let it cool down, placed in frig over night. Next morning I set it out, put it in the crock pot with a liner, poured about 1 cup of beef broth in, set roast on top and set it on warm for the morning. Turned off, placed on cutting board, rough chopped it, then got in with my fingers and pulled it, removing all of the silver skin and larger pieces of fat.
That’s it! Fabulous!!!!
I’m gonna smoke 4 or so at a time, cool down and freeze for a surprise meal later.
Love all your stuff Jeff!!!
My wife always made Chuck roasts in the Crock Pot with French Onion soup as the broth. She served it in hotdog buns cut in half with Aus jus dip.
I convinced her to let me try this recipe replacing the soup mix with the French Onion and it was DELICIOUS! Perfect amount of smoke flavor and fall apart tender! She tells me I need to make it again SOON! We didn’t have any Aus jus mix so we just used the French Onion soup from the pan as a dip. Your recipe was spot on as far as timing, temps, etc.
Temp: 230-250°F
Wood: Hickory
Time to 150°F: ~5 hours
Time to 175°F: ~1 hour
Time to finish (212°F and fall apart tender): ~3 hours
Jeff, another great recipe. I enjoy your newsletters with all these great recipes. Keep smoking!
D’oh – Just an FYI that you didn’t list the soup and the broth in your ingredients list. Makes going back to the store (in these COVID-19 days) a bummer. Thanks as always for the great recipes though!
You are the first one to notice that.. I will get that changed right away. I appreciate you letting me know.
I think that you forgot to correct the recipe. Making it right now, will rate later.
Sorry about that..it’s been corrected now.
You inspired me to make this exact sandwich! What an awesome meal. Thanks for the leadership you provide. BTW, I love your book. It provides lots of ideas to keep the family happy! I wish I could upload pictures of our sandwiches!!!!
This is great! Thanks for talking about chuck roasts. I have smoked chuck roast about 10 times, but can never get quite tender enough. This helped, but I still couldn’t get to 208 degrees or tender enough. I followed the recipe verbatim, except when I wrapped it at 175 degrees, I put it in the oven at 250 degrees. At about 7.5 hours it hit 202 degrees, then actually went down until I took it out of the heat at 8.5 hours. It was at 198 degrees at that point (8.5 hours). Why is the temperature falling, why can’t I ever get it tender enough? Thanks!
do you leave the soup and broth in the pan when you pull the meat?
Look great!
Thanks, Bill
No.. I removed the meat to another pan to pull/shred it. I had it planned to add the meat back into the broth once it was pulled but I later changed my mind and just used the broth as a sandwich dip.