Smoked Ham and 3-2-1 Smoked Ribs
Smoking-Meat.com is supported by its readers. We may earn an affiliate commission at no extra cost to you if you buy through a link on this page.
Read this article without ads
With Christmas coming, I want to make sure that all of you are prepared for the cooking part of the holiday and for this reason, I am presenting a double feature newsletter where we will be talking about smoking the traditional ham as well as smoking up some mighty tasty 3-2-1 spare ribs!
Some of you may have put your smokers and grills away for the winter but for those of you die-hard smoke addicts like myself who enjoy hugging a warm smoker on a cold winters day, this newsletter is for you.
When I think of Christmas.. I can't help but think about that big ham all smoked up and sitting pretty on the table with the friends and family just itching to tear into it.
For this joyous occasion, I have decided to cover some basics on smoking an already cooked ham. Normally I use a bone-in ham but today, I will be using a boneless ham that is already cooked and according to the label it's already smoked but as you and I both know, we can add a lot more smoke flavor and make it even more delicious. And we'll get to doing just that in a moment.
Smoking the Christmas Ham
What you'll need for this recipe:
- Precooked Ham bone-in or boneless
- Yellow Mustard
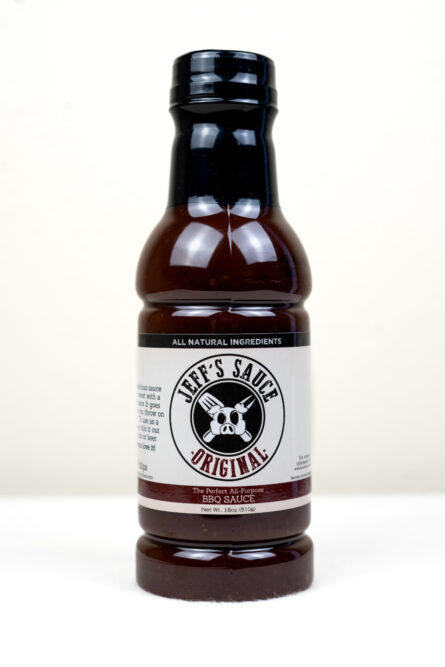
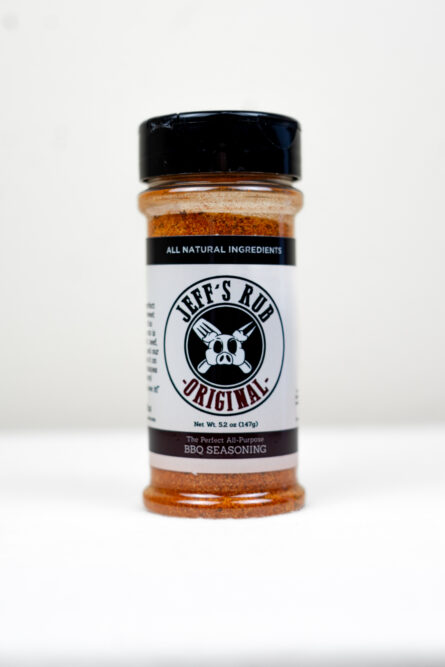
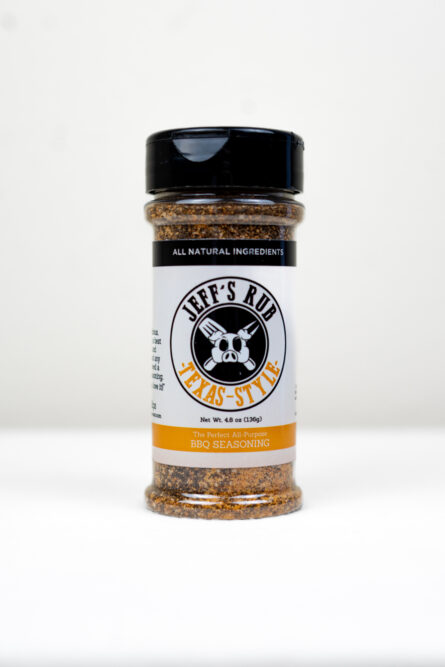
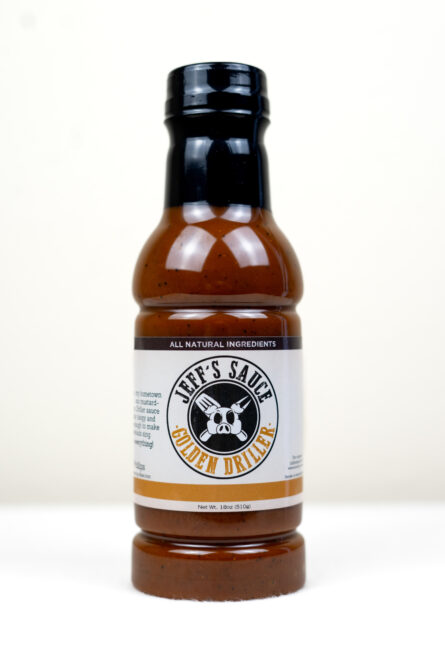
- Jeff's rub recipe and sauce recipe
- Honey
What to Purchase
I always purchase a bone-in ham and sometimes one that is spiral sliced but this time I chose to do a small-sized boneless ham. In my opinion, the bone-in spiral sliced hams turn out better if you are using a rub on the outside. The boneless ham did slice up very nicely and the smaller size made it more convenient to cook and to serve.
How to Prepare
Hams are very easy to prepare.. I normally just mix up a batch of my rub recipe and after applying some mustard to help it stick, I pour on about 1/2 cup and rub it all over the ham so that it is completely covered. Leave the rubbed ham on the cabinet and go get the smoker ready.
Smoking the Ham
Depending on whether you have a charcoal or wood smoker or if your smoker is electric or propane, get it going and allow it to preheat to 225 degrees. Once the temperature is holding steady and thin wisps of smoke are coming from the top of the smoker, lay the ham directly on the grate.
I recommend a really hearty smoke like mesquite, oak, hickory or pecan for ham but you can also mix some fruit woods in with one of these. I used a ratio of 75% mesquite and 25% apple.
Keep the smoke going for a full 3 hours and maintain a temperature as close to 225 degrees F as possible. I usually do not monitor the temperature of pre-cooked hams since you are just getting them to a good eating temperature while adding some extra smoke flavor.
Glazing the Ham
Many folks like to glaze hams when they are almost finished cooking or even during the cooking.. I usually do this about 30 minutes before the ham is finished especially if the outside has taken on a “dry” look. You want food to taste appetizing but you also want food to look appetizing and a little barbecue/honey shine to the outside of ham will give you a major boost in flavor as well as looks.
Make a batch of my barbecue sauce if you have my recipes and mix about 1/4 cup of my thick barbecue sauce with 1/4 cup of honey (heat the mixture in the microwave for 15-20 seconds to help it mix better).
Brush this barbecue honey mixture liberally onto the top, sides and bottom of the ham about 30 minutes before the ham is finished or at the 2-1/2 hour mark. After 30 minutes in the smoker at 225 degrees F it will be picture perfect and taste like the best thing you ever ate.
Serving the Ham
What can I say.. slice it up already and let the eating commence!
Traveling with the Ham
No problem if you are taking the ham to grandma's house a few hours away.
- Wrap the ham in a double layer of name brand heavy duty foil.
- Wrap it in a thick towel
- Place it in a size-appropriate ice chest or drink cooler.
- Fill in any remaining space with more towels, pillows or blankets
- Close the lid.
Keep the lid closed and the ham will stay piping hot and above 140 degrees for 3 to 4 hours.
Christmas Spare Ribs.. 3-2-1 Style
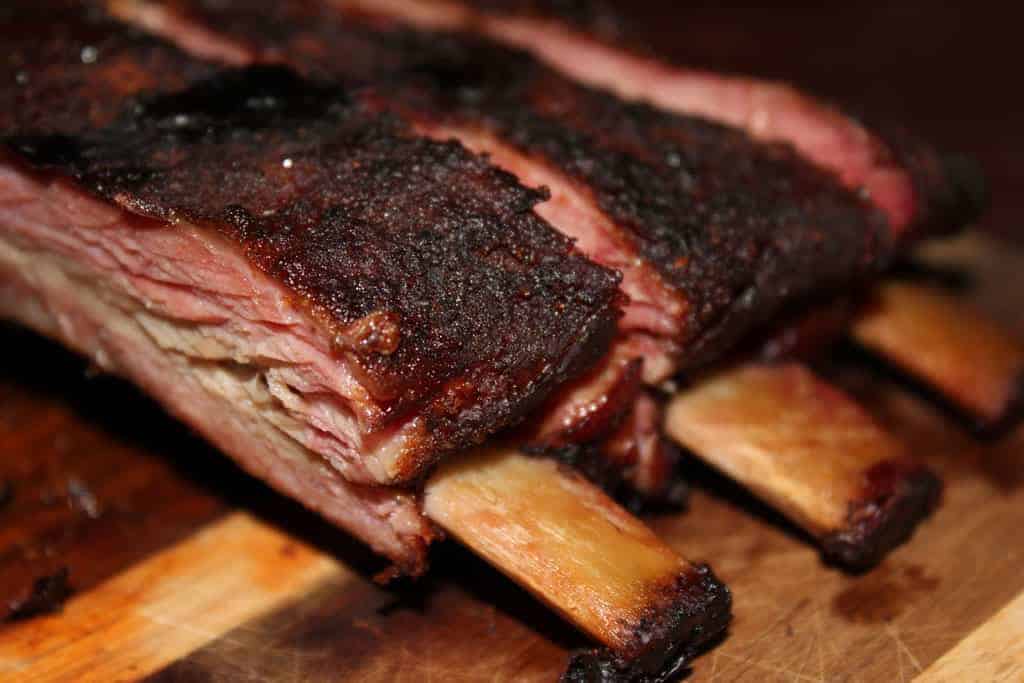
As is the custom at our house, we have ribs for Christmas. I normally do these dry rubbed with my rib rub recipe right on the grate with my sauce served warm and on the side however, I have had so many emails from readers asking how to get the ribs more tender that I decided to take this opportunity to show you the method we call 3-2-1.
Let's go through the process of buying and preparing the ribs and I'll explain the 3-2-1 in the cooking portion of the instructions as that is where the magic happens that makes the ribs fall-off-the-bone tender.
I must say that the 3-2-1 method is not for everyone.. some will tell you, and rightfully so, that according to KCBS and other judging standards, the 3-2-1 ribs are overcooked and that ribs should be eaten less tender so that they are not overcooked. I whole heartedly agree that this is correct when you are being judged by a certified barbecue judge. When you are being judged by family and friends, the 3-2-1 method is a great way to go and might just win you the gold medal.
What you'll need for this recipe:
- 1 or more racks of spare ribs
- Yellow mustard
- My rub and sauce recipes
- Heavy duty aluminum foil
- Apple juice
Purchasing the Ribs
When buying spare ribs, I look for ones that are nice and red and don't have an abundance of large fat pockets. You do want to see quite a bit of fat marbling in the meat as this will help keep the ribs moist while they cook. I also look for spares that have an even thickness all the way across as much as possible as this will help them to cook more evenly.
Many of today's ribs at the supermarket are injected with a salt water solution and while this is not completely detrimental to the ribs, it is not ideal. If you can use a butcher and get ribs that are all natural and/or minimally processed, they will be so much better. I also look for ribs that have not been frozen if possible.. although I do use ribs that have been frozen sometimes, I prefer the fresh if possible.
Remove the Skirt/Flap
Ribs are a little bit daunting to prepare for folks who are inexperienced but really it's not that bad if you will follow a few simple tips. First, be sure to remove the flap or skirt on the bone side of the ribs. Lay the ribs bone side up with the bones in front and closest to you. You will notice a strip of meat that runs along the length of the ribs in the meaty area above the bones. Pull up on this flap of meat and use a very sharp knive held at a 45 degree angle to remove/cut it off.
Don't throw the strip of meat away as it can be placed in the smoker and cooked along with the ribs. It will be tasty and ready to eat in about 1-1/2 to 2 hours.
Removing the Membrane
Next, will be removing the membrane which is a thick plastic-like covering over the bones. Most restaurants do not remove this but in my opinion, it keeps the smoke from being able to penetrate into the meat as well and produces a higher quality product by not forcing your guests to deal with it while they eat.
Use a sharp knive or other sharp object to peel up a corner of the membrane from the bone. Then when you have enough to grab.. use a paper towel or perhaps some clean catfish skinning pliers to grasp the membrane and pull it clean off. PUll it carefully but firmly to completely remove it from the ribs. If it tears, no worries, just try again.
Adding the Flavor
With the flap removed and the membrane gone, we are now going to apply some flavor to the ribs via the use of a dry rub.
I use my very own rib rub recipe and I highly recommend that you do the same. If you have my recipe then you will need to mix up a full batch of the rub. You may also be able to find a decent storebought rub however, most of them are salt based and you will want to make sure that you don't overdo the rub or it will be too salty. My rub recipe is created to be applied liberally and never becomes overly salty.
I use to add the rub as it was but in recent years, I have started using yellow mustard on the ribs to help the rub to stick a little better.
Apply a thin coat of regular yellow hotdog mustard to both sides of the ribs. Use your hands or better yet, a shaker bottle to apply a nice liberal but even layer of rub to the bone side of the ribs. Let the ribs sit for about 10 minutes if possible to help the rub to mix with the mustard so it will have it's full sticking capability.
Turn the ribs over to meaty side up and once again, apply an even coat of the rub to the ribs, not caked on but thick enough so that you can no longer see the meat.
Leave the ribs right there on the counter while you get the smoker ready.
Preparing the Smoker
Regardless of what kind of smoker you have, get it going so that it can hold a steady temperature of 225 degrees F. I recommend using cherry, mesquite or pecan wood for smoking the ribs.
Once the smoker is holding steady, place the ribs bone side down directly on the grate and close the lid/door.
Smoking the Ribs
Note: Ribs are NOT cooked to any hard temperature or time .. they
are done when they get tender enough and not a second before. Be
willing to deviate from the estimated cooking time if they are not
tender enough.
The “3”
The “3” in this method is the first 3 hours where the ribs will be directly on the grate and taking on the smoke flavoring from the wood that is smoking. Leave the door closed during this step and just make sure the heat stays as steady and close to 225 degrees F as possible.
The “2”
The “2” is where the ribs get tender. Once the initial 3 hours are over, Wrap each rack of ribs in a large piece of heavy duty aluminum foil and just before closing it up, pour about 1/4 cup of apple juice or other liquid such as beer, water, Dr. Pepper, etc. into the bottom of the foil. Close up the foil around each rack of ribs and lay the wrapped ribs back on the grate for 2 hours.
The “1”
The “1” in this method stands for the final hour in cooking the ribs. When the “2” is complete, remove the foil wrapped ribs from the smoker, remove the foil and place the ribs on the grate with NO foil for their final hour.
To sum it up more concisely:
3 hours directly on the smoker grate
Then..
2 hours wrapped in foil on the smoker grate
Then..
1 final hour unwrapped and back on the smoker grate to finish up
How to Serve the Ribs
Let the ribs rest for about 10-15 minutes for best results then lay them bone side up and slice and serve immediately.


Is there a site that I can print just your reciepes instead of your whole news letter? By the way, I really like your newsletters. Very informative.
Hi Jeff,
I am new to smoking and trying to learn all I can. I recently smoked pork bellies and made what they call streaky bacon here in the UK. The rub recommended by the book I used was made up of sea salt, brown sugar, pink salt, and maple syrup. The rubbed bellies were then put in the fridge for seven days, turning each day. Then they were smoked at 200 degrees until they reached an internal temperature of 152 degrees. They still have to be fried or roased to fully cook them.
Most articles that I've read about rubs and smoking meat calls for some pink salt or insta cure is needed to be included to guard against botulism.
Does your dry rub contain either of these ingredients?
If not, how do you avoid the risk?
Your recipes look wonderful and I'll look forward to trying some of them.
Thank you,
Bill Stenson
Londonderry, Northern Ireland