How to Smoke Pork Ribs Without Wrapping
Smoking-Meat.com is supported by its readers. We may earn an affiliate commission at no extra cost to you if you buy through a link on this page.
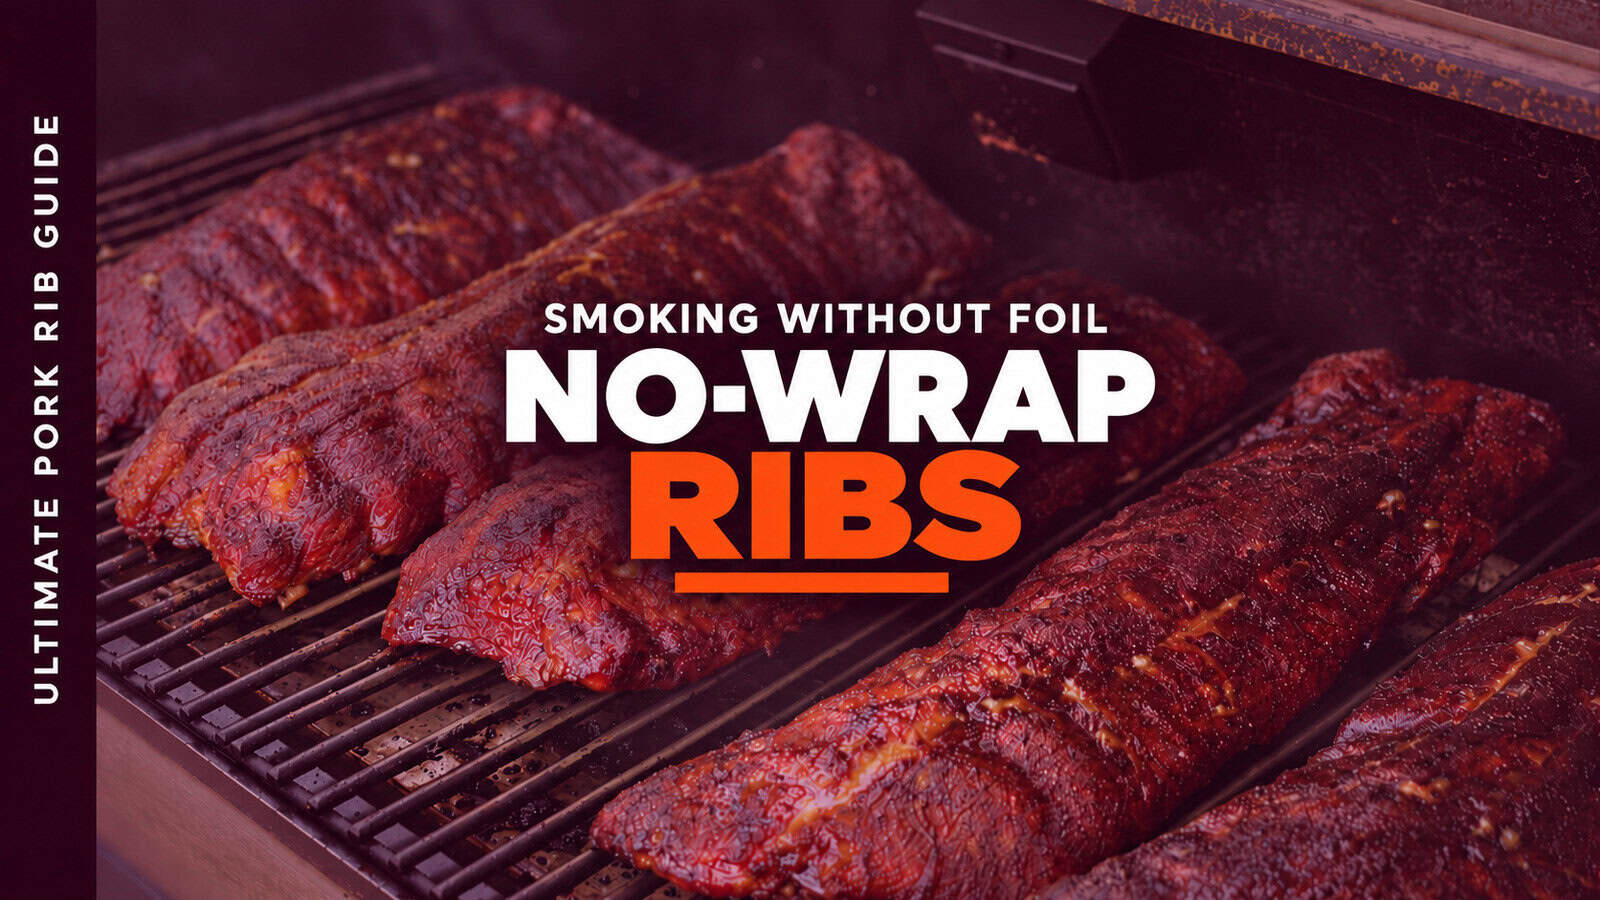
With all the talk about 3-2-1 ribs and other wrapped methods, it is easy to forget that you can season a rack, put it in the smoker and leave it unwrapped until it is tender. There is still a lot to like about that approach, especially when you want a firmer bark and would rather spend the cook tending the smoker than moving ribs in and out of foil.
$19/year
Less than $1.60 a month, billed annually.
Renews yearly until canceled.
Already a member? Log In
No-wrap does not mean no attention, since the surface remains exposed for the entire cook and the thin parts can get ahead of the thicker meat. I will show you how to manage that with steady indirect heat and a few well-timed checks, using baby backs, spare ribs or St. Louis ribs.
What You Will Need
For two racks, have the pork ribs, enough of your preferred rub to coat both sides and the edges, and a little yellow mustard if you want a binder. Barbecue sauce is optional, as is a small spray bottle of water or apple juice for a dry-looking spot on the surface.
A smoker or grill set up for indirect heat, a grate-level thermometer and a thin probe for checking tenderness are the useful tools. You do not need to inject the ribs, keep a mop going all afternoon or add a water pan to a pellet grill just because you are leaving the rack unwrapped.
Choose Racks That Will Cook Evenly
Look for fairly even meat coverage and avoid a rack with one extremely thin end beside a very thick section if you have another good choice. Baby backs with a heavy loin cap can need as much time as spare ribs, so choose by the actual rack rather than assuming every baby back is a quick cook.
You can cut a long slab in half between the bones if it fits the smoker better, which is a handy option in smaller cabinet smokers. Keep enough space around the pieces for heat and smoke to move, and check the halves individually if their thickness differs.
The rib buying guide explains the cuts, and the main pork rib guide covers fitting racks into a smaller smoker.
Prepare and Season the Ribs
Remove the packaging, pat the ribs dry, trim loose scraps and heavy surface fat, and remove the membrane if that is your preference. I generally remove it for the finished eating texture, although leaving a stubborn section in place does not prevent you from cooking a good rack.
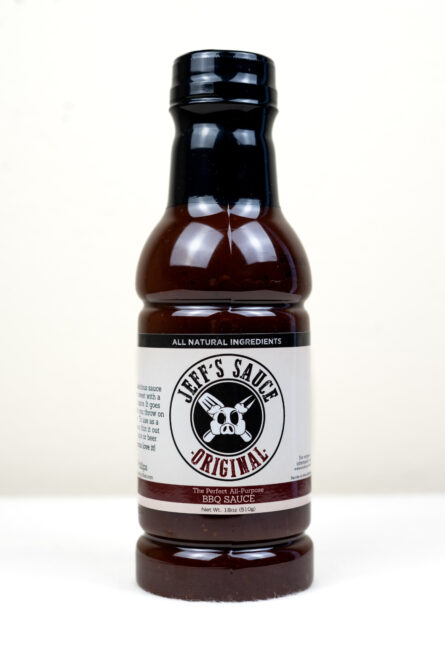
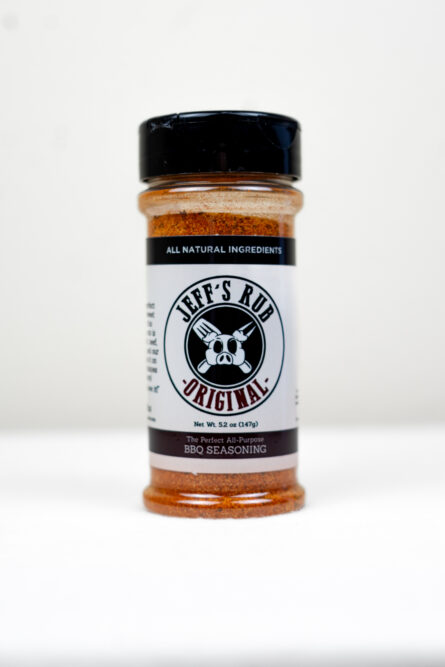
Apply a thin coat of mustard if you are using it, then season the bone side, meat side and edges with rub. My original rub is very low in salt, so you can coat the rack generously and use it after brining without adding a heavy layer of salt. If you choose a different rub, check its salt content before combining it with a brine or separate salt layer.
You can do this while the smoker heats or prepare the racks the night before and refrigerate them. The seasoning guide gives more detail if you are deciding how far ahead to work.
Set the Smoker for About 240°F
Get the cooker settled near 240°F (116°C), with indirect heat and a clean-burning fire, before putting the ribs on. Hickory and maple are good choices for this style, and pecan, cherry or another wood you already enjoy will also work.
Use the water pan if your smoker is designed around one, keeping its normal heat protection in place. On a pellet grill, I do not generally find a separate water pan necessary, so concentrate on the grate temperature and keeping the rack out of an unusually hot area rather than adding equipment automatically.
Expect baby backs to take roughly 4 to 6 hours and spare ribs or St. Louis ribs roughly 5 to 7 hours as a broad planning window, with thick racks sometimes taking longer. There is no foil stage to force the timeline, so leave room in the schedule and use the time and temperature guide for planning.
Smoke Bone Side Down
Place the ribs bone side down over indirect heat and close the cooker, letting the surface take on smoke and the seasoning begin to set. There is no need to flip the rack repeatedly, although rotating it can help if one end is getting more heat than the other.
Give the ribs time to cook before opening the lid for a look, and combine checks with tending the fire or another useful task when practical. Repeated openings can make a small smoker spend more time recovering than cooking, particularly in cold or windy weather.
If one edge is darkening much faster than the rest, reposition the rack and check the heat arrangement. The answer to a hot spot is to manage the heat, rather than keep spraying the same edge while it sits above a source of direct heat.
Spritz Only When It Helps
You can cook no-wrap ribs without spritzing, and I would not make a rigid spray schedule part of the method. Once the rub has set, a light mist on a dry-looking area is an option, using water or a little apple juice rather than enough liquid to rinse the seasoning away.
A moist surface does not prove the center of the meat is juicy, and constant spraying will not correct overcooking. It can also slow bark development and require more lid openings, so leave a good-looking rack alone when there is no particular problem to address.
Check Tenderness Before the Clock Says You Must
Begin checking as the rack approaches the early end of its likely window, using a thin probe between the bones in several places. You want the meat to yield easily, with the amount of softness matched to whether you prefer a clean bite or ribs that release very freely from the bone.
Cook the ribs to 195°F (91°C), which is my repeatable target for tender pork ribs, measuring in a thick area between the bones without touching bone. Check the probe feel and the way the supported rack bends as well, so you can recognize the same tenderness the next time you cook.
The rib doneness guide explains the checks together. If the rack looks good outside but still feels tight, give it more time over steady heat instead of assuming that no-wrap ribs are supposed to be chewy.
Add Sauce If You Want It
For a sauced finish, brush on a thin coat when the ribs are nearly as tender as you want and let it turn tacky over indirect heat, often about 15 to 30 minutes. Keep the layer light and avoid direct flame, particularly with a sweet sauce that can scorch quickly.
You can also serve the ribs with just their seasoned bark and offer sauce at the table. If the rack is already fully tender when you decide to sauce it, keep the finishing step brief rather than spending another hour cooking for appearance alone.
Rest and Slice
Let the ribs rest for about 10 to 15 minutes, then turn them bone side up and slice between the bones with a sharp knife. A loose covering is fine when needed, but sealing the hot rack tightly in foil changes the surface you spent the cook keeping exposed.
If you need to hold them longer, use the holding guide and expect some compromise in bark during a covered hold. For leftovers, follow the storage and reheating instructions.
What If the Ribs Need Help Finishing?
If the outside has enough color and the meat is still stubbornly firm, you can choose to wrap the rack and finish it that way. You will have changed the method, but there is no prize for protecting the words “no-wrap” at the expense of the meal.
To understand that choice, see the wrapping comparison, or try my existing baby back rib recipe with a traditional unwrapped option. For more flavors and methods, browse all pork rib recipes.
Don’t Lose This Article
Enter your email and I’ll send a link to this article straight to your inbox so you can read it anytime.