

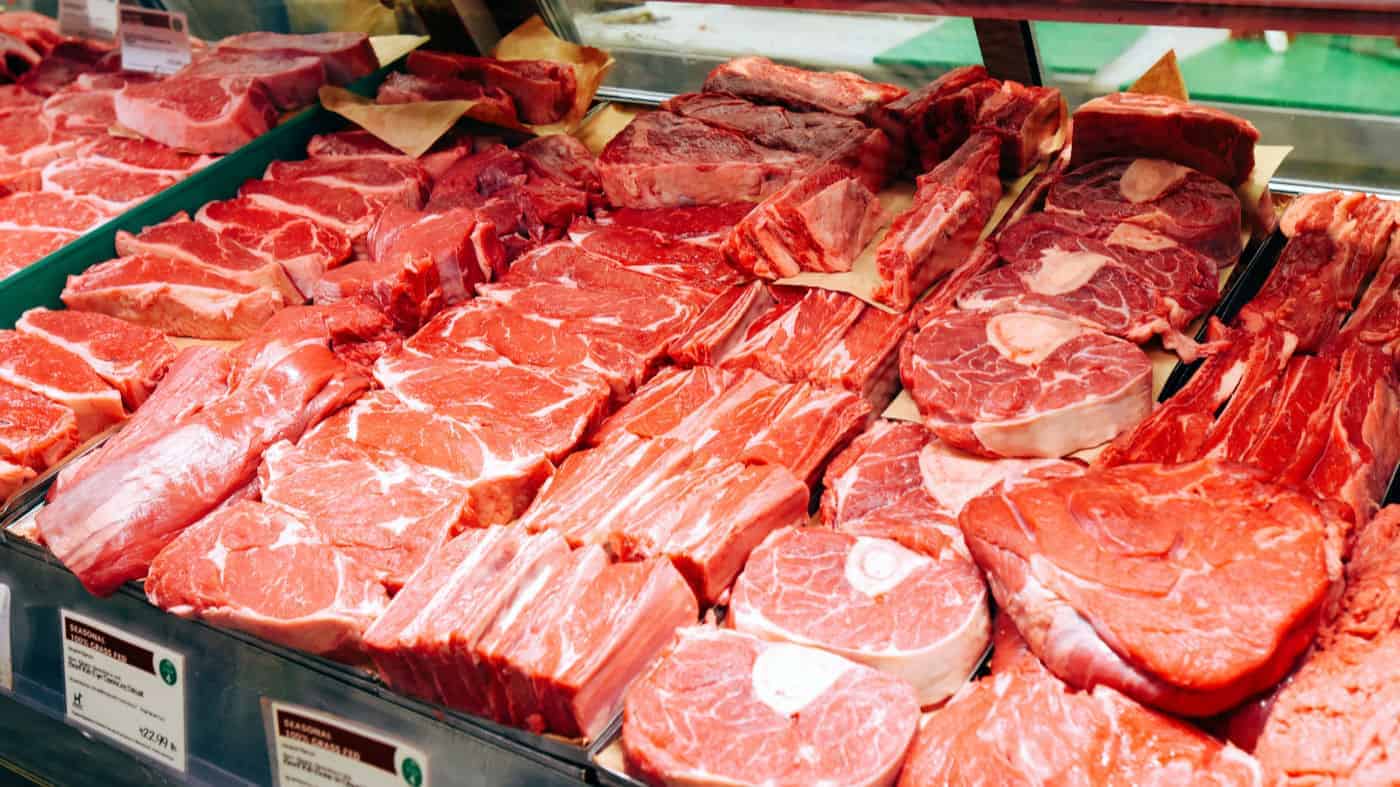
How to Select the Best Meat for Smoking
Smoking Basics eCourse • Chapter 1 of 5
Good barbecue starts before you light the smoker, and choosing the right meat is one of the easiest ways to give yourself a better chance of success. You do not have to buy the most expensive cut in the case, but it helps to know what you are looking at and how that cut needs to be cooked.
In this first chapter, I’ll walk you through buying meat, understanding a few labels and choosing brisket, pork shoulder, ribs, chicken and turkey. By the time you finish, you should feel a lot more comfortable standing at the meat counter.
Choose the Cut Before You Choose the Bargain
A good sale is hard to pass up, but a low price does not make every cut a good choice for the same recipe. Brisket and pork shoulder have connective tissue that benefits from a long cook, while lean cuts such as pork loin and chicken breast need a different approach to keep from drying out.
For a first cook, I recommend a pork butt if you have plenty of time, or chicken thighs if you would rather have dinner ready sooner. Pork butt is forgiving because of its fat and connective tissue, while thighs give you a less expensive way to practice managing the smoker without committing to an all-day cook.
Choose your recipe before you shop, then buy the cut it calls for. A pork loin and a pork butt may sit beside each other in the case, but swapping one for the other in a pulled pork recipe is a good way to turn an easy supper into a chewing exercise.
What to Check at the Meat Counter
Start with the package. Look for an intact wrapper and a good seal, and pass on packages with leaks, tears or punctures. Choose meat from a properly refrigerated case, check its label and date, and ask the butcher if anything about the package concerns you.
Do not use color alone to decide whether meat is fresh or safe. Beef in a vacuum-sealed package can look purplish rather than bright red, and some browning can occur as its pigments change. An unpleasant odor or a sticky, slimy surface is a reason to reject meat, but meat can also carry harmful bacteria without looking or smelling spoiled. The USDA explains this in its guide to meat and poultry color.
Pick up refrigerated and frozen meat toward the end of your shopping trip, keep raw packages separate from ready-to-eat food, and head home promptly. An insulated cooler with ice packs is useful when the drive is long or the weather is hot, and your refrigerator should hold food at 40°F or below.
Understand Marbling, Fat Caps and Beef Grades
Marbling is the little flecks and streaks of fat within the muscle. A fat cap is the layer on the outside, and a fat seam is the thicker layer between muscles. They are all fat, but they do different jobs, so a thick exterior layer does not tell you how well marbled the meat underneath will be.
For beef, the three quality grades you will commonly see are USDA Prime, Choice and Select. Prime generally has more marbling, Choice has less than Prime, and Select is usually leaner. These are quality grades, rather than a ranking of how safe the beef is to eat; you can see the differences in the USDA’s beef grading guide.
For brisket, I would rather see you buy a well-marbled Choice brisket that fits your budget than feel like you have to spend extra for Prime. Compare the actual pieces in front of you, because the grade is a useful starting point, not a promise that every brisket in that grade will cook exactly alike.
Pork is not usually sold with the same Prime, Choice and Select labels, so pay attention to the cut, visible marbling and any added solution. Poultry uses a different grading system, and a Grade A label is not the same thing as USDA Prime beef.
Choosing a Brisket
A whole packer brisket includes two muscles: the leaner flat and the fattier point, with a seam of fat between them. A flat is sold separately as well and can make good sliced brisket, but its leaner shape leaves less room for error if you overcook it.
If you have the smoker space and time, a whole packer gives you both cuts to work with. Look for visible marbling and a flat with reasonably even thickness, rather than one that tapers into a very thin edge that can dry out before the rest becomes tender.
Choose a size that fits your smoker without being folded against the walls and leaves room for heat and smoke to circulate. Remember that the packaged weight includes fat you may trim away, and the meat will lose additional weight as it cooks.
A smaller brisket is not automatically more tender, and bending a packaged brisket over your arm is not a reliable tenderness test. Marbling, thickness and the way you cook it tell you more than how floppy it feels in the store. I generally trim a very thick fat cap to about ¼ inch before cooking, so I do not pay extra just to get a bigger layer of outside fat.
When you are ready to put one on the smoker, explore my complete brisket guide and follow the instructions for the particular cut you buy.
Choosing a Pork Shoulder for Pulled Pork
Pork shoulder is commonly divided into the upper portion, called the pork butt or Boston butt, and the lower portion, called the picnic shoulder. In spite of the name, a pork butt comes from the shoulder, which is one of those things that makes perfect sense once you stop expecting the name to help.
For pulled pork, my first choice is a Boston butt. Look for a well-marbled piece with a fairly even shape, and choose a size that gives you enough cooking time and enough room in the smoker. A bone-in butt in roughly the 6- to 9-pound range is a practical place to start.
Bone-in and boneless both work. A bone-in butt usually holds its shape well, while a boneless one may need to be tied so it cooks evenly. Picnic shoulder also makes good pulled pork, although it is often sold with skin that needs to be removed if you want seasoning and bark on that surface.
Check the label for an added salt solution before deciding how much salt to use later. We will cover seasoning in Chapter 3, but knowing what is already in the package will keep you from accidentally doubling up. My pork butt guide walks you through turning a Boston butt into pulled pork.
Choosing Pork Ribs
The two main choices are spare ribs and baby back ribs. Spare ribs come from the belly side of the rib cage and tend to be larger and fattier, with the rich pork flavor I especially enjoy. St. Louis-style ribs are spare ribs trimmed into a more even, rectangular rack.
Baby back ribs come from the loin side, closer to the backbone. They are usually smaller and leaner than spares, although how much loin meat the butcher leaves on top can make a big difference in their thickness and cooking time.
Look for a rack with even meat coverage and avoid exposed patches of bone where the meat has been trimmed away too closely. Visible marbling is welcome, but very thick pockets of exterior fat do not add much value.
An “extra meaty” rack is not automatically a bad purchase, but a thick layer of lean loin meat can cook differently from the meat between the bones. For your first rack, an evenly cut St. Louis rack or a reasonably uniform rack of baby backs is easier to manage than one with dramatically different thicknesses.
Country-style ribs deserve a quick mention because the name can be confusing. They may be cut from the shoulder or the loin, and those cuts need different cooking methods, so check the label or ask the butcher instead of treating them like a rack of ribs. My pork rib guide explains the rack cuts and how to cook them.
Choosing Chicken
Chicken is a good way to learn your smoker without spending brisket money. Whole birds, thighs, drumsticks and breasts all work, but thighs and drumsticks are more forgiving than lean breast meat when you are still learning temperature control.
For a whole chicken, I like a bird around 3 to 4 pounds when I can find one, although larger chickens work too. More useful than chasing an exact weight is choosing a recipe that suits the bird you have and using an instant-read thermometer to check doneness.
Read the ingredient statement for added broth, water or salt solution, particularly if you plan to brine the chicken yourself. A “natural” or “minimally processed” claim does not, by itself, tell you whether the bird has added solution, so look beyond the wording on the front.
Air-chilled chicken is an option I like when it fits the budget, but you do not need premium labels to make good smoked chicken. Organic and raised-without-antibiotics labels describe production practices rather than guaranteeing better flavor, and I would not let the absence of those labels keep you from cooking. Start with my chicken recipes and choose something that sounds good to you.
Choosing Turkey
Fresh and frozen turkey can both make excellent barbecue. If you buy frozen, allow enough time to thaw it completely before smoking; my turkey thawing guide will help you plan ahead.
Check for wording such as “contains up to X% of a solution,” “self-basting,” or “kosher,” because these can indicate that salt has already been added. That does not make the turkey a bad choice, but it matters when you decide whether to brine it or how heavily to season it.
For a beginner, my preference is a turkey of 12 pounds or less, and I would rather cook two smaller birds than squeeze one enormous bird into the smoker. Smaller birds are easier to fit, handle and cook evenly, but 12 pounds is my practical recommendation, not a universal food-safety boundary.
Safe cooking also depends on starting with a fully thawed bird, maintaining an appropriate smoker temperature and checking the meat with a thermometer. USDA guidance calls for a smoker temperature of 225°F to 300°F and a minimum internal temperature of 165°F in the thickest part of the breast and the innermost thigh and wing. Cook stuffing separately.
If you want to try turkey, use my smoked turkey guide alongside the USDA’s smoking safety guidance, and browse my turkey recipes for ideas.
Your First Chapter Assignment
Choose one cut you would like to smoke, find a recipe for it and read the package label before buying. Look at its size, shape, marbling and any added solution, then make sure you have enough refrigerator space and cooking time for the job.
You do not need to master every meat in the case today. Learning to choose one good piece of meat and cook it well is a much better start than filling the smoker with five things that all need different treatment.
Watch for tomorrow’s email: In Chapter 2, we’ll work on fire building and heat management, including how to keep your smoker running steadily and produce the kind of smoke you want on your food. I’ll send you the link to that lesson in your next course email.
