

The Complete Guide to Smoking Chicken

Smoking-Meat.com is supported by its readers. We may earn an affiliate commission at no extra cost to you if you buy through a link on this page.
Smoking chicken is one of the best ways to get comfortable with your smoker because you can turn out a great meal without committing an entire day to the cook. The challenge is getting the smoke flavor, juicy meat and skin texture to come together before the breast gets overcooked.
$19/year
Less than $1.60 a month, billed annually.
Renews yearly until canceled.
Already a member? Log In
This guide walks you through the whole process, from choosing your chicken and deciding whether to brine it to setting up the smoker, checking doneness and serving it. Along the way, I’ll point you to my detailed chicken guides whenever you want a closer look at a particular step.
The Basic Process for Smoking Chicken
- Choose a whole chicken or chicken parts, then thaw completely if frozen.
- Decide whether to brine, dry the surface and apply your seasoning.
- Set up your smoker for indirect cooking with clean smoke and steady airflow.
- Start at 225°F (107°C) for an initial smoke period if you want more smoke flavor, then raise the heat to finish.
- Check the internal temperature in several places, let the chicken rest briefly and serve.
That is the basic road map, but the details change a little depending on the cut, your smoker and how much importance you place on skin texture. Let’s walk through those decisions.
Choose the Chicken That Fits Your Cook
A whole chicken gives you white and dark meat in one package and makes a nice presentation, although the breast and thighs do not always finish together. A spatchcocked chicken has the backbone removed and is flattened before cooking, which exposes more skin and makes the shape more even.
If you’re starting with a whole bird, my guide on how to spatchcock chicken for smoking shows you the process. You don’t need special equipment beyond a sturdy pair of kitchen shears and a cutting board.
Thighs and drumsticks are forgiving choices if you’re learning, while breasts require closer attention because the lean meat can dry out quickly. Wings are a good choice when you want smaller portions and plenty of seasoned skin. When cooking different cuts together, expect to remove individual pieces as they finish.
Ingredients and Equipment
- A fully thawed whole chicken or chicken parts
- Kosher salt if brining, plus your preferred barbecue rub
- A little cooking oil or another binder, if desired
- Smoking wood or pellets suited to your cooker
- A smoker or grill set up for indirect heat
- A reliable meat thermometer and a way to check the cooking temperature near the grate
- Kitchen shears for spatchcocking, paper towels, tongs and a clean serving tray
Can You Brine Chicken or Turkey That Already Has an Added Solution?
I get a lot of questions from folks asking whether they can brine a chicken or turkey that already contains an added solution, and my answer is absolutely. I’ve been doing this for years, and in my experience, brining it at home makes it taste so much better than relying on the solution added during processing.
My usual wet brine is one cup of kosher salt stirred into one gallon of water until dissolved, then I submerge the bird and keep it refrigerated while it brines. Using my usual method and brining times, I’ve never had the finished chicken or turkey turn out overly salty just because it already contained an added solution.
Kosher salt brands differ in how much salt fits in a cup, so use the same brand consistently when following a volume based recipe. Follow the brining time for the size and cut you’re cooking rather than assuming it can stay in the brine indefinitely.
Decide Whether to Brine
Brining is helpful, especially with breast meat, but it is not a requirement for good smoked chicken. Salt applied ahead of cooking can improve seasoning and moisture retention, although it won’t rescue meat that stays on the smoker too long.
A wet brine uses a saltwater solution, while a dry brine uses salt applied directly to the chicken. Dry brining also gives the skin time to dry in the refrigerator, which is useful when you want a better bite. Keep the chicken refrigerated throughout either process and use a tray that will contain any raw juices.
Start with whether you should brine chicken before smoking if you’re deciding whether to bother, then use my chicken brining guide for the methods and timing.
Dry the Skin and Add Seasoning
Pat the chicken dry with paper towels before seasoning. If your schedule allows, resting it uncovered on a rack over a tray in the refrigerator can help dry the skin further; keep it below other foods so raw juices cannot drip onto them.
Season the exposed surfaces evenly, including the underside of a spatchcocked bird. You can carefully work seasoning beneath the breast skin, but try to leave the skin attached so it continues to cover the meat. A thin coating of binder is plenty if you use one.
Jeff’s Tip: If you already dry brined the chicken, go easy with a salty rub. The salt you applied yesterday still counts today.
Choose Wood and Get the Smoker Ready
Apple and cherry are good starting points for chicken, with pecan providing another option when you want a somewhat stronger flavor. You can use stronger woods, but start with a small amount rather than assuming chicken needs the same smoke exposure as a pork butt.
My guide to the best wood for smoking chicken will help you match the flavor to the cook. Whatever wood you choose, let the fire settle into clean combustion and maintain the airflow your cooker needs.
Preheat the smoker before adding the meat and arrange the chicken away from direct flame. Leave space between pieces so heat and smoke can circulate, and check the temperature near the cooking grate rather than relying entirely on a lid thermometer.
Use Temperature to Balance Smoke Flavor and Skin
For many chicken cooks, I like an initial smoke period at 225°F (107°C), followed by a finish at 300 to 325°F (149 to 163°C). Around 45 to 60 minutes at the lower temperature can be a useful starting point for whole birds and larger pieces, but smaller cuts may need less time.
Watch the internal temperature as you go so the chicken still has time to finish at the higher heat. The early stage gives you smoke exposure, and the hotter finish helps the skin tighten up. If you prefer a quicker cook, starting at 300 to 325°F (149 to 163°C) is another workable approach, although the smoke flavor may be lighter.
For the details behind that balance, read the best temperature for smoking chicken. If your pellet smoker produces less smoke flavor than you want, see how to get more smoke flavor on chicken before reaching for another handful of wood.
If your smoker cannot reach the finishing temperature, you can transfer the chicken directly to a preheated oven to finish cooking. Don’t partially cook it, refrigerate it and plan to finish it later.
Plan With the Clock, Finish With the Thermometer
A whole chicken cooked at 225°F (107°C) takes substantially longer than one cooked at 300 to 325°F (149 to 163°C), and a spatchcocked bird generally cooks faster than an intact bird of similar weight. Parts can finish much sooner, particularly boneless breasts and smaller wings.
Use my chicken smoking time guide to plan your meal, then begin checking early. Bird size, airflow, weather and your actual grate temperature all affect the schedule, so a time estimate should never become a reason to leave finished chicken cooking.
Check Doneness in More Than One Place
The USDA safe minimum for all poultry is 165°F (74°C). For a whole chicken, check the thickest part of the breast and the innermost thigh and wing areas without touching bone; check multiple pieces when cooking parts.
For a straightforward home cook, use 165°F (74°C) as your breast meat target, while thighs, drumsticks and wings often have a more tender texture around 170 to 180°F (77 to 82°C). On a whole bird, monitor white and dark meat separately rather than assuming one reading represents the entire chicken.
Lower temperatures can achieve pasteurization when a validated combination of temperature and holding time is followed, but simply pulling chicken early and assuming carryover heat will make it safe is not a dependable method. My guide to pasteurization and how temperature and time work together explains the process using turkey, and the same basic principles apply to chicken. Use a validated time and temperature schedule appropriate for chicken when cooking below 165°F (74°C). If you aren’t intentionally monitoring that process, stick with 165°F (74°C).
Keep my chicken internal temperature chart handy for the different cuts, and see how to tell when smoked chicken is done for more on thermometer placement. Skin color, pink meat and the appearance of the juices cannot establish safety.
Tighten Up the Skin Without Drying Out the Meat
Dry skin going into the smoker and enough heat toward the end of the cook are two of the most useful tools for improving texture. Constant spritzing, heavy layers of sauce and tight foil wrapping can all keep the surface wet or soften skin that was beginning to improve.
If you use sauce, brush on a thin layer near the end and give it time to set while watching for scorching. When you want a firmer finish, a brief turn over a hotter grill can help, but stay close because dripping fat and sugary sauce can burn quickly.
For a closer look at preparation and finishing techniques, read how to fix tough and rubbery chicken skin. The goal is skin that bites cleanly with the meat, and you don’t have to overcook the breast to get there.
Rest, Carve and Serve
Give chicken parts roughly 10 minutes to rest and a whole bird about 15 minutes before carving. Avoid wrapping tightly if preserving skin texture matters to you, and use a clean cutting board and utensils that have not contacted raw chicken.
Refrigerate leftovers in shallow containers within two hours, or within one hour when the temperature is above 90°F (32°C). Use refrigerated cooked chicken within three to four days and reheat leftovers to 165°F (74°C). For cooling, freezer packaging and reheating methods that help preserve moisture, read my guide to storing, freezing and reheating smoked chicken.
Troubleshoot the Most Common Chicken Problems
Dry meat: Check thermometer placement and begin checking doneness sooner, especially with breasts. Brining can help, but avoiding overcooking matters most. Read how to keep smoked chicken from drying out.
Bitter flavor: Look at combustion, airflow and the amount of wood before adding more smoke. A brief cloud when fresh wood catches is different from dense, acrid smoke throughout the cook. Read why smoked chicken tastes bitter.
Uneven cooking: Space pieces apart, check for hotter areas in the smoker and move or remove individual pieces as needed. Spatchcocking can make a whole chicken easier to manage, but you should still check both breast and thigh temperatures.
Put It Together on Your Next Cook
For your next chicken cook, keep the process simple: choose a cut you enjoy, season it thoughtfully, run a clean fire and check the meat rather than watching the clock. Once you have those habits down, you can adjust the smoke exposure and finishing heat to suit your taste.
If you want a specific recipe to follow alongside this guide, try my smoked butterflied chicken with a rub and mayonnaise mixture. For help with an individual step, browse the chicken smoking how to guides.
Don’t Lose This Article
Enter your email and I’ll send a link to this article straight to your inbox so you can read it anytime.
Join the Smoking Meat Community
Have a question about this technique or want help with your next cook?
Join the conversation with other backyard pitmasters.
From my backyard to yours
Jeff’s Handcrafted
Seasoning and Sauce
The rubs and sauces I use in my own backyard
and throughout these recipes.
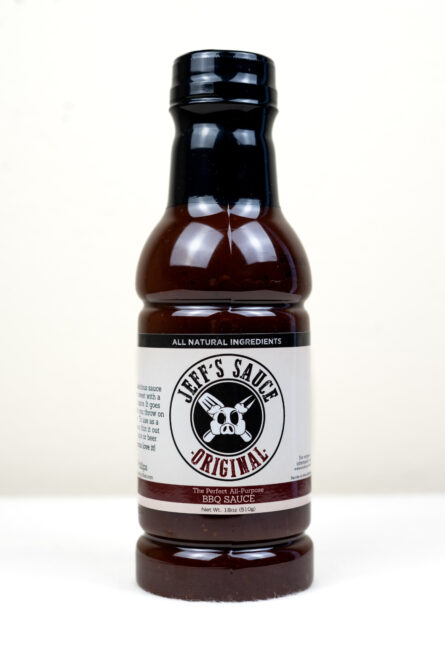
CLASSIC BARBECUE
Original BBQ Sauce
Rich tomato flavor, balanced sweetness and a gentle kick.
$8.99per bottle
Shop Now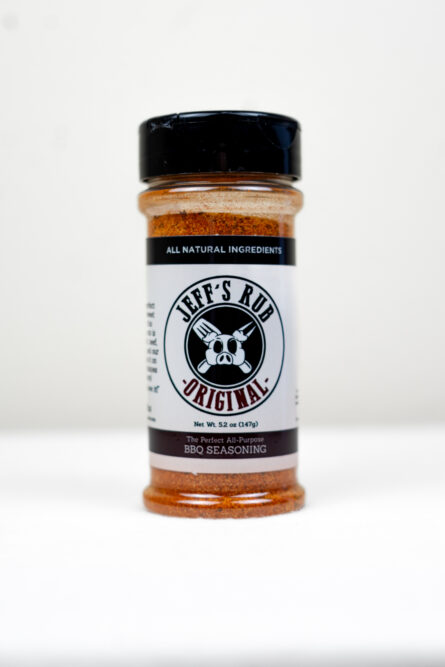
THE SIGNATURE BLEND
Original Rub
Sweet, savory and a touch of heat for your next cook.
$8.99per bottle
Shop Now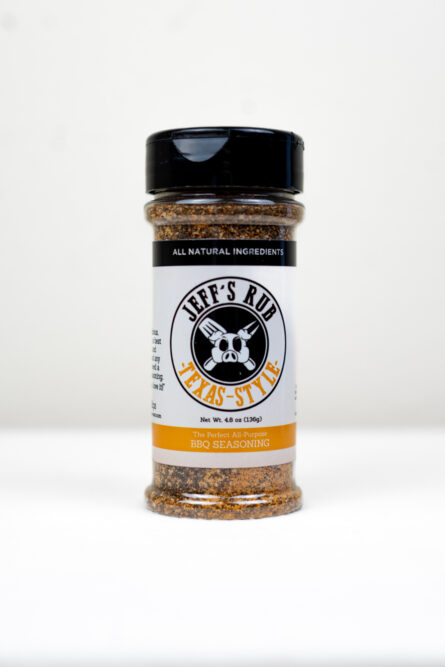
BOLD & PEPPERY
Texas Style Rub
Pepper forward flavor for brisket, steaks and more.
$8.99per bottle
Shop Now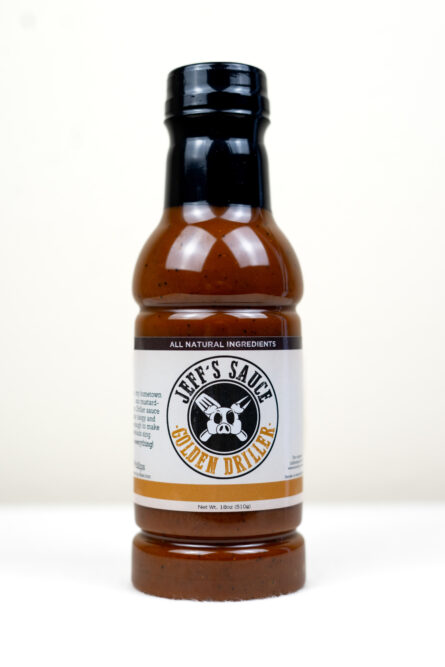
MUSTARD BBQ SAUCE
Golden Driller
Smooth mustard tang with just the right sweetness.
$8.99per bottle
Shop NowFind your next favorite at Thin Blue Foods
