

How to Smoke 3-2-1 Ribs and Adjust Them for the Tenderness You Want

I may earn a commission if you buy through links on this page, at no extra cost to you.
The 3-2-1 method is a useful way to learn smoked pork ribs because it divides the cook into three understandable stages: build smoke flavor, cook the ribs wrapped and finish them back out of the foil. It can produce the very tender ribs a lot of folks enjoy, but the numbers work best as a starting point rather than a rule that overrules what the meat is doing.
$19/year
Less than $1.60 a month, billed annually.
Renews yearly until canceled.
Already a member? Log In
This guide focuses on spare ribs and St. Louis style ribs cooked around 225°F (107°C), with a note on baby backs farther down. If you want the complete ingredient amounts and photographs for a particular cook, use my 3-2-1 St. Louis spare rib recipe alongside these instructions.
What Does 3-2-1 Mean?
The first number is roughly three hours with the ribs exposed to smoke, the second is roughly two hours in a sealed foil wrap or covered pan, and the third is roughly one hour unwrapped to finish. That gives you a familiar six-hour outline, although the rack may need less or more of one stage depending on thickness, temperature and your preferred texture.
The foil stage traps moisture around the meat and helps it become tender, while the final exposed stage lets the surface dry a little and gives you a place to set sauce. You can leave the sauce off, and you can shorten the final stage if the ribs are already done.
Prepare and Season the Ribs
Trim loose pieces and heavy surface fat, remove the membrane from the bone side and apply your rub to both sides and the edges. A thin coat of yellow mustard is a useful optional binder, and my original rub is very low in salt, so you can apply it generously even if you have brined the ribs first.
If you are starting with full spare ribs, you can trim them St. Louis style for a more uniform rack, then save the tips for another part of the meal. My seasoning guide covers advance preparation and salt if you want to get them ready the night before.
Get the Smoker Settled at 225°F
Set up for indirect cooking and verify the temperature near the food, since a hot spot under the rack can work a lot faster than the thermometer in the lid suggests. Use a clean-burning fire with a wood you enjoy, such as pecan, cherry, apple or hickory.
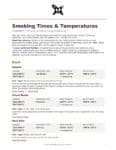
Get My Free Smoking Chart
Get my printable Smoking Times & Temperatures chart in °F and °C, ready to keep beside the smoker.
This method does not require a specific brand of smoker, and the Smoker Guide can help with your setup. If you decide to cook at 250°F or 275°F, expect to shorten the stages rather than applying the same six-hour timetable at a higher temperature.
Stage One: Smoke Unwrapped
Place the ribs bone side down over indirect heat and let them smoke for about three hours, checking the surface when you have a reason to open the cooker. Look for good color and a rub coating that has set firmly enough that a gentle touch does not wipe it away.
Three hours is the reference point, but the condition of the surface matters more than reaching that exact minute. If the rack is darkening unevenly, rotate it or correct the heat arrangement rather than assuming an early patch of color means the whole rack is ready for the next stage.
Stage Two: Wrap and Cook Toward Tenderness
Lay the rack on heavy-duty foil and fold it into a sealed package, using a second layer if the bones are likely to puncture the first. You can add a small splash of apple juice or water if you want, but the ribs also release their own juices, so added liquid is optional unless your chosen recipe calls for it.
A foil pan covered tightly with foil works as well, and is convenient when that fits your cooker or handling preferences better. Keep the pan over indirect heat, and remember that a deep layer of liquid produces a more braised surface than a rack sitting in its own collected juices.
Return the ribs to the cooker and check during the wrapped stage instead of automatically leaving every rack alone for two hours. Thin racks or ribs you want to retain a clean bite are worth checking after about 45 to 60 minutes, while a thick rack or a fall-apart target may need considerably longer.
Open the wrap carefully to avoid the steam, then probe between the bones in several places and assess how easily the meat yields. When it is approaching the tenderness you want, move to the finishing stage; if it is already falling apart, do not plan on another full hour of cooking.
Stage Three: Unwrap and Finish as Needed
Carefully move the ribs back onto the grate, supporting the rack with more than one tool if it has become soft. Brush on a thin coat of sauce if desired and let it turn tacky over indirect heat, often in about 15 to 30 minutes once the meat is already tender.
The traditional outline allows about an hour here, but that hour is available cooking time rather than a requirement. A rack that still needs a little tenderness can use more of it, while one that was ready in the foil may only need a brief sauce-setting step.
Some softened bark can firm during this stage, but continued cooking will not undo an overly long braise. Stop when the ribs meet your goal rather than trying to recover a crust at the expense of the meat.
How Do You Know When They Are Ready?
My target for tender pork ribs is 195°F (91°C), measured in the thick meat between the bones without touching bone. I have used that target time after time for repeatable results, with the probe feel, the bend of a supported rack and an occasional taste from an end rib confirming the tenderness.
For a clean bite, the meat should release where you bite without pulling everything off the bone. For fall-apart ribs, cook farther until the bones release very easily, then handle the rack with care and keep the final exposed stage short enough to preserve the result.
The rib doneness guide explains those checks in more detail, including why bone pullback alone is not proof that the rack is ready.
What About 2-2-1 for Baby Back Ribs?
The 2-2-1 method uses about two hours exposed, two hours wrapped and one hour to finish, and it is a common starting outline for baby backs around 225°F. Baby backs are often smaller, although extra meaty racks can take as long as spare ribs, which is another reason to check the meat rather than rely only on the name of the cut.
The wrapped stage is the part I would watch most closely when adjusting for a thinner rack or a firmer texture, since two hours sealed in foil can soften it much more than you intended. Use the same surface and tenderness cues as the spare ribs, with an earlier look instead of another unquestioned schedule.
Rest and Serve
Let the finished ribs rest briefly, usually about 10 to 15 minutes, then turn them bone side up and slice between the bones. If they finish ahead of dinner, use the rib holding instructions rather than leaving them wrapped on the counter for an extended wait.
You can compare this method with no-wrap ribs, read the foil and paper comparison, or return to the complete pork rib guide for the entire process. My 2015 St. Louis rib recipe is another existing example, including a foil approach without added liquid.
Don’t Lose This Article
Enter your email and I’ll send a link to this article straight to your inbox so you can read it anytime.
Join the Smoking Meat Community
Have a question about this technique or want help with your next cook?
Join the conversation with other backyard pitmasters.
From my backyard to yours
Jeff’s Handcrafted
Seasoning and Sauce
The rubs and sauces I use in my own backyard
and throughout these recipes.
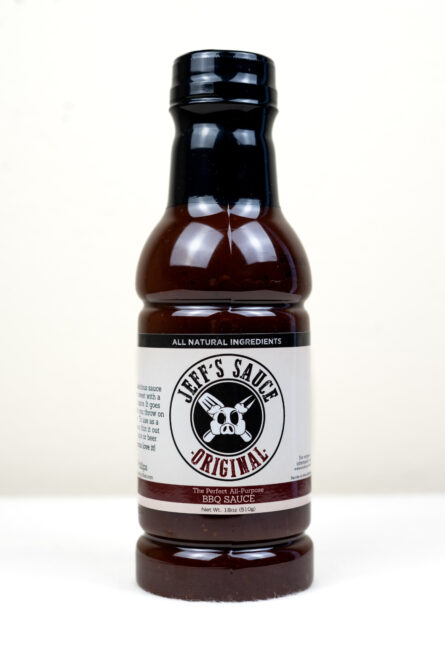
CLASSIC BARBECUE
Original BBQ Sauce
Rich tomato flavor, balanced sweetness and a gentle kick.
$8.99per bottle
Shop Now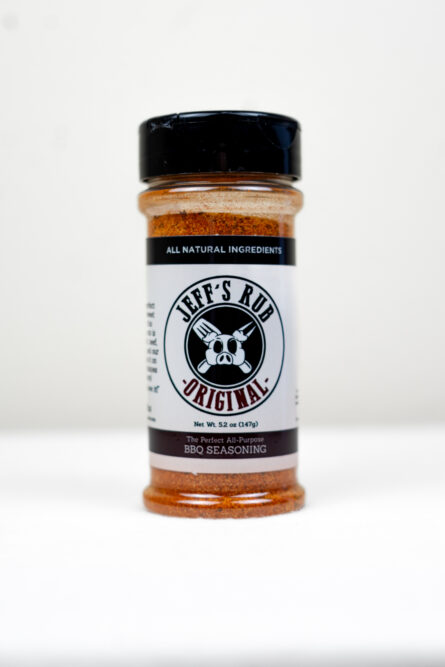
THE SIGNATURE BLEND
Original Rub
Sweet, savory and a touch of heat for your next cook.
$8.99per bottle
Shop Now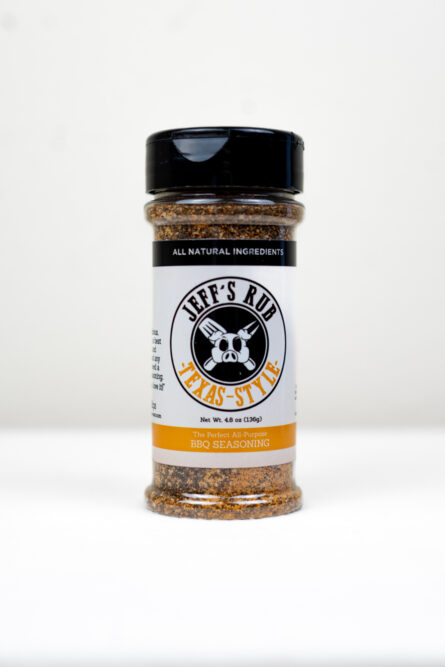
BOLD & PEPPERY
Texas Style Rub
Pepper forward flavor for brisket, steaks and more.
$8.99per bottle
Shop Now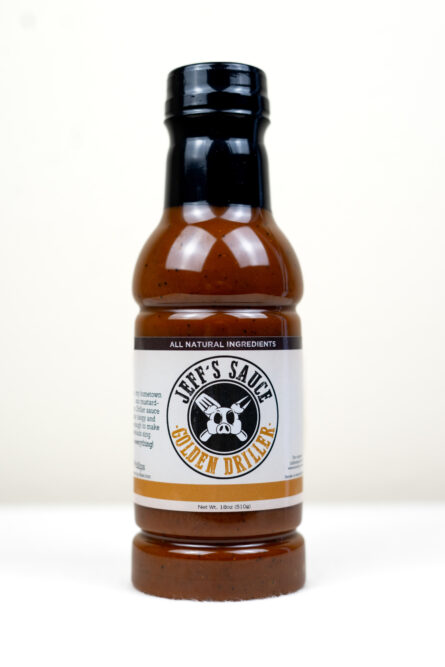
MUSTARD BBQ SAUCE
Golden Driller
Smooth mustard tang with just the right sweetness.
$8.99per bottle
Shop NowFind your next favorite at Thin Blue Foods

What is the point of leaving them on the smoker and wasting fuel when they are wrapped? Can’t you do that bit in ann oven?
Yes, you can definitely use the oven once the meat is wrapped if you want to.
I just used my new Masterbuilt smoker, did this and the ribs were pink inside and tough. The temp was bouncing between 245 and 255 degrees the whole time. Very disappointed. Where did I go wrong?😕
Jeff, all of your recipes are perfect nd have taught me so much.
Thank you.
tried the 321 it turned out fantastic if anybody has any problem they need to go to smoking 101 its simple as hell
Took the ribs off the smoker about 1:00 PM just in time for lunch today and they were incredible. I have been cooking on this “Smokin’ It” electric smoker for some time and I pretty much know what to expect from it. Temp is set to about 200 to 210 deg F. A full size pork picnic is perfect at 12 hours. The ribs I cooked for 5 hours. The day before I dry rubbed them and put them in the frig. Next morning popped them in the smoker and walked away until 5 Hours later. I am sure some would say they were overcooked because the meat was falling off the bone. Maybe they were but they were incredible tender and very moist. Also they had a bark: I like the bark and I think I could have cooked them just fine in 4 hours with out the bark. I used a tuna can that I put water in set next to the heat source and I used a small branch (about a 3 oz chunk) from an Apple tree for the smoke. And that is the way I do it. No fuss, no bother and always perfect.
Tried my first 3-2-1 method last weekend. Used pork spare ribs . Came out pretty tasty , but am wondering how to get them even more tender. I tried to maintain about 240 degrees throughout the entire process . Any suggestions ??
Hey Mark, try smoking the first phase for 4 hours on the rack at 230, then wrap in foil for another 2 hours at 230, then finish by turning the heat/smoke down to 200 for the final 2 hours and keep her wrapped as she will want to fall apart. You will be amazed! Let me state the obvious: Be sure to remove the membrane and give her the healthy dose of rub, prior.
For the lady asking about the cooking temp with then 3-2-1 method, smoke 180-190 3 hours, foil at 250 for 2 hours, about 375 last hour to set the moisture.
Times are exact for the temperatures, any more and they will fall apart taking them off the grill.
The 3-2-1 method is in the Traeger Everyday Cookbook.
You can view recipe online.
I changed the rub and a couple other things, and I’ve had chefs say they are the best they’ve had!
At what temp ? For 3-2-1 method.
It says 220 in the second to last paragraph. Not sure if you saw that or not.
I posted the info for the temps.
3-2-1 the bomb
I’m new to smoking meats and just got a MasterBuilt smoker. When loading the smoker with say two racks of pork ribs. Should they be on the racks closest or farthest from the heat source?
indirect heat would be the farthest from the coals.
Would this method work for moose ribs as well? they seem to be very similar to beef ribs and I’m thinking of trying them on my Louisiana grill smoker
I thought ribs were not supposed to fall off ribs. Doesn’t the foil for two hrs reck the bark and take a lot of the rub off. I’m going to try it both ways today . See what happens
All great info for us novices. Thank you!
Is this 3-2-1 good for beef ribs as well as pork?
Hi Jeff….I have been a follower from the beginning….thanks for all the great recipes…have you ever smoked Lamb Breast (riblets)…..available at Walmart…sometimes….
I used the 3-2-1 mesthod on my side box char griller. It was absolutely amazing. I could hardly even get them off the grate they were so fall ooff the bone good.
love smoken food pretty new at it but found out I love it. thank you jeff for info looking to get a book.
I've used this method twice now and all everyone could say was wow. This is unreal if you want your ribs to fall off the bone. Spectacular. Thanks. Joe
You are spot on. The alum foil is what they call the texas crutch. Add grape juice to your recipe and its the same one that won the world championship in 2008,I think. ANYWAY… this is the only way to smoke ribs! John Trksak grad form u of m hotel and food tech.
Thank you, for your recipes, pointers & great cross-section of 'Q'!!!! I've used parts & pieces of yours & countless others, Shiggin' for my customers' smiles!!! For succulent St. Louis ribs…I simply rub, sweat'em for an hour , hickory smoke @250 for 5 hours, refigerate (overnight & upto 2 days, bring to room temperature) & then sear-off/caramelize on grill, with my BBQ/mop sauce!
i will be smoking ribs on Mother's Day but don't have 6 hours that day before everyone comes over. Can I smoke them half way the day before (3) and then finish the 2 1 the next day?
Kim, the process that makes the ribs tender is cumalitive in that as the heat builds, the fibers break down and become tender. The fat renders and you end up with perfectly smoked and tender ribs. I am not aware of a way to do this safely and in a way that would yield the same result by breaking it up across several cooking sessions.
You could try smoking them a bit hotter.. maybe 275 and see if you can get them done in around 3-4 hours. It would probably end up being more of a 1.5 – 1 – 1.5 but I am only estimating.
If you wanted to do them this way, smoke them hotter for say 1.5 hours for the first step then put them in the pan for an hour. The last step back on the grate would be however long it takes them to get tender. This should trim a lot of time off of them but then you are experimenting and I don’t recommend experimenting for the first time when you are serving guests.
Smoking is a time comittment and when you don’t have ample time, it makes it very difficult to get that same quality finish that you would otherwise.
I read the recipe and you said the method is the same for beefy ribs as well as baby backs. How would I cook baby backs with this method since they are smaller in size?
Larry,
For baby backs, it will be closer to a 2-2-1 method. You just trim an hour or so from the first step and the other 2 steps remain the same. Once you do this a few times, you might decide to adjust each individual step a little.
I agree that the Baby Backs only needed 5 hours of cook time. 2-2-1. I cooked 2 slabs and "sampled" the first after 5 hours. It was perfect. I cooked the second for the next hour to find it just a good, but a pinch dryer.
How about for boneless "country style" ribs? Will 2-2-1 work or should one count on 3-2-1? Thanks.
WOW! Type, "Smoking Meat: The Essential Guide to Real Barbecue" into a Google search engine and find a Lot of places charging this high price for this book?
Ron, the folks doing that are taking advantage of the fact that the book is backordered but hopefully no one is paying these kind of prices of the book. We will have books in a couple of weeks or that is what I am being told by the publishers/disributors.
Hasty bake user for years w/great results. Tried brisket on brinkman el smoker. Great bark, OK flavor (not as smokey as desired
but absolutely no smoke ring. Used a lot of chips throughout process. 6# at 220 for 8 hours? What happened?
chips should be soaked for around 12 hrs so they smoke and not burn quickly
can I use foil in electric smoker?
Yes.. foil is perfectly fine to use in an electric smoker whenever the need arises.
Being a novice at smoking I found your simple technique to good to pass up, and am I ever glad I didn't, as were my guests. The ribs were tender, moist and flavorful. Give it a shot, you won't regret it.