Smoked Pork Spare Ribs Just Got Better

Smoking-Meat.com is supported by its readers. We may earn an affiliate commission at no extra cost to you if you buy through a link on this page.
Read this article without ads
Just when you thought smoked pork spare ribs couldn't get any better, I start researching, messing with the process, and trying out new methods to come up with the best possible method for not only getting them smoky but in making them perfectly tender and tasty.
- Prep Time: 1 hour
- Cook Time: 6 hours
- Smoker Temp: 225°F
- Meat Finish Temp: 195°F or very flexible and lots of bend.
- Recommended Wood: Pecan + a fruit wood if possible (50/50 mix)
- 2+ racks of pork spare ribs
- Yellow mustard
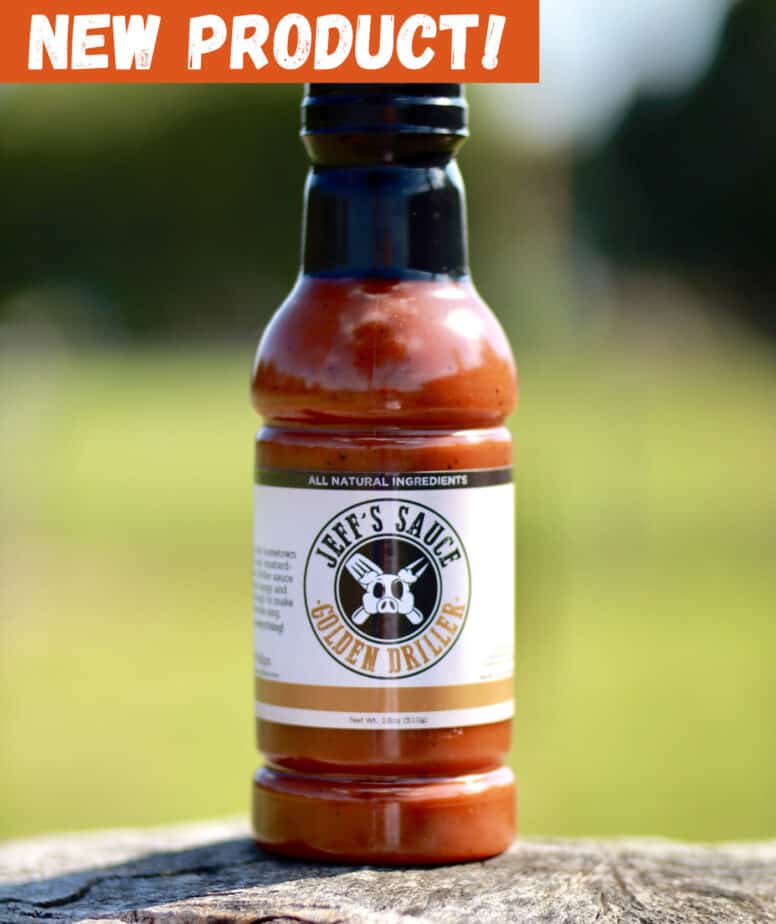
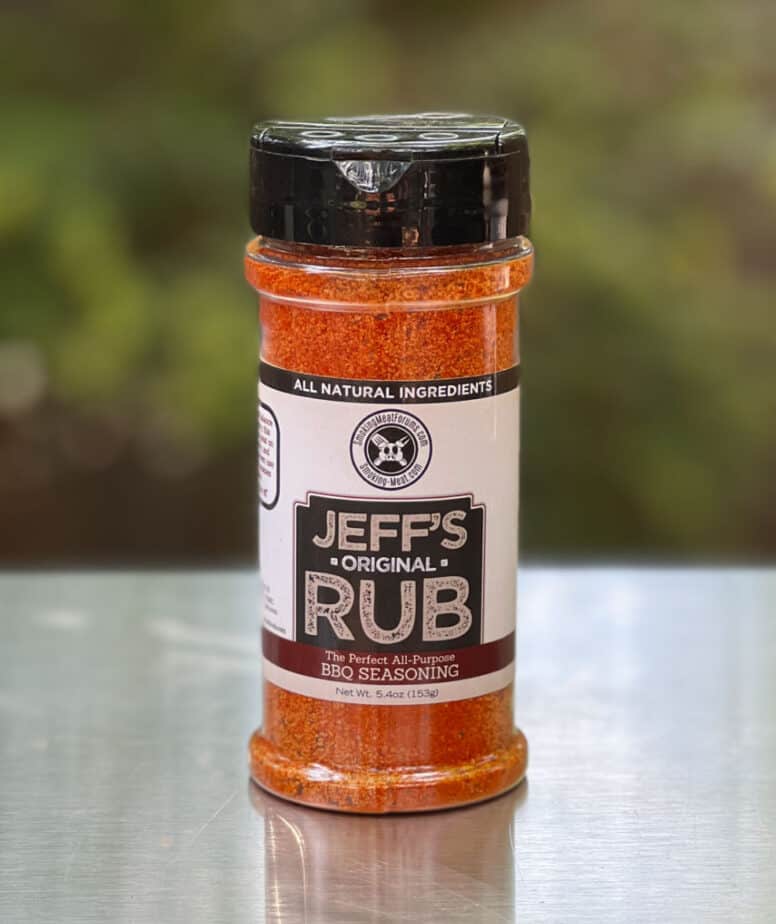
- Jeff's original rub
- Dark brown sugar (light will work if it's all you have)
- REAL salted butter
- Plenty of heavy duty foil
After removing the pork spare ribs from the packaging, give them a good rinse under cold water. Then place them on the cutting board for some trim work.

This simply means you are cutting off the long brisket bone that runs along one side and you are squaring up the ends. This makes them look more like baby back ribs and is considered to be a more appealing way to prepare them.
To trim them St. Louis style, start by cutting off the big thick piece in the corner of the rack as shown. Use a very sharp knife and bare down to cut through the white cartilage.

You will then cut off the brisket bone that runs along the left side of the rack in the picture below. If you press down on the meat, you can feel where the actual ribs end and the brisket bone begins. Separate the two pieces with your knife.

Finish the St. Louis style trim by squaring up the end.

These are the cuts that you should have made..

They are now beautifully trimmed St. Louis style ribs.

Now flip the trimmed pork spare ribs over and let's clean up the bone side.

There is a thick membrane attached to the bone side. Starting in the middle of the rack, loosen the membrane using a butter knife or other semi-sharp object and then work your hands under it.
Pull straight up on it while holding down the middle of the ribs with the other hand. The membrane will pull loose from both sides and come clean off.
Tip: Use a paper towel or catfish pliers if you need a better grip.


Usually there's also a flap of meat that runs along the bone side of spare ribs. This should be cut off close to the base of the meat to allow for more even cooking. For some reason, these ribs had no flap at all so I assume the butcher removed them for some reason.
Here's a picture from some other spare ribs that I have done in the past to show you how it's done. As you can see, these were not trimmied St. Louis style.


As usual, you'll need something to help the rub to stick. I like to use plain yellow hotdog mustard. It leaves no mustard taste once it's all said and done and it works like a charm.
Start by squeezing on a pretty generous helping of the mustard. Feel free to get creative with it. I just usually do a wave pattern. Then rub it in with your hands or use a silicon brush to spread it out.


Apply my rub for best results all over the bone side of the ribs. I put the rub in a cheese/rub shaker for nice, even application.

Leave it sitting for about 10 minutes if you have time. Or you can go ahead and turn it over. I like to leave it sitting whenever possible to allow the rub to absorb moisture from the ribs and the mustard causing less of it to fall off when it's flipped over.

Flip the ribs over to meaty side up. Repeat the mustard/rub process on the meat side


Leave the ribs sitting until they absorb moisture from the ribs and the mustard and get that “wet” look. There was 10 minutes difference between the two pictures below.


Leave the ribs sitting on the cutting board or cabinet while you go get the smoker ready.
You can get great smoke flavor by using almost any wood, charcoal, gas or electric smoker in spite of what your local smoker snobs might tell you. Some smokers work better than others but only YOU know what works best for you in relation to where you live, how much time you have available to spend and how much time you want to spend tending the heat.
Whatever works best for you is the right smoker for you!
For me it depends on the day and I am fortunate enough to have a collection of different types and styles of smokers at my disposal.
Setup your smoker of choice and get it humming along at about 225°F with indirect heat. Have some pecan and some fruit wood (50/50 mix is perfect) handy if possible. If not, you can use whatever smoking wood you have available.
If your smoker uses a water pan, fill it up.
Once it's ready, you are ready to cook!
Note: In colder weather, it is advisable to preheat the smoker at least an hour or more before you are wanting to use it. Keep the door closed as much as possible and even skip basting if necessary to maintain proper smoking temperatures.
This is where the magic happens. Everything up to this point has been pretty normal for the preparation of spare ribs.
To start off and before we go any further, I want to explain a couple of things:
The Normal 3-2-1 Method
I mentioned the 3-2-1 method earlier and to make it real easy to understand, for those of you who may not be familiar with it, it is a 3-step cooking process with 225 degree heat applied the entire time. Smoke is only required during step 1:
- Place the ribs on the smoker grate unwrapped and let them smoke for about 3 hours at 225°F.
- Wrap the ribs in foil or better yet, place them into a foil pan and cover with foil over the top. Place about 1/4 inch of apple juice or other liquid in the bottom just before closing them up. Place them back in the smoker and leave them this way for about 2 hours.
- Remove the foil from around the ribs or simply remove the foil from the top of the foil pan that holds the ribs. (it is fine to leave the ribs in the pan as long as the top is open). Continue to cook the ribs this way for about 1 hour with or without smoke depending on what type of smoker you have.
We say 3-2-1 method which indicates number of hours but everyone has their own level of tenderness that they like. Step 2 is where the tenderizing happens and you can easily adjust this number to decrease the tenderness. If you remove say 30 minutes from step 2, simply add an extra 30 minutes to step 3.
It might end up being a 3/1.5/1.5 method if you follow my previous example.
I recommend you try it for the first time at 3-2-1 and then adjust once you see how you like it.
The Advanced 3-2-1 Method
This is the exactly the same as the regular 3-2-1 method except for the fact that we are going to add a few things into the foil in step 2 just before wrapping it all up and putting it back into the smoker.
This is the method I am showing you today and was first introduced to me somewhat by Johnny Trigg on the Barbecue Pitmasters show on TLC. I am simply taking his method very loosely and making it my own.
Now, let's get started making these smoked pork spare ribs!
Place the ribs directly on the grate, bone side down for step 1.
Just maintain the heat for 3 hours and keep the smoke going during this time.
I don't mop, baste or even open the lid during this first stage.
Once 3 hours is up, on a large flat surface, lay out a large piece of foil about 36 inches long and 18 inches wide.
Now sprinkle 1/2 cup of brown sugar, 2-3 tablespoons of my rub, and about 4 pats of softened butter onto the center of the foil in an area roughly the same size as a rack of the ribs.

Lay the rack of ribs, meat side down, onto this bed of ingredients.

Now, wrap the foil around the ribs carefully so as to not puncture or tear the foil. I fold in the ends first and then the sides but I'm not sure that part matters as long as they are wrapped good.
Tear off another piece of foil of the same size and wrap the ribs in another layer making sure NOT to flip the ribs over. The meat side should remain facing down on top of the brown sugar, rub, etc.

Perform this wrapping operation on every rack of ribs that you have and place them back on the grate of the smoker for about 2 hours at 225°F. (smoke is not required during this step)
At the end of 2 hours, remove the wrapped ribs from the smoker and carefully unwrap them. You may want to save the juices that have collected on the inside so open them without tearing the foil if possible.
I poured the juices into a cup and saved it for later use. You might even consider basting the ribs with it during the last stage if you so desire. These tasty juices need to be used for something!

The ribs will be somewhat soft at this point and the 3rd step is necessary to firm them back up after that super tenderizing effect.

Remove the ribs carefully from the foil and place them back on the grate bone side down for 1 hour at 225°F with or without smoke (your choice).

Once you take them off the smoker, let them rest for about 10 minutes then slice them up.

As you can see, I was able to get a beautiful smoke ring and the flavor was out of this world!


When smoking ribs, you are looking for about 195°F for the ribs to be at the proper tenderness. Most of us check the bend on the ribs or pull a couple ribs in opposite directions to see if they are done but you can use the Thermapen to check the ribs if you want to be accurate.
The thermapen is highly accurate, reads within just a couple of seconds and has a smaller diameter probe which makes it easy to insert it between the bones and get a good reading.
Other thermometers won't work quite so well on ribs.

Smoked Pork Spare Ribs Just Got Better
Ingredients
- 2 racks of pork spare ribs
- Yellow mustard
- Jeff's original rub
- Dark brown sugar (light will work if it's all you have)
- REAL salted butter
- Plenty of heavy duty foil
Instructions
- Rinse ribs under cold water
- Trim the ribs St. Louis style if desired (instructions above)
- Remove membrane and flap meat on bone side of ribs
- Apply a coat of yellow mustard then a heavy coat of rub to the bone side
- Flip the ribs over and repeat the mustard/rub application on meaty side
- Prepare smoker for cooking at 225°F with pecan + fruit wood
- Place ribs bone side down directly on smoker grate and cook for 3 hours
- Make a bed of brown sugar, rub and butter onto 36 x 18 sheet of foil
- Lay rack of ribs meat side down onto this bed of ingredients
- Wrap foil around ribs carefully then wrap with another equally sized piece
- Cook at 225°F for 2 hours
- Remove ribs from foil carefully saving the juice that has collected
- Place ribs, bone side down back onto smoker grate for 1 hour.
- Rest for 10 minutes then slice and enjoy!
Jeff just a quick question
I’ve been making theses since you first emailed the recipe. Absolutely amazing. When using the 3-2-1 method, in step 2 do you place the wrapped ribs meat side or bone side down? I’ve done it both ways. Just curious if your method.
Thanks in advance for your help!
JH
I tend to keep them bone side down throughout all of the steps but I don’t know how important that is.. I wouldn’t imagine it matters too much.
Tried your spare rib recipe yesterday. A grand success. Best ribs I’ve had in a long time. Wife said better than a restaurant. Thanks.
I followed the “Smoked Pork Spare Ribs Just Got Better” recepie over Mermorial Day weekend. I smoked about 10 lbs of ribs and they turned out great. I have a few friends that are not huge smoke fans, how dare they, but they even loved the ribs. I have been smoking ribs for a few years now and this was by far the best recipe I have used. 5 Stars for sure
Omg… my husband made these today for Easter. Amazing… love the way 3,2,1… so ready to follow. He is a needy at smoking and these tasted like he’s done it for years!
Once you have wrapped the ribs in butter and brown sugar, do they go bone up or bone down in the pit?
Jeff, I have struggling with deer meat. I’ve cooked it many different ways and it always turns out tough. Also, it does not matter what type of cut, again tough.
Greg
I think I should buy one digital thermometer, can you recommend one for me, I have just bought a eletric smoker a few days ago, thanks
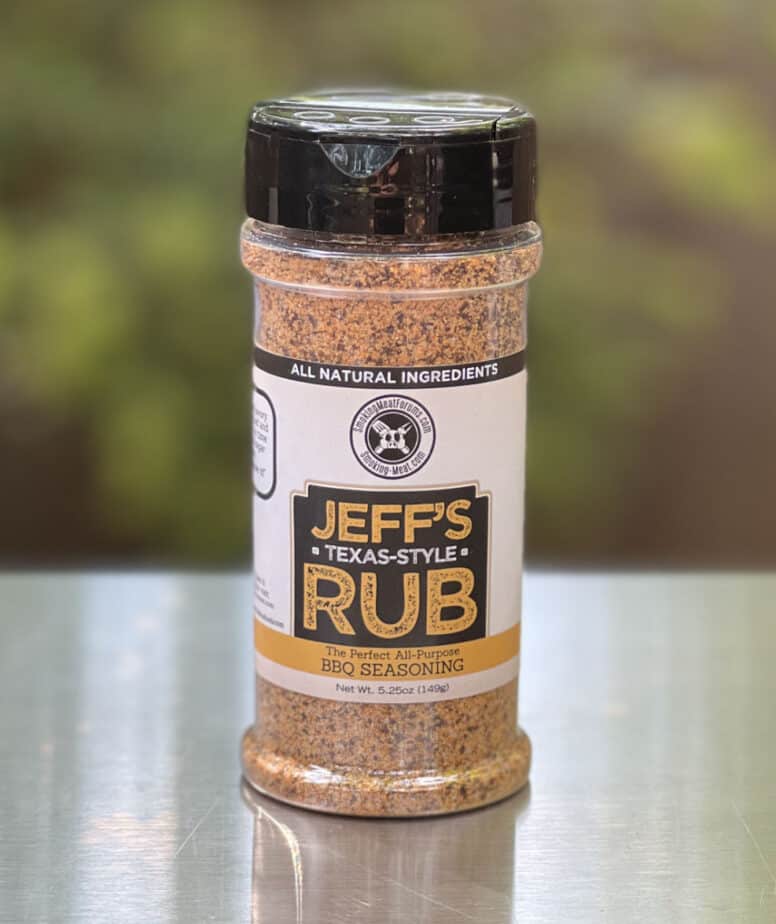
I bought your original recipe rub and the book, is the Texas rub you have mentioned in the book?
Charlie, The Texas style rub recipe is not in the book but I’d be happy to send it to you since you’ve already purchased the original rub recipe. Check your email:-)
I thought I lost your email regarding the Texas rub, I would really like to get the recipe. How would send it?
Jeff,
what do you do with the spare rib trimmings when you turn them into st Louis ribs? Seems like a lot of meat, there must be a good way to cook it.
Smoked Pork Ribs Just got Better—Can this be used for Beef Back Ribs or is it better not to use the bed of brown sugar & buttter
Went to friends for ribs he had smoked, he had smoked them for way longer then I would have. The actual bones were like rubber, they were flexible, and yet to me the meat was not very tender, I have never seen this, is this ok, and why would it happen?
My pellet smoker really cranks the smoke between 200 – 210 vs the recommended 225. Anyone have an idea of what kind of time that would add to the first cooking window in the 2-2-1 method for baby back ribs?
I’m doing a bunch of ribs this weekend and bought two rib racks to for the smoker to hold them all. Will this recipe still be ok, even though they’ll be verticle instead of laying flat on the grates – esp for the 2 hrs in foil?
Hi Robyn – non-pro, non-Jeff here, hope you don’t mind my $0.02 worth. You’ll be fine. I always use a rib rack and they come out perfect. Only thing I do is about halfway through stage 1, I flip them 180 to expose the opposite edge to the heat/smoke the bottom edge got in the first half. Probably not necessary, but it gives me something to do while I await these awesome ribs. Jeff’s rub is AMAZING!!!!
Good luck!!
Honestly, I don’t like pork and ribs aren’t worth the mess… BUT these totally are! A million times over. I would cook this all the time if I could afford it. This made me happy!
Jeff, my Super Bowl baby backs using this method turned out…pretty good. At the very least they didn’t *look* quite as nice as yours did.
For the 2-hour wrapped up portion of the technique, I had mine meat-side down in the smoker, which I realized afterward may have been wrong. Was that wrong? Your instructions are very clear that the should be wrapped with the brown sugar-butter mix meat down, but wasn’t sure about placement in the smoker. Thanks!
Jeff…I tried out this recipe two weeks ago after the newsletter came out. Used a disposable foil container for part 2. Unfortunately the foil top “popped” (which I didn’t realize until it was too late. Had to baste the last hour since they looked a little dried out. All in all, the ribs did come out ok in the end.
Trying again today, this time wrapping in foil instead of the pan. Will let you know the outcome!
I have not done too much with ribs however, I have bookmarked this page will definitely give the 3-2-1- technique a whirl..TY Jeff!
I have used the 3-2-1 technique many times and I get really great compliments. Every time that i smoke ribs I ‘m told that those are the best BBQ Ribs that they’ve ever had. It really works! Thanks Jeff!!!
Jeff, good stuff. We bought some pork belly for bacon today and when we got home we realized that the ribs were still attached. So now we have some spare ribs to eat as well (at least I think they'd be spare ribs…?).
Keep up the good work.
Will @ SMaT
Jeff, I will be using this method with my Super Bowl baby backs. It’s taking A LOT of will power to wait until then.
On the subject of baby backs…would you say a 2-2-1 (ish) approach is probably right?
Yes, 2-2-1 will get you started on the right foot with baby backs. As with the 3-2-1 on spare ribs, you may decide to adjust the times a little bit depending on how tender you want them to end up.
I guess a practice run wouldn’t hurt anything;-)
why do you use brown sugar? i'm worried that it will give the meat(ribs) too much of a candy flavor or hide the flavor of the rub.
When I first started smoking on my ECB I actually used the 3-2-1 method because I saw Trigg do it on Pitmasters. In fact, Pitmasters is the reason I got into smoking. I was like hey, this is awesome and I strongly believe I am capable of doing this. I am happy to read that the 3-2-1 method is your prefered way because I have read some people absolutely hate it, and as a new smoker at the time I was a little worried I was not putting out the best product. I must say, I am loving your website and forums.
I also use the Maverick. It is great as a thermometer but trying to set temp limits, alarms, and timers on it is not intuitive and a waste of time. Also, the standard probe cables are too short although longer ones are available at a cost.
I've mentioned this before, but I have been successful using heavy plastic wrap (freeze-tite) in lieu of foil on your rib and brisket recipes. It is easy to manipulate and holds up just fine at 225 degrees. It is much cheaper, and I don't feel bad throwing it away like I do with a huge piece of foil.
Keep up the good work.
I have been using your 3-2-1 method since summer, and I absolutely love it! It is so easy and so delicious. I have been named the designated "rib maker" for all future family parties. Thanks so much. I'm considering buying your rub recipe.
Denise H.
Denise, I highly recommend the rib rub receipe and also the BBQ sauce receipt. They are both fantastic!
i am wondering if there is a digital thermometer that will display the meat temp and the smokers temp at the same time.
Eric, I use the Maverick ET-732 which is a remote, dual probe, digital meat thermometer.
It has one probe for the food and one for the smoker that clips to the smoker grate right next to where the food sits.
It also has a unit that stays with the smoker and one that you carry with you into the house, on the mower, etc. and gets the signal up to 300 feet away.
It is nice to know the condition of the meat and the smoker without having to stay out there the entire time.
It retails at Amazon for about $60 and is well worth it in my opinion.