A Pair of Smoked Chuck Roasts

Smoking-Meat.com is supported by its readers. We may earn an affiliate commission at no extra cost to you if you buy through a link on this page.
Read this article without ads
This recipe will produce a pair of smoked chuck roasts with one sweet and spicy and the other.. savory only. It's a great way to serve smoked chuck roast and give your guests a choice of flavors while using the same cut of meat. I am also going to show you how using brown butcher paper to wrap the meat is better than foil.
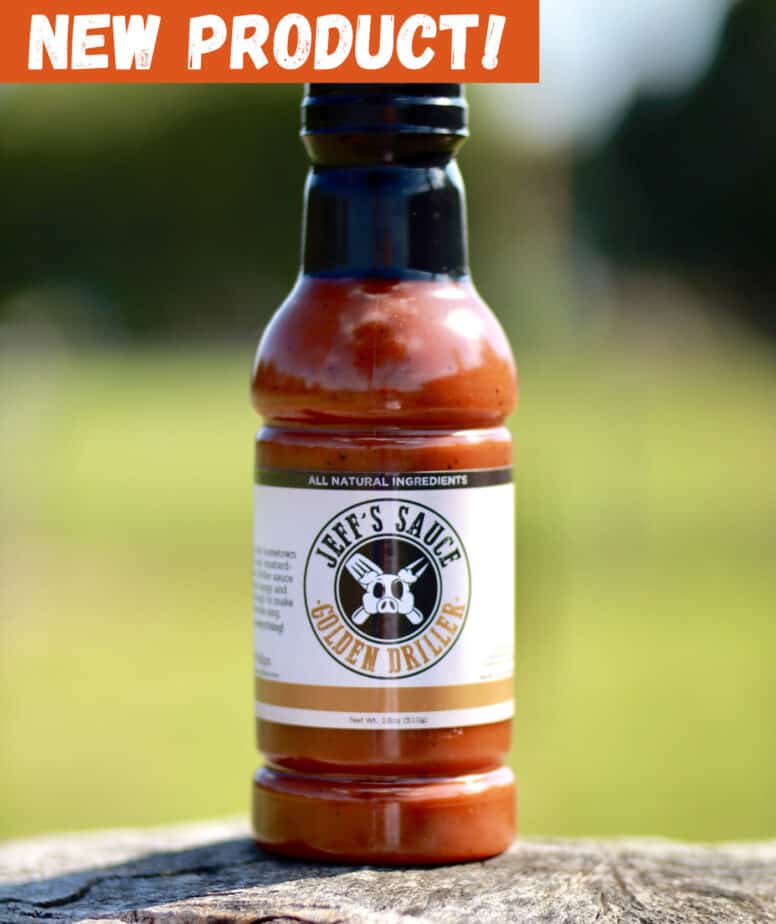
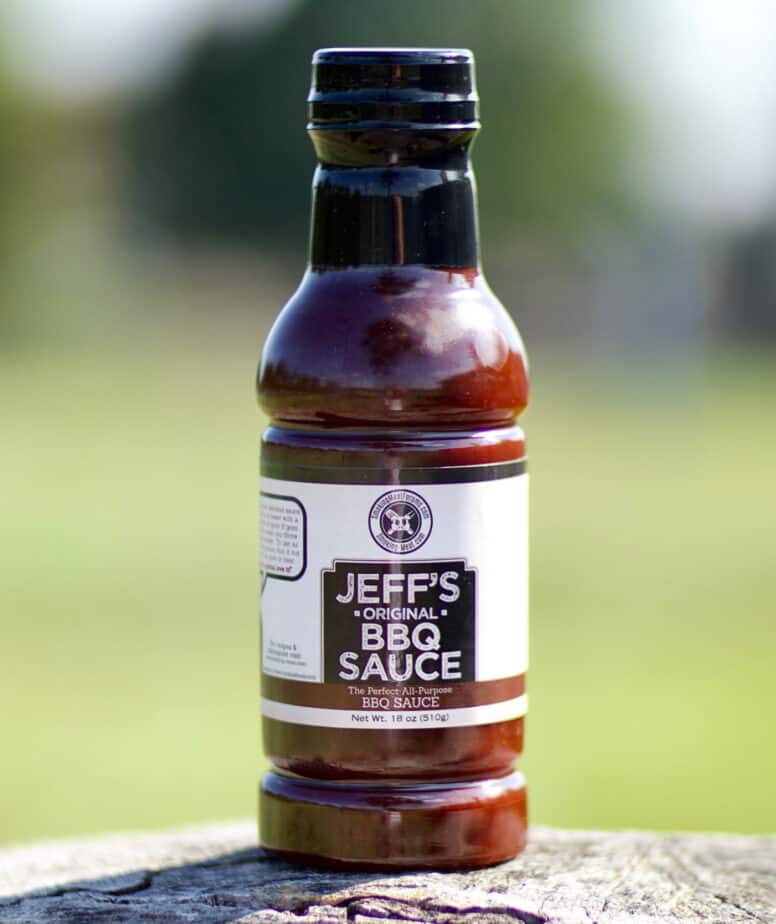
These will, of course, feature my Jeff's original rub and the one and only Jeff's Texas style rub .
- Prep Time: 35 minutes
- Brine Time: 6 hours
- Cook Time: 8 hours (approx.)
- Rest Time: 2 hours
- Smoker Temp: 225-240°F
- Meat Finish Temp: 200°F
- Recommended Wood: Pecan
- A pair of 2-3 lb roasts.
- Kosher salt (for dry brine)
- Olive oil
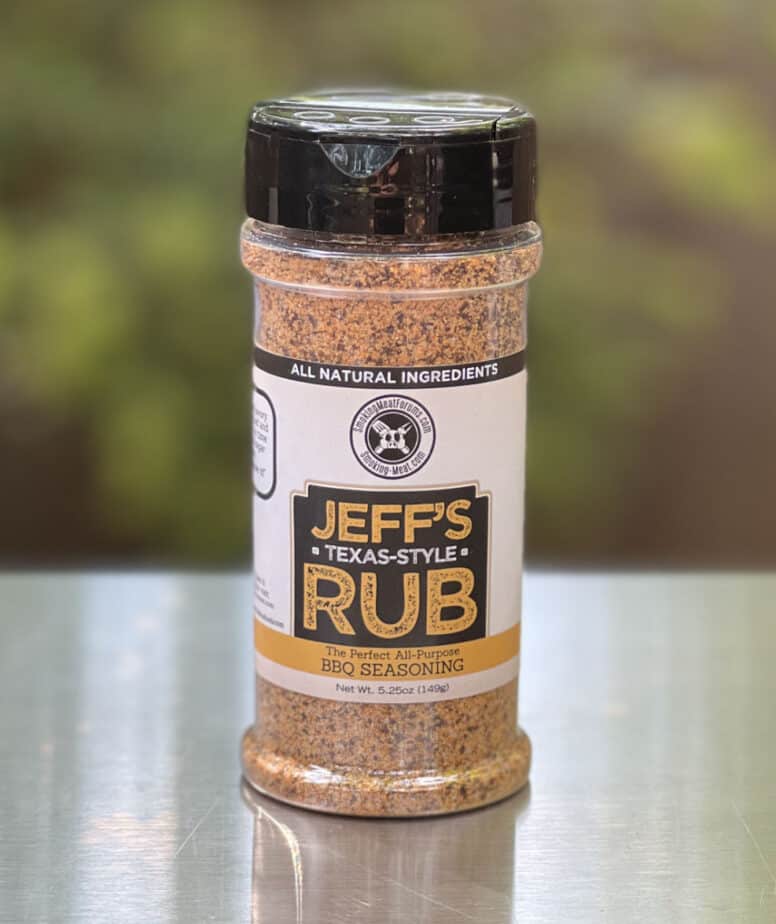
- Jeff's Texas style rub
- Mustard, Yellow
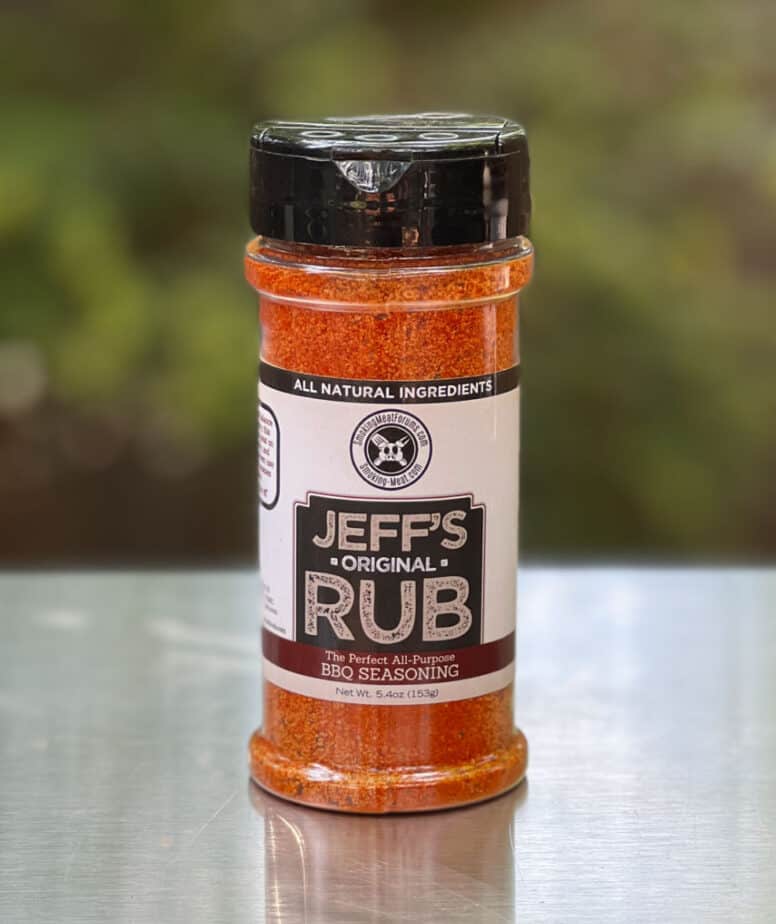
- Jeff's Original rub
- Brown or pink butcher paper, unwaxed and FDA approved (optional)
Note: This dry brining process simply seasons the inside of the meat and because it works so well, I recommend it highly. I don't like things overly salty and this creates a very well balanced, perfectly seasoned piece of meat throughout. I still use my rubs on the outside and it balances very well with the seasoning that is inside.
Place the chuck roasts on a cookie sheet or a couple of plates and sprinkle kosher salt onto the top sides. There's no specific top or bottom so whichever side is facing up will be deemed the top side.
When you dry brine, you don't want to completely cover the meat with salt but you don't want to be scared to use it either. Be generous but not too generous.
You can see the salt coverage by looking at the picture below. Most professional chefs recommend ½ teaspoon per lb of meat if you want to measure it.

Once the salt is added, set the plates uncovered into the fridge for about 2 hours.
After only about 20 minutes or so, the salt will be completely melted and the slurry that has formed on the top will begin to be drawn into the meat.
After a 2 hour dry brining process on the “top” side, we'll remove the meat from the fridge, flip it over and add the same generous portion of salt to the new side.
The 2nd side of this dry brining process can go anywhere from 4 hours to overnight. Mine was overnight so I went ahead and just placed them in a bowl with a lid. You could also just use the same plates you used for side 1.

It is usually important to use something on the meat to help the rub to stick better. The list of things that you can use is long and exhaustive but some of my favorites are olive oil and yellow mustard.
These two are exactly what we are going to use.
The olive oil works best with the Texas style rub and the mustard works great with the original rub.
Brush oil onto the top and sides of one of the chuck roasts then do the same with yellow mustard onto the other one. It is now set in stone which one will be the sweet and spicy and which one will be savory only.

Sprinkle a healthy dose of my Texas style rub onto the oiled chuck roast making sure to get the rub on the top as well as the sides of the roast.
Apply the Jeff's original rub to the mustard coated chuck roast. Once again be sure to apply it to the top and the sides.

Let the meat sit until it begins to get a “wet” look meaning the rub is absorbing some of the juices from the meat and then flip them over to apply rub to the bottom side.
Apply the Texas style rub and Jeff's original rub to the correct chuck roasts to finish the seasoning process.

They are now ready for the smoker and should be left sitting while you go get the smoker ready.
See how the rubs absorbed the juices from the meat while I was getting the smoker ready?

Setup your smoker for cooking at about 225-240°F using indirect heat and pecan wood for smoke if available. Any other smoking wood will work just fine.
If your smoker has a water pan, fill it up.
Once your smoker is up to temperature, the smoking process can begin.
Place the chuck roasts on a Bradley rack, cooling rack or a Weber grill pan if you wish to make it easier to transport the meat to and from the smoker.
You can also just set the chuck roasts right on the smoker grate.

Let them smoke cook for 4 hours or until they reach about 160°F. This time will vary depending on how thick the roasts are and how cold they are when they first go into the smoker. If you have the “Smoke” thermometer by Thermoworks, you can just set an alarm to let you know once that temperature is acquired.
At 160°F, the smoked chuck roasts can be wrapped in butcher paper to help keep them moist while they finish cooking.


So what's the big deal about wrapping in paper vs. wrapping with foil or just placing it in a foil pan?
When you wrap briskets, chuck roasts, etc. in foil, the meat ends up very moist but you can tell it's been braised. This is because of all the steaming action that happens inside the foil.. it just can't breathe.
With the paper, it is able to breathe while still holding in some of the moisture to keep it from drying out. It even lets a little smoke through and the paper does a great job of soaking up any extra grease.
With paper, the bark remains firm instead of soft and mushy like it does with foil.
Many famous barbecue restaurants use paper during the last few hours of cooking briskets and for holding them.. they do this because it works very well.
So there you have it, try using brown or pink butcher paper if you haven't and It think you'll love the results you get.
Once you get the chuck roasts wrapped in paper, poke the thermometer probe through the paper into the meat so you'll know exactly when the meat is finished.
Continue to cook the chuck roasts wrapped in the smoker until they reach about 200°F.
At this point, it is best if you can hold them in a empty ice chest or let the heat in the smoker decrease to about 150-170°F and hold them there for a couple of hours. This resting period is almost magical and does wonders for large cuts like brisket, pork butt and even chuck roasts.
Note: you can also set your oven to 170°F and let the smoked chuck roasts rest in there, still wrapped in paper and on a sheet pan of course.
See how the paper soaked up a lot of the juice. In turn it sort of self bastes during the resting period.. these babies were juicy!

After the resting period, remove them from the paper and slice the chuck roast across the grain with a very sharp knife or you can pull/chop the meat for pulled beef sandwiches.


Mine was literally fall-apart tender which is what I wanted and the flavor was absolutely incredible.. I was literally salivating while I took the pictures.
Be sure to let me know whether you liked the Texas style or the original sweet and spicy best. I think I preferred the original over the Texas style on these but it's a very close call.


Delicious!

Smoking a Pair of Chuck Roasts
Ingredients
- A pair of 2-3 lb roasts.
- Kosher salt (for dry brine)
- Olive oil
- Jeff's Texas style rub
- Mustard (Yellow)
- Jeff's Original rub
- Brown or pink butcher paper (unwaxed and FDA approved (foil can be used if you do not have butcher paper)
Instructions
- Place the two chuck roasts on a plate or other container and evenly sprinkle about a teaspoon of kosher salt on the top of each.
- Place the roasts in the fridge for two hours.
- Remove the roasts from the fridge, flip them over and apply salt in the same manner to the other side.
- Place the chuck roasts back into the fridge for 4 hours to finish the dry brining process. No rinsing required.
- Apply a layer of mustard to one of the chuck roasts and then a generous application of Jeff's original rub (top, bottom and sides).
- Apply a coat of olive oil to one of the chuck roasts and then a generous application of Jeff's Texas style rub (top, bottom and sides).
- Place the roasts into a smoker preheated to 225-240°F and smoke cook with pecan wood until the meat has reached an internal temperature of 160°F.
- Wrap the roasts in brown butcher paper and place them back into the smoker to continue cooking until they reach a finished temperature of 195-200°F.
- Let the meat rest for 2 hours, still wrapped, in an empty cooler or an oven/smoker heated to about 170°F.
- When the resting period is over, the meat can be unwrapped and sliced, pulled or chopped depending on how you want to serve it to your guests.
Does it matter if you spritz?
Can the roasts be finished in a crock pot rather than an oven, and if so, is it still best to wrap them in the butcher paper?
I have made this recipe a few times and used parchment paper instead of butcher/craft paper. The roasts have turned out great every time.
Have been wanting to do a brisket, just too big for the two of us. When i saw this it looked great so i tried it today. i wrapped at 162 with butcher paper. put it in a cooler at 200. Cut into it an hr later it was very tasty somewhat tender, but pretty dry. any thoughts ? Along with this i did 3 racks of ribs. they came out perfect !!
Temp was constant at 225-35.
I anyways wrap my meat in old towels and stuff into small cooler fo a couple of hours. Towels really help hold the heat.
I only could find butcher paper that had that glossy look on one side..will this work or no
That will not work unfortunately.. the glossy stuff is a coating that keeps the paper from “breathing”. Try searching for pink butcher paper or pink kraft paper on Amazon. That’s where I found mine.
Have done beef chuck roasts in the past and nudged them to the 200F range, but without the pink butcher paper. Seemed even at low smoker temp they could easily be dry and tough. After seeing the Franklin videos, its use at a smoker shop class and your recipes, I just had to get some of the butcher paper over the winter and give it a try this season.
Incredible results with the paper. Even with smoker set at 225F, the chuck roasts got to the 160F mark relatively quickly. Wrapped them and could tell the temp climb had slowed. But the paper began to gloss up with the juice from the fat breaking down. At 200F, took them off the smoker and into a 170F oven for 90 min to let them rest.
When unwrapped to slice for dinner, they were just the most incredibly juicy roasts ever. Thanks!
I purchased your rub and sauce RECIPES a while back and enjoy them a lot. Also enjoy the weekly news letters. Looking at the Related smoking recipes I seen…Smoked Corn Beef Brisket for St Pattys Day….
Now wouldn’t that be Pastrami??
Yes sir!
Can one use a plain brown paper bag like used for groceries? Would any ink print on the paper bag be detrimental to the meat during wrapped stage of cooking?
Any issues with using parchment paper instead of kraft?
Parchment paper will not give the same result as it is coated. The Kraft paper allows the meat to breathe while still holding in some of the moisture so the meat can tenderize and stay moist.
Tried it yesterday. It was great tasting, juicy and had a nice bark. Used a kraft paper bag to wrap and it worked well.
I had something come up and can’t smoke the roasts until the following day. Will an extra day of dry brining hurt?
Tom, It should be fine.
do you rinse the brine salt off of the meat before you add your coating (Mustard) and rub?
The salt is minimal and most of it gets drawn back into the meat.. rinsing is not necessary.
do you have to clean the meat with water after the dry brine?
The salt is minimal and most of it gets drawn back into the meat.. rinsing is not necessary.
Great idea on the butcher paper. I don’t like foil for other reasons, like health. I have recently begun using sriracha instead of mustard as a rub base. What a great flavor!!
Sriracha sounds great!