Smoked Christmas Chickens

Smoking-Meat.com is supported by its readers. We may earn an affiliate commission at no extra cost to you if you buy through a link on this page.
Read this article without ads
These smoked cornish hens are spatchcocked (butterflied), dry brined overnight, coated with a special mayo, herb & rub mixture and then smoked until they are juicy, tender and delicious! Might be the best chicken I've had in a while and if you are looking for something to cook for your Christmas guests that will surprise and delight without breaking the bank.. this is for you!
- Hands-on Prep Time: 25 minutes
- Dry Brine Time: 8-16 hours
- Cook Time: 1 hour 10 minutes
- Smoker Temp: 250-275°F
- Meat Finish Temp: 165°F
- Recommended Wood: Pecan and hickory
- 4 to 6 cornish hens (or 1 for each person eating)
- Kosher salt
- Mayonnaise
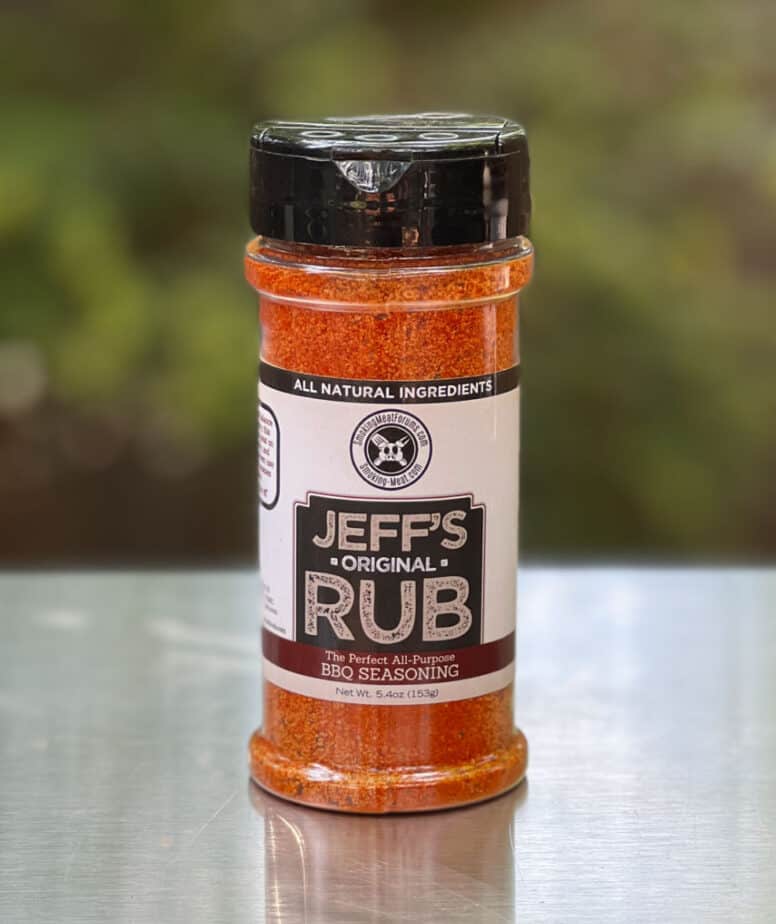
- Jeff's original rub
- Parsley
- Thyme
- 1 stick (¼ lb) butter
Often these cornish hens are found in the freezer section of your local grocery store and they are frozen solid. You can purchase these early and place them in the fridge for a day or two to thaw completely but there's a quick way to do it as well.
Quick Way to Thaw Cornish Hens
Clean the sink with soap and warm water.. just a great thing to do before you cook to make sure nothing bad is transferred into food that you will later eat.
Place the frozen chickens in the sink and run it full of cold water.

Set a time for 30 minutes and when it goes off, let the water drain and fill it with cold water again.
Repeat the drain and refill about 4-6 times until you are sure that they are thawed all the way.
Remove the plastic wrapper from the chickens and discard.

Use a pair of kitchen shears to cut along both sides of the backbone from neck to tail. By removing the backbone, you'll be able to open the chickens up like a book and they will cook faster, more evenly and their even easier to serve and eat that way. A great choice all the way around.

I like to snip the front edge of the keel bone but you don't have to do this. I think it opens up a little better that way but that could very possibly be my imagination ;-)

You can see the small cut I made in the image below:

Lay the opened up chickens skin side down on a large pan as you process them.

I know exactly what some of you are thinking and wanting to ask.. why dry brine these instead of wet brine them like I usually recommend?
Well, great question actually! The more I learn about dry brining and the more I do it, the more I think it's a superior method to the wet brining method.
All I know is, I was skeptical of the salt making it though the skin and into the meat before I started experimenting with this, but I'm a believer now. I have been amazed at the success and how much easier it is and less messy.
There's another very good reason for dry brining poultry. The skin of poultry often turns out underwhelming in the smoker due to the lower heat. Often it's even described as being “rubbery”.
One of the ways that I have found to combat this is to dry the skin in the fridge for several hours after wet brining it which helps it to end with a better “bite-through”.
By dry brining it, the skin is not getting water logged and once the moisture comes to the surface mixes with the salt and is drawn back into the meat, the skin begins to dry and tighten up in the fridge. By the next day when you are ready to season and smoke the chicken, the skin is very dry and tends to end up with a a superior “bite-through” than it does with wet brining and then a few hours of drying.
I highly recommend you try this method and you'll see for yourself that it not only works but that it works very well.
The process
To cover all of our bases, I like to dry brine both sides of the chicken. For that reason, I had you lay the chickens skin side down in a large pan when you butterflied them earlier.
Sprinkle about a third teaspoon on the cavity side of the chicken (non-skin side). Place it in the fridge for about an hour. Just long enough for the liquid to come to the surface, dissolve the salt and then seep back into the meat.


After 1 hour, remove the pan of chicken from the fridge and turn the chickens over to skin side up. This is the where the chicken will stay until they are finished cooking.
Sprinkle about ¾ to 1 teaspoon of coarse kosher salt on the legs, wings, and breast of the chicken.. right on the skin. The skin should be tacky and just slightly sticky so the salt should adhere just fine for our purposes.


Place the pan of chicken back in the fridge and leave it there for at least 8 hours but 12-16 hours is better and gives the skin more time to dry and tighten up.
You can see the visible difference in the skin in the pictures below after more than 16 hours in the fridge uncovered.. tighter, dryer skin.


Note: There is no need to rinse the salt from these.
When you are ready to start cooking the chicken, mix up the mayonnaise, original rub and herbs that we will apply to the skin of the chicken just before cooking it.
Place 1 cup of mayonnaise in a small bowl. Add 4 heaping tablespoons of my original rub , 2 tablespoons of chopped parsley, and 1 tablespoon of thyme. Mix together well.
Mayo is basically oil and egg so it works great as a delivery vehicle for the rub and herbs.
Apply equal amounts of this mixture to each chicken. I used a little more than a tablespoon on each of my (8) chickens that I did. If you are doing fewer chickens, you'll have more for each one and may even have a little left over.

Rub it all over the legs, up under the wings and all over the top and sides of the chickens.

Leave the chickens be while you go get the smoker ready.
Set up your smoker for cooking at 250-275°F if possible. Some smokers have a hard time cooking this hot, and if that's the case with yours, it's ok. It will just take a little longer for the chicken to get finished.
I recommend leaving the water pan dry for these. The skin will do a great job of keeping the chicken moist but we want to create a dry environment so the skin can end up edible.
I used pecan along with equal amounts of hickory for the smoke. This is a great combination for these but if you want to use something different it's ok.
Place the chickens directly on the grate or you can use a Weber grill pan or Bradley rack to make it easier to carry the meat to and from the smoker.

Maintain about 250-275°F for 45 minutes or an hour or until a digital meat thermometer inserted in the thickest part of the breast reads about 150°F.
I used the “Smoke” by Thermoworks to monitor the temperature of these chickens.

At this point we will baste the chickens with a butter mixture before finishing them up and brining them up to their final temperature.
Melt a stick (¼ lb) of butter and mix in a tablespoon of my original rub . Brush the top of the chicken with this and let it continue to cook for another 12-15 degrees.
When a thermometer such as the “Smoke” inserted into the thickest part of the breast reads 162°F, it's time to remove the chicken from the smoker. It will continue to cook for a few minutes once it's removed bringing the chicken up to a perfect 165°F.
If you checked the legs, they will most likely read at least 165°F or higher. This is ok since the leg meat contains more fat and can handle and even benefit from the higher temperatures.

Dole out the smoked cornish hens (1) per person and let the feasting commence!
Note: Be sure to tell your guests that the chicken is pre-salted and they should taste the chicken before salting or seasoning it further. Most of you will find that it is perfectly seasoned from the dry brining and my original rub.

Smoked Christmas Chickens
Ingredients
- 4 to 6 cornish hens (or 1 for each person eating)
- Kosher salt
- Mayonnaise
- Jeff's original rub
- Parsley
- Thyme
- 1 stick (¼ lb butter)
Instructions
- Thaw the cornish hens in the fridge for 1-2 days or in a sink of cold water, changing the water every 30 minutes until they are completely thawed.
- Cut along both sides of the backbone to to remove the backbone and open up the chickens like a book.
- To dry brine the chickens, sprinkle about ½ teaspoon of kosher salt on the inside cavity of the birds and place them in the fridge for one hour.
- Remove from the fridge and flip over to skin side up. Sprinkle with about ¾ to 1 teaspoon of coarse kosher salt and place back into the fridge overnight or for 8-16 hours.
- There is no need to rinse the chickens after dry brining.
- Make a mayo/rub/herb mixture by mixing (1) cup of mayonnaise, (4) heaping TBS of Jeff's original rub, (2) TBS chopped parsley and (1) TBS chopped thyme.
- Place equal portions or a heaping TBS of the mixture onto the chicken and spread it all over the top and sides with your hands.
- The chicken is now ready to cook.
- Set up your smoker for cooking at 250-275°F and once it's ready, place the chicken directly on the grates, skin side up.
- Cook for approximately 1 hour or until it reaches 165°F in the thickest part of the breast.
- About 10 minutes before the chicken is finished cooking, mix 1 TBS of Jeff's original rub into a stick (¼ lb) of melted butter and brush that onto the tops of the chicken.
- Once the chicken is finished cooking, remove it from the smoker and serve immediately.
Very easy to do great flavor totally enjoyed the wings
Jeff, I have been a member for quite awhile, and have enjoyed it since day one. When you include a video with a recipe, I don’t get any sound at all. Am I missing something?
Are you able to hear other youtube videos on other websites ok?
I tried the Smoked Christmas Chicken recipe for dinner with a few friends earlier this week and it was a resounding success. So successful that the wife and I are having other friends over and I’m smoking the game hens the same way again.
I altered the recipe and method slightly to fit our needs. After I spatchcocked the hens I split each in two so each person had half a bird instead of the entire bird. I didn’t measure any of the ingredients for the mayo-rub; I just mixed the mayo, Jeff’s rub mix and herbs until the color looked good to me. I set me Masterbuilt Electric Smoker to about 250 degrees F and once the birds reached 150 degrees F I placed them in a gas BBQ and finish cooking using indirect heat. This also gave me time to grill some vegetables directly over the burners. I did not baste the birds with any butter as there did not seem to be a need.
As Jeff says, the dry brine method produces dryer skin and by finishing the birds on the grill the skin, and the hens, turned out great. I’m adding this to my list of great recipes.
The skin will be more bite thru if these are laid skin side down.
I tried this on last weekend. Hey Jeff well i am from Houston, Texas i bought a chicken from a local supplier NorthBourne Foods. Smoked meat beef/chicken is always my favorite i used lots of butter is it ok or should i use something else. Please suggest me.
Thanks
Bryan
Just did these…simply amazing!
Something I don’t recall you or any other smoking web site mention ( I do like yours best, it is usually short and to the point) is putting a rub under the skin of the chicken or turkey.I do it all the time. I do the same to thighs. Legs are a bit harder so I leave them alone. We both know the seasoning will have a tough time penetrating the skin. This way the seasoning is on the meat and can dig in there a little better. For those of us who don’t eat the skin due to high fat content the meat has the flavor on it.
Any comments about this method? Good or bad. I’m flexible
Thanks
Glenn
Glenn, I have mentioned this a time or two over the year especially on turkey. It’s not something I always do with chicken but I do agree that getting that seasoning up against the meat is a good thing.
Did a couple of cornish hens today on my new Camp Chef Woodwind Pellet Grill and they came out WONDERFUL! Set at 275* and they took about 1.5 hours to reach 165*. Outside temp was in the mid 30’s with relatively no wind. Did the dry brine and they were very juicy.
If using thawed meat from the freezer can it be re frozen once smoked?
Yes it can.
I made these last weekend. Yowza! Visually stunning and tasted amazing! Juicy and smoky and tender. Thanks Jeff!
What smoker are you using in this email for smoking Smoked Christmas Chickens received by me 12/7/17. thanks
Meadow Creek TS120P Reverse Flow with Insulated Firebox