Smoked Beer Can Chicken
Smoking-Meat.com is supported by its readers. We may earn an affiliate commission at no extra cost to you if you buy through a link on this page.
Read this article without ads
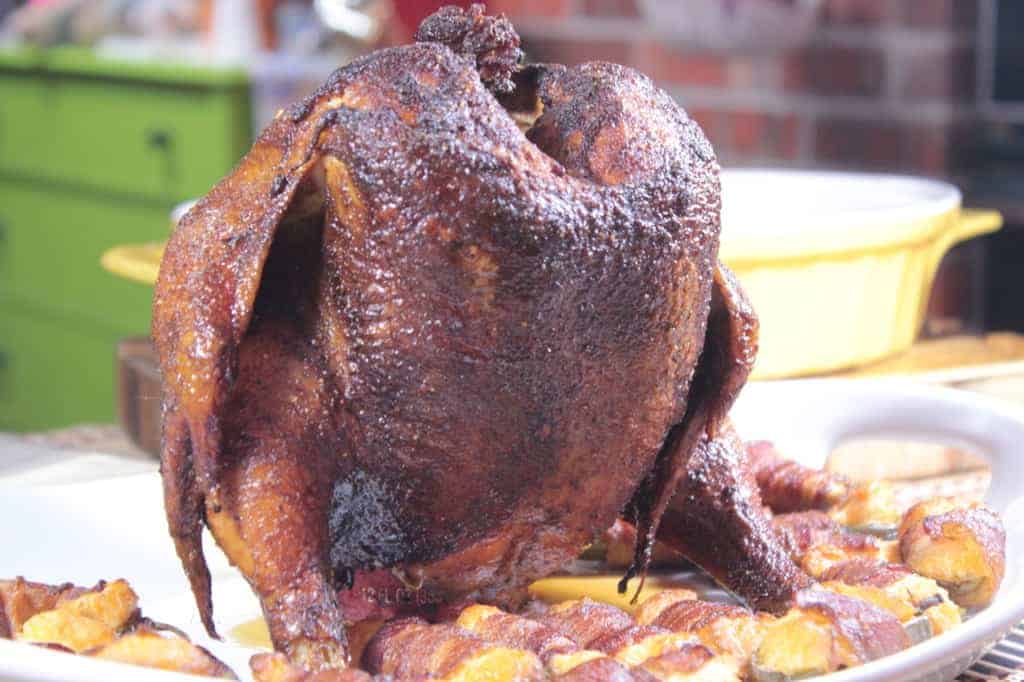
Smoked beer can chicken is a play on a classic recipe usually done on the grill but it does equally well, if not better, on the smoker and begs the question, why not!
For those of you not familiar with this method of cooking chicken, a beer can half full of beer (or root beer, Dr. Pepper, etc.) is inserted into the cavity of the chicken in such a way so as to help it to stand on end with the two legs out in front keeping it stable.
The steam from the liquid is believed by many to add moisture and flavor to the meat while it cooks.
Others will tell you that it does nothing that could not be accomplished by brining.
Regardless of who you choose to listen to, it is a method worth trying for yourself and you may find (like so many others have) that it is a memorable experience and that it tends to please the folks who are eating at your table and your tailgate.
I, for one, am a big fan if for no other reason than it's a really cool way to cook chicken and I just like smoked chicken, no matter the method.
- Prep Time: 20 minutes
- Cook Time: 3 hours 30 minutes
- Smoker Temp: 230°F
- Meat Finish Temp: 165°F
- Recommended Wood: Hickory
- 1 whole chicken
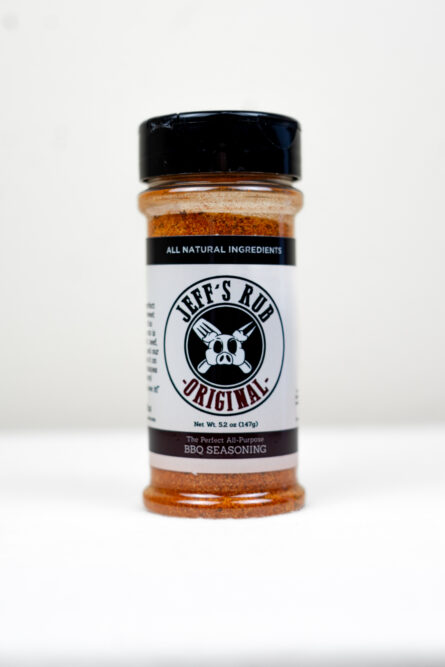
- Jeff's original rub
- 12 oz can of beer (or root beer, Dr. Pepper, etc.)
- Extra virgin olive oil
Remove the neck, giblets and anything else that got stuffed into the cavity.
I did not brine this chicken but it's always a great idea if you are so inclined.
To brine:
Make a gallon of brine using the following recipe:
- 1 gallon of cold water
- 1 cup of kosher salt
- 1 cup of brown sugar (optional)
Stir the salt/sugar into the cold water until the ingredients are dissolved.
Place the chicken into a non-reactive container (plastic, glass or stainless steel) and pour the brine over the chicken to cover.
Note: if you need more brine, just double the recipe above.
Cover the container with the chicken/brine and place it in the fridge for at least 4 hours but overnight (8 to 12 hours) is better.
Once the brining process is complete, rinse the chicken under cold water to remove any residual salt and pat dry with a paper towel.
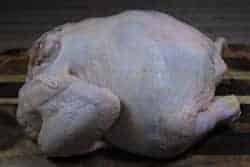
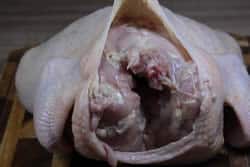
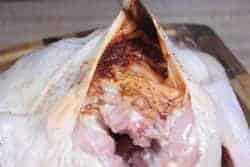
The main event in getting the chicken ready is in getting the original rub* up under the skin and this is not nearly as hard as it might seem.
*Purchase formula here | Purchase bottled rub
Use your hands or even a spoon between the skin and the meat on the back and the breast to separate it being careful not to tear it.
Once it is separated, set the chicken straight up on one end and pour several tablespoons of my original rub* down into each side of the breast and back.
*Purchase formula here | Purchase bottled rub
Massage the outside of the skin to spread it out a little for full coverage.
Once the rub is applied, the next step is to open a can of beer or some other liquid and make about half of it disappear by whatever method you choose to employee. (I used root beer on this one but some folks swear by using Dr. Pepper as well.)
Place 2 TBS of my original rub* down into the can of liquid. Add slowly or it will cause a volcano!
*Purchase formula here | Purchase bottled rub
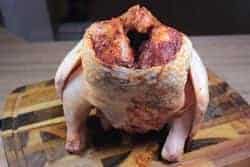
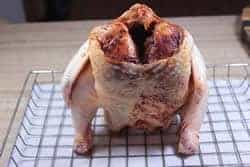
Set the can on the cabinet or cutting board and slowly place the cavity of the chicken over the can with the legs and the can acting as a tripod.
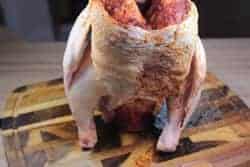
I used a Bradley rack to keep things more stable while carrying it out to the smoker.
At this point the chicken is ready for the smoker.
I used the Bradley smoker for this smoked beer can chicken but any smoker will work as long as you maintain the temperature and add plenty of smoke to it.
Set up your smoker for cooking at about 230-250°F. If you have a water pan be sure to use it and I recommend at least 2 hours of smoke if you are using an electric, charcoal or gas smoker.
Once the smoker is maintaining a steady temperature, it is ready for the chicken to go on.
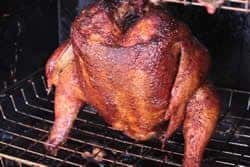
Place the beer can chicken on the smoker grate very carefully making sure it is stable.
Maintain 230-250°F for about 3 hours and 30 minutes or until the chicken reaches 165°F in the thickest part of the breast or thigh.
Use a good digital remote meat thermometer such as the “Smoke” by ThermoWorks or a Super-fast Thermapen Mk4 to keep an eye on the temperature of the chicken. When it reaches 145°F, you will want to baste it with a oil/rub mixture.
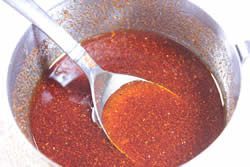
Olive Oil/Rub Mixture
- 3/4 cup of olive oil
- 2 TBS of my original rub
Mop onto the chicken a couple of times before it finishes to add some good flavor and color to the outside of the chicken.
The chicken is finished when it reaches 165°F in the thickest part of the thigh and breast. If you want to, you can remove the chicken about 5 degrees early since carryover cooking will bring it on up to the proper temperature while it rests. I often remove the chicken from the smoker at 160°F and by the time it's ready to serve, it will have reached the safe temperature of 165°F.
A few words about a couple of my favorite thermometers..
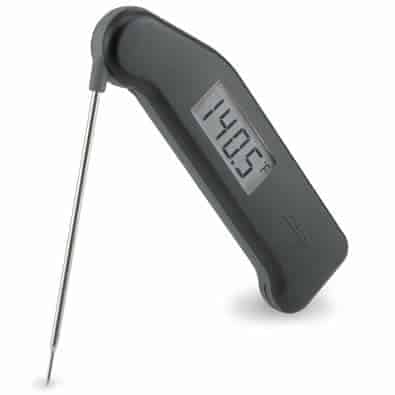
I consistently get 1-2 second readings on mine and I have dubbed it the “black ninja” concluding that it slips into the meat, records the temperature and gets out before the meat even knew it was there.
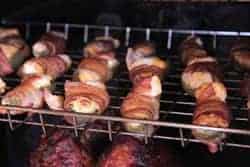
I made cream cheese/cheddar stuffed jalapeno's wrapped in bacon and Dutch's Wicked Baked Beans to go with the chicken and it was a wonderful ensemble!
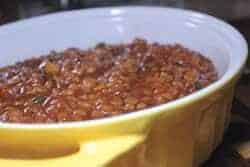
Dutch's wicked baked beans is a recipe from my Smoking Meat book and can also be found at smokingmeatforums.com. This is the most amazing baked bean recipe in the world. If it tells you anything, I don't eat baked beans and never have.. but I eat these.
These amazing beans contain ample amounts of pineapple, bacon and jalapeño and are smoked right along with the chicken for about 3 hours.
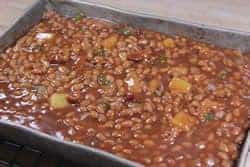
I wrote about the stuffed jalapeño peppers in a newsletter HERE.
The only difference I made was in how I wrapped the bacon.. I usually wrap it lengthwise around the pepper and this time I wrapped it widthwise to help hold in the cheese. This also eliminated the need for toothpicks.
Smoked for 3 hours, they are one of my favorite smoked appetizers of all time.

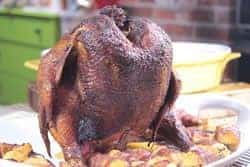
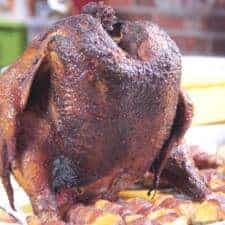
Everything together and ready to eat.. let's carve it up and get started!
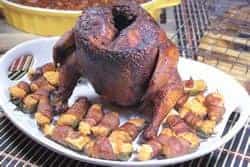
Smoked Beer Can Chicken
Ingredients
- 1 Each Chicken (Whole)
- 6 TBS Jeff's original rub
- 12 Ounce Beer (Root beer or Dr Pepper)
- ¾ Cup Olive or vegetable oil
Instructions
- Remove giblets, neck, etc from cavity of chicken
- Brine chicken if desired using 1 gallon of water, 1 cup of kosher salt and 1 cup of brown sugar mixed well until ingredients are dissolved. Pour brine over chicken to cover and into fridge for at least 4 hours (8-12 hours is better)
- Use hands to carefully separate skin from body of chicken wherever possible and apply rub under skin.
- Open a can of beer, root beer or Dr Pepper and dispose/drink half of it. Insert about 2 TBS of original rub into can of liquid.
- Place cavity of chicken onto cans using the legs as props to hold it up.
- Prepare smoker for cooking at 230-250°F with indirect heat and several chunks of hickory wood to keep the smoke flowing for at least 2 hours.
- Place the chicken in the smoker and let it cook for about 3.5 hours or until the thickest part of the thigh and/or breast reaches 165°F.
- While the chicken cooks, mix ¾ cup olive/vegetable oil + 2 TBS of original rub and mop this mixture onto the outside of the chicken 2 to 3 times during the last hour.
- Let the chicken rest for about 15 minutes before carving. Enjoy!


Great recipe 👌
Skin still was rubbery but the meat kicked butt. I even put in the broiler for a few minutes to get a better bark . Next an hours smoke and 350°
Ya know Jeff I love this website. There is a lot of cooking getting done in my family with your receipts. But there is something that drives me nuts about this well built web site. The most recent testimonial that you have going in the back groundbreaking of different sizes and this causes the pages to jump badly. Sometimes I can loose a whole page and then some of it will come back and som won’t
Has anyone tried brining the chicken before using the beer can method?
I did for 2.5 hrs turned out nice and juicy and the root beer was a killer idea. Skin still sux though.
I was turned onto your site over the Memorial day weekend. My buddy told me that I had to give this websites recipes a shot. I had a whole chicken that I was going to make RootBEER can chicken and decided to smoke it. Along with the chicken, I smoked the Bacon Wrapped Hot Links recipe as well. Man may I just say that the love in the room was never ending. I almost gave up smoking because of the lack of “Good” information on the web. Thank you for renewing my joy.
When youre making beer butt chicken, if you shove a small potatoe half in the opening and then use toothpicks to pull the skin up and close it off, it holds all the flavor in and makes those little birds even better! Love the site
1/2 pound of bacon stuffed in neck and cred on back is sooo much tastier!
Caped,not cred (darned spellcheck)
how do you get chicken skin crispy? I have done a few whole chickens. Yesterday at 160*, I brushed butter on the entire chicken and cranked my smoker up to 475*. The skin did not get crispy and it dried the meat out. what do you suggest? I noticed on your beer chicken, you base it with olive oil at 145*. did that give you a crisp finish?
Mary, it is very difficult to get crispy skin in the smoker. I usually shoot for good bite thru rather than crispy.
Many people have tricks such as rubbing mayonnaise on the skin, oiling the skin, letting the skin air dry before smoking it, just to name a few but none of these will give you skin (in my experience) that would be considered crispy.
If you are really keen on crispy skin, you can possibly smoke the chicken for a while then perhaps drop the chicken into some hot oil for a minute or so to crisp the skin. I often place chicken on a very hot grill or under the broiler for a few minutes but it does not do as much to the skin as you might want.
Cue Glue for crispy skin
When smoking the chicken for that long the skin turns into leather. I can’t bare to ruin the tastiest part. What am I doing wrong? Thanks for any help.
I was just wondering how this would be if I cooked the chicken the day before my big meal
Nice! I did this back on the 4th of July. Was right after I got my CharGriller Duo 5050 and was actually the first thing I had ever smoked. I've been addicted to smoking ever since! Love your blog and newsletter!