Sliced Pork Butt Sliders with Campfire Sauce
Smoking-Meat.com is supported by its readers. We may earn an affiliate commission at no extra cost to you if you buy through a link on this page.
Read this article without ads
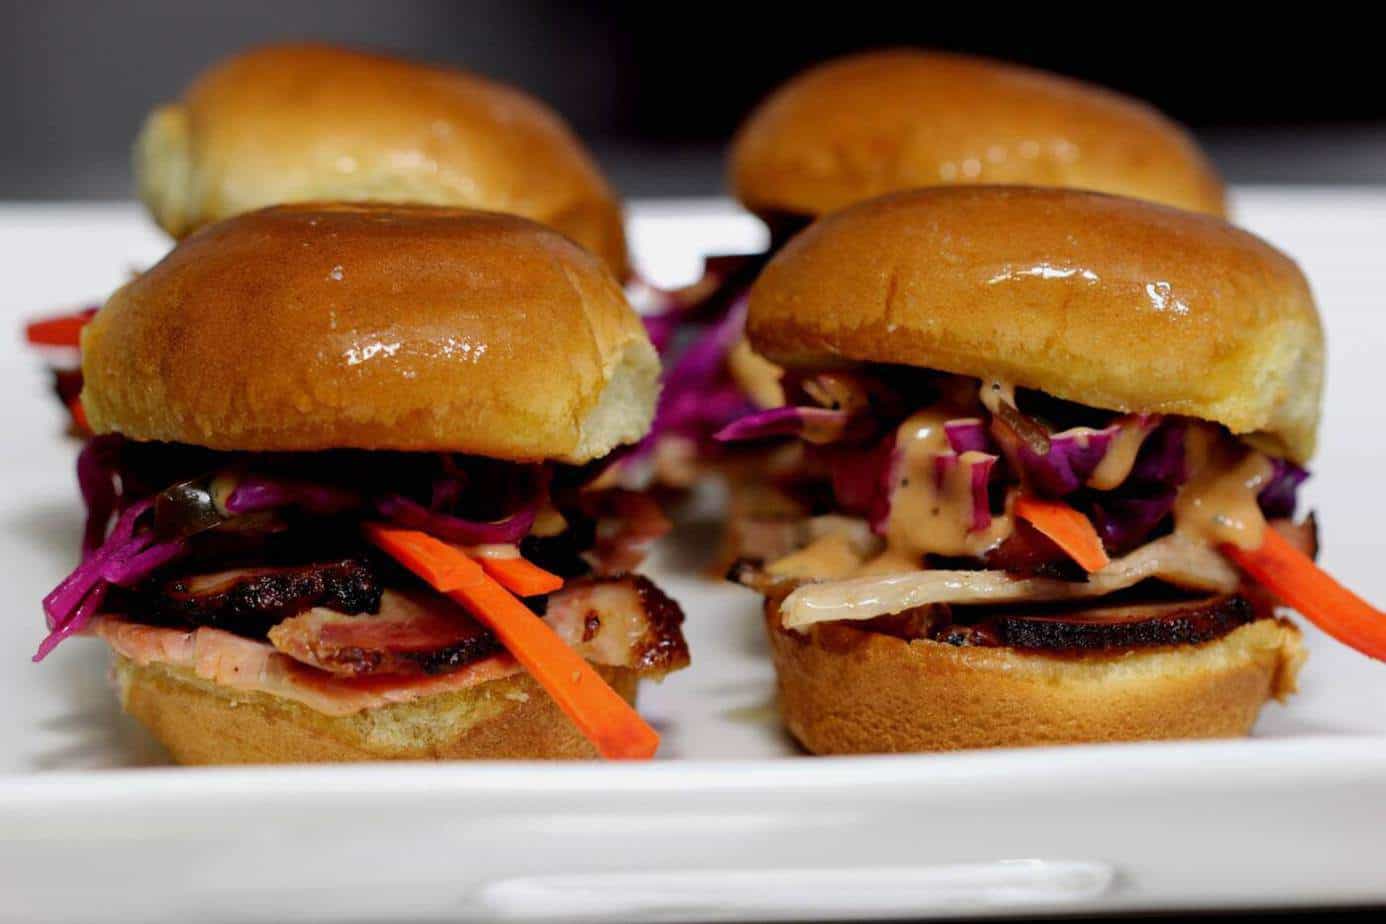
It occurred to me a while back that every time we do a pork butt, it's always pulled and while that's an amazing way to serve smoked pork butt, it's equally good sliced.
In this recipe, we are going to smoke a pork butt until it's just starting to get tender and then we'll slice it up and make some of the best sliders you ever ate. While we're at it, I'll show you my campfire sauce recipe (don't tell anyone that it's just mayo and your favorite barbecue sauce).
- Prep Time: 15 minutes
- Cook Time: 8 hours
- Smoker Temp: 250°F (121°C)
- Meat Finish Temp: 175°F (79°C)
- Recommended Wood: Cherry + Apple
- 6-9 lb pork butt, boneless (also called Boston butt)
- Yellow mustard
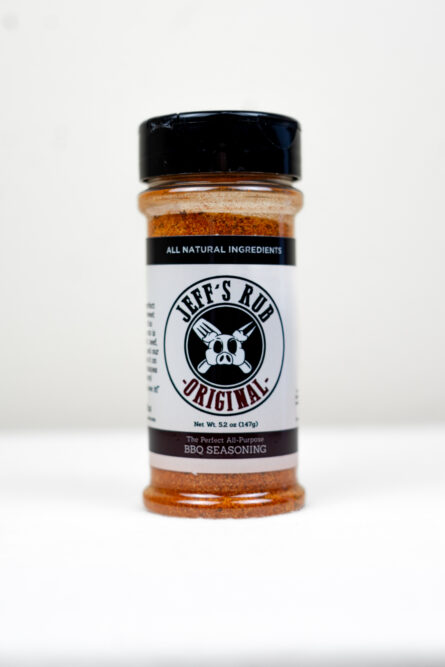
- Jeff's original rub (Purchase formulas | Purchase bottled product)
- Slider buns (I use Hawaiian sweet rolls)
- ½ stick butter, softened
- Jeff's campfire sauce (recipe below)
- Slaw, colorful slaw is best but your favorite will work just fine
- Electric slicer or very sharp knife
Did you know? You can order the MASTER FORMULAS which allow you to make Jeff's original rubs and original barbecue sauce at home using your own ingredients! Order the Recipes
I recommend purchasing a boneless pork butt however, if you get home with a bone-in pork butt like I did, you can remove the bone. I'm not the right person to teach “butchering” but as long as you have a sharp knife, you can follow the shape of the bone and keep working at it until it is separated from the meat. Watch your fingers!
I guess the other option is to cook it with the bone intact and then remove it once the meat is cooked however, since we are not cooking this pork butt as long as we normally would for pulled pork, I am not sure how easily it will come out after the meat is cooked + it will be very, very hot!
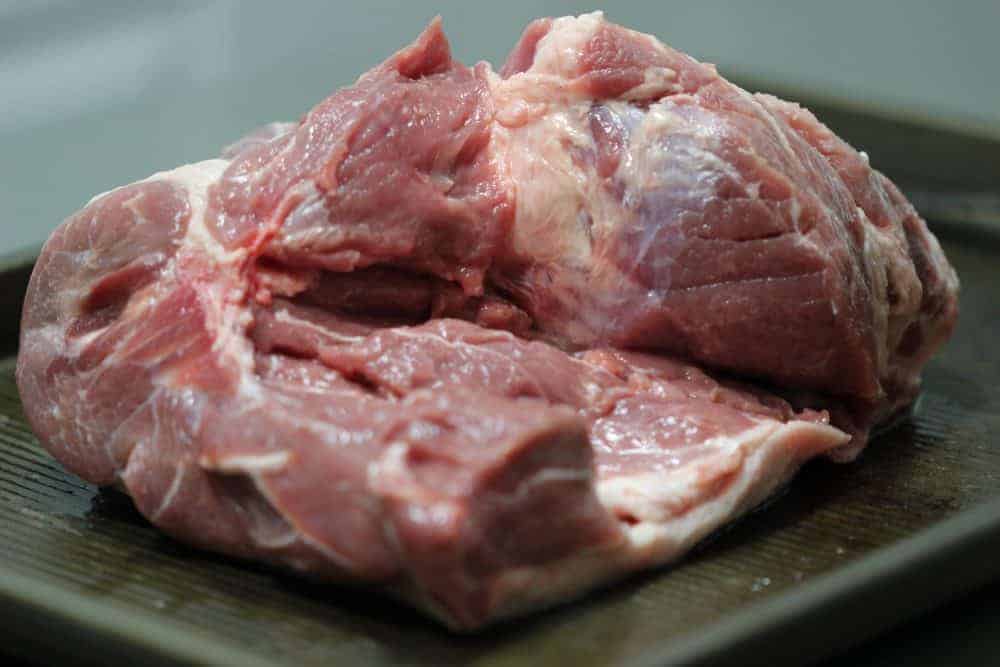
Here is my pork butt, bone removed
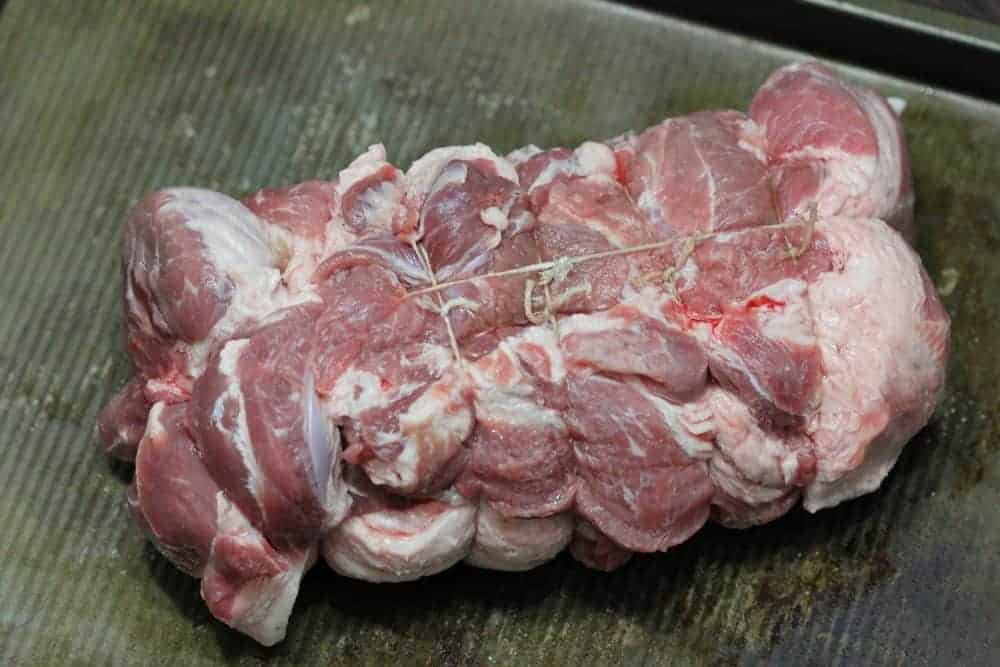
Now since we are planning to slice this thing, I want it to have a nice round shape and this will require a little string around it to hold everything in place.
I cut five pieces about 2-feet long and one piece about 3-feet long.
The shorter pieces I wrapped around the pork butt one by one, cinching it tight and tying a simple square knot to secure it. I did these about every two inches or so along the length of the roast. To get them even just tie one on each end, one in the middle and then one on each side of the middle halfway between middle and the end strings.
I then tied the long string from end to end across all of the other strings.
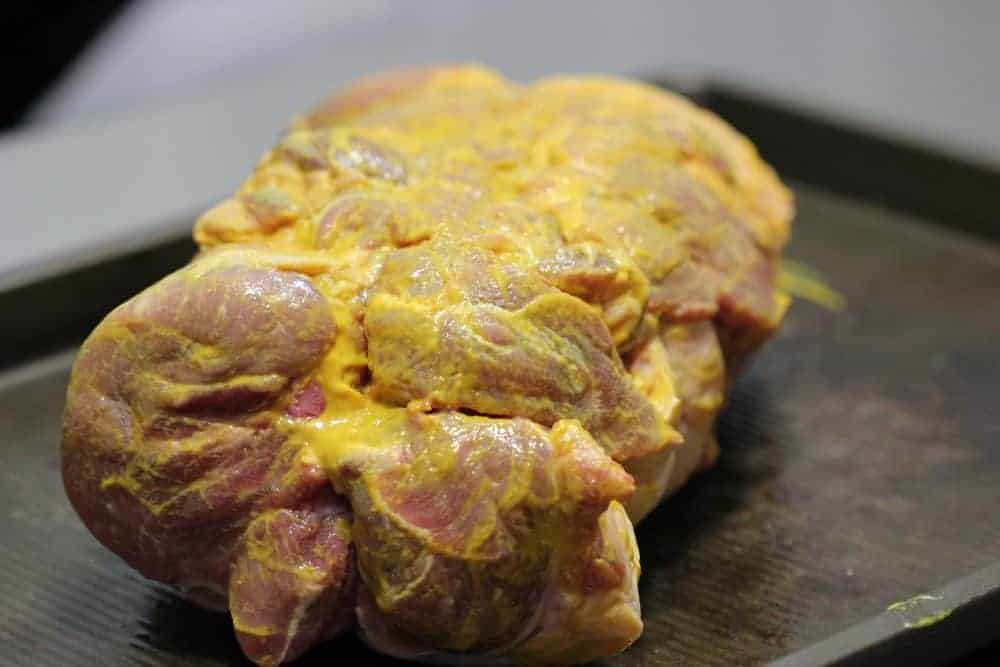
A little mustard all over to help the rub to stick is just what the doctor ordered
And of course, a good thick coat of Jeff's original rub (Purchase formulas | Purchase bottled product). This is a big hunk of meat and it can handle a lot of flavor as long as there's not a lot of salt. Fortunately, my original rub is very low in salt.
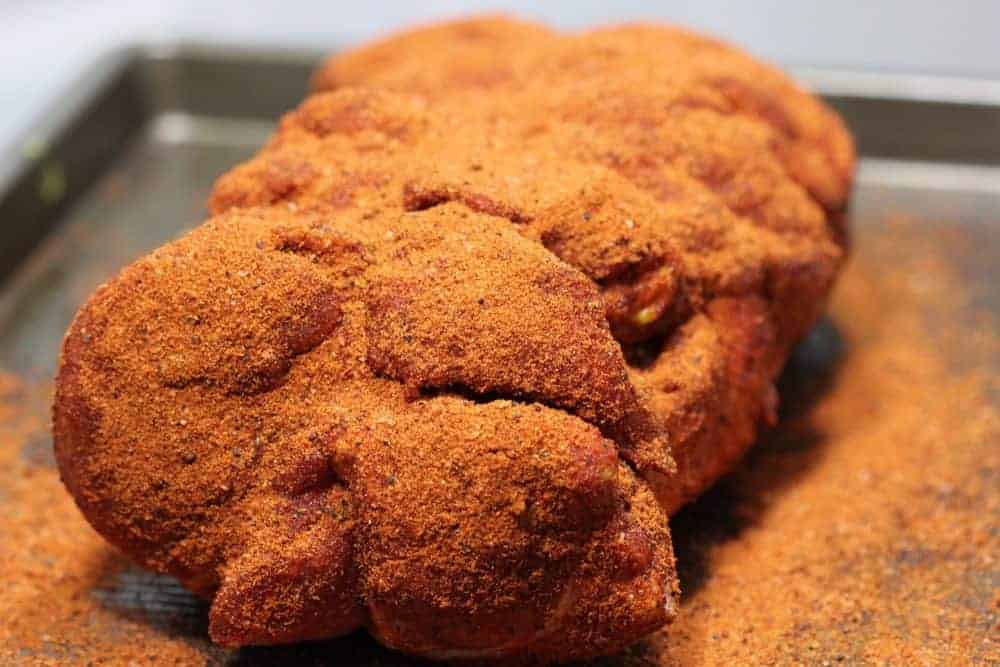
At this point I usually leave it sitting while I go get the smoker ready however, this one is going in the fridge overnight so we can cook it the next morning.
Here's a look at what happens in about 20 minutes.
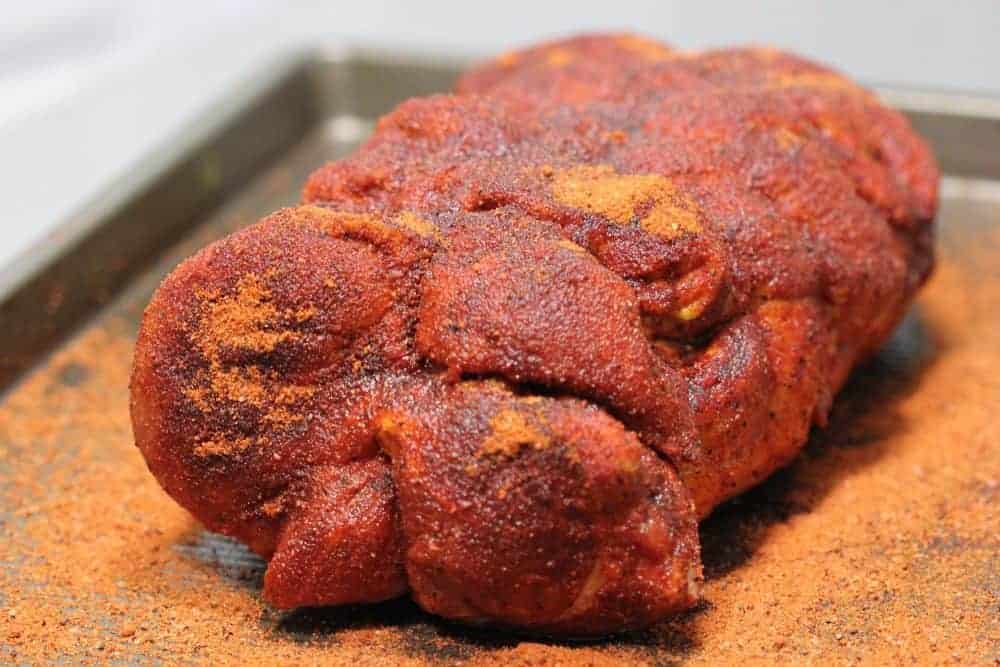
As you can see, the little bit of salt in my original rub pulls moisture to the surface and that wets the rub and makes it look darker.
The next morning, the pork is ready for the smoker after it's long night in the ice box.
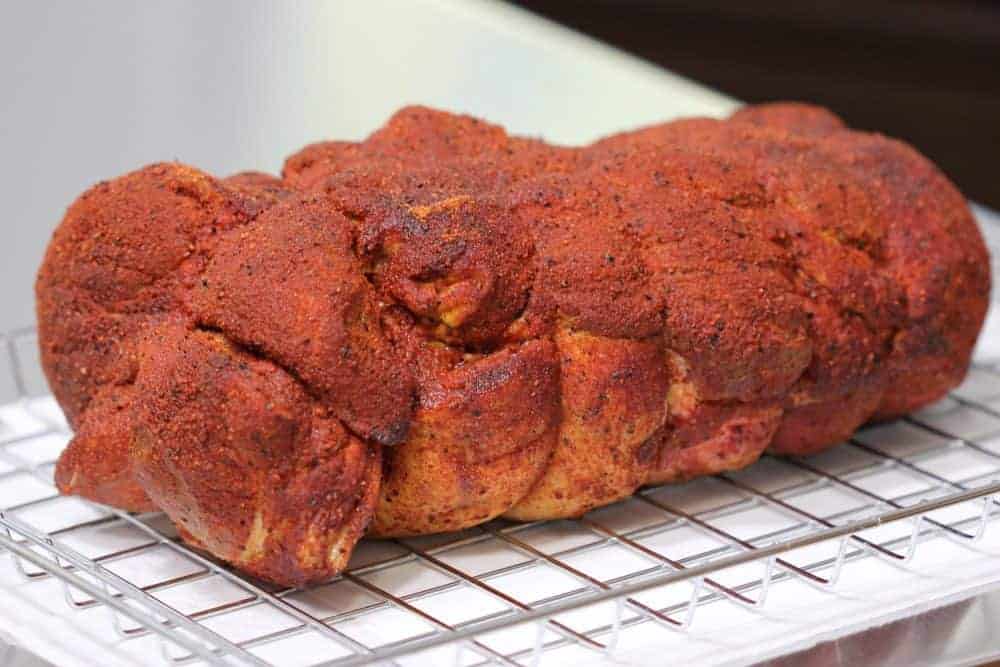
Set up the smoker for cooking at about 250°F (121°C) using indirect heat and if you smoker has a water pan, fill it up. If you are using a gas, charcoal, or electric smoker, you need to have enough smoking wood to last about 4 hours. I used an equal mix of apple and cherry but you can use whatever smoking wood you have available.
Once the smoker is ready, place the pork butt on the smoker grate. I used a rack sitting on a baking sheet lined with foil to control the mess a little better but you certainly can just place it right on the grate if you want to. If you have multiple racks, you can place a pan below the pork butt to catch the juices that drip down if you want to.
About 3 hours in, the pork butt is looking good.
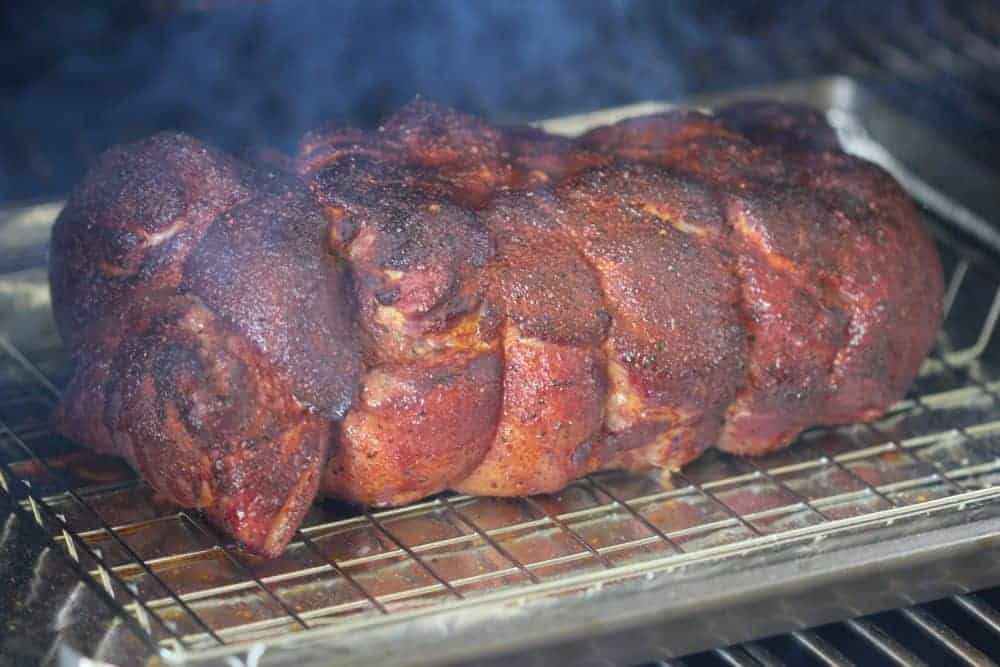
I'm expecting this roast to take 7-8 hours but ultimately, it's not done until it measures 175°F in the thickest part as measured by my handy dandy Smoke thermometer made by ThermoWorks. I like to use that for long cooks since I can place the receiver in my pocket and no matter where I am around the house, I know the temperature of the smoker and the meat.
To speed things up you can wrap with foil once it reaches about 160°F (71°C) but I wanted really good bark and for that, it's best to leave it unwrapped the entire time.
Once the meat reaches 175°F (79°C), remove it from the smoker and set the pan on the counter for about an hour to rest and cool down.
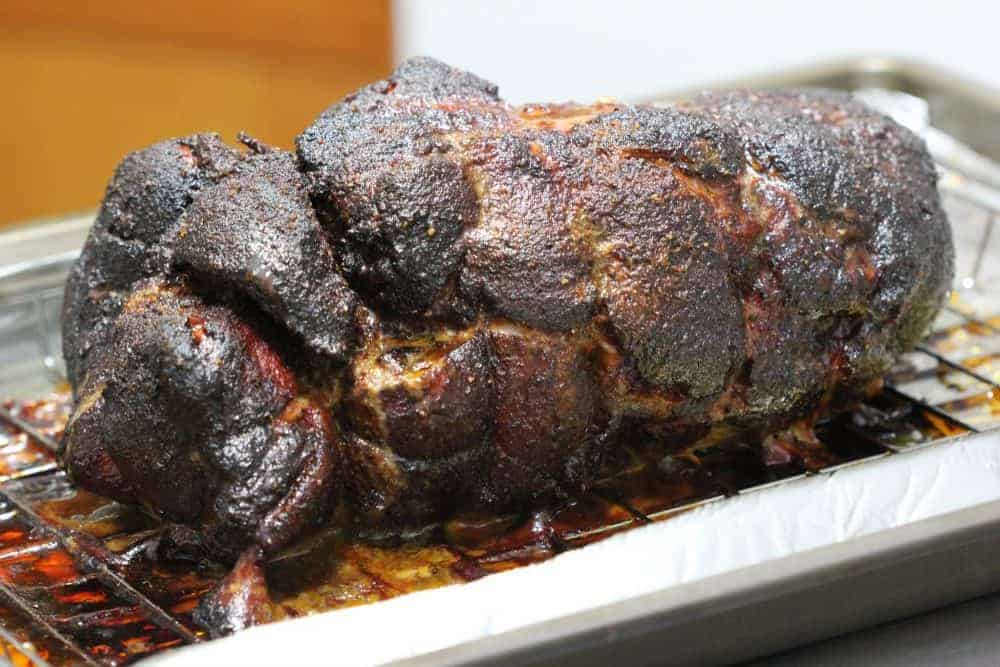
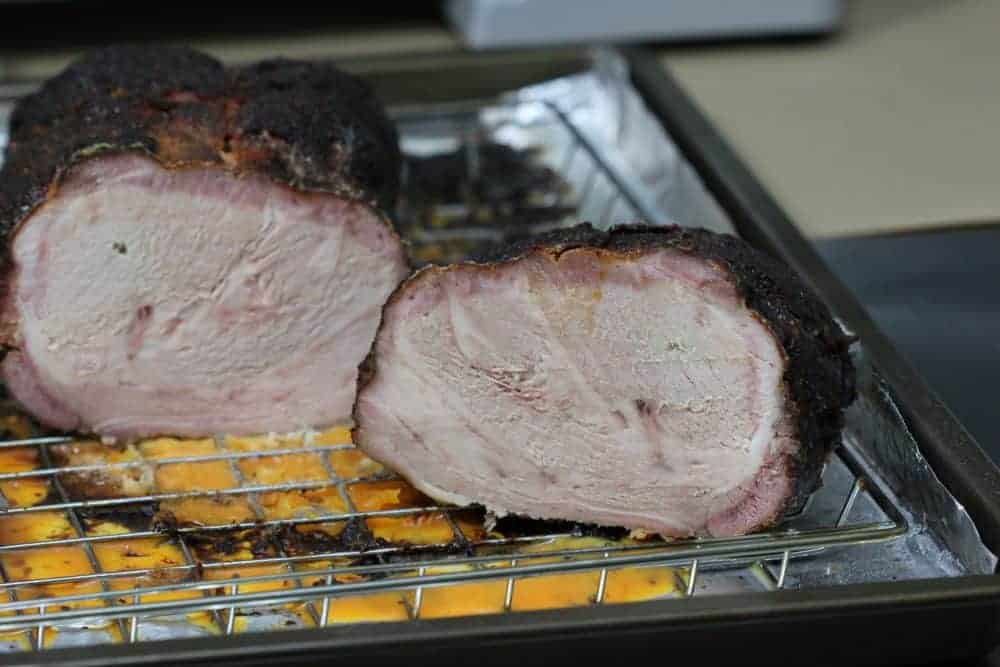
Based on experience, if I try to slice that roast right now, even if it's cooled down significantly, it will fall apart and the slices will not look good. I recommend placing the roast in the fridge for at least 4-6 hours and overnight is best. I opted for overnight.
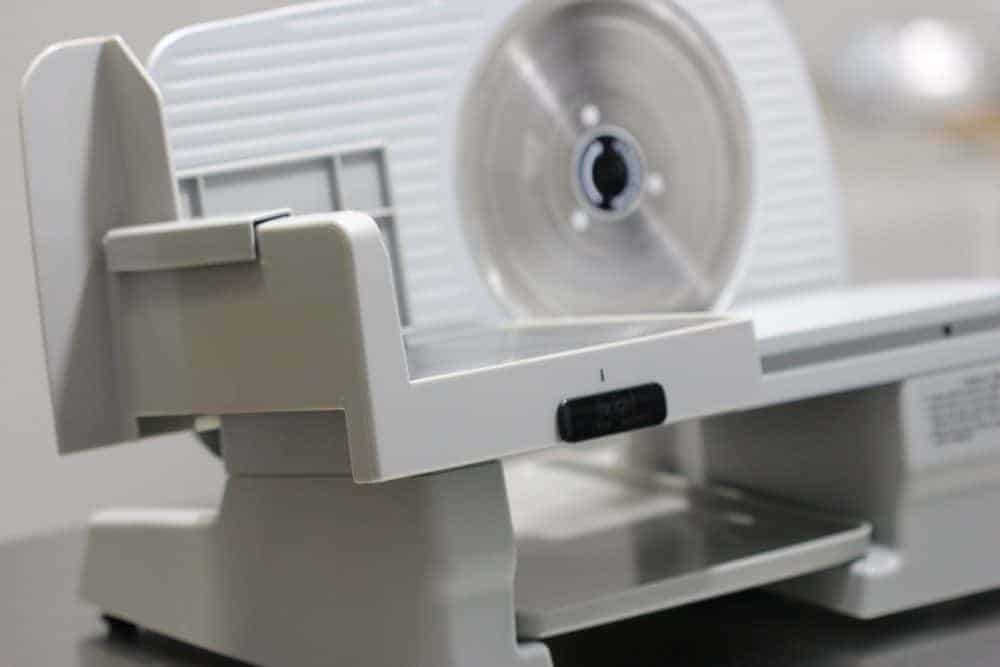
The next morning with my Chef's Choice 609 slicer all set up and ready to go, I removed the smoked pork roast from the fridge and cut off about a 4 inch piece for slicing. The smaller chunk will be easier to work with on the slicer.
This is the slicer that I use. It is a Chef's Choice 609 that I picked up for less than $100 and it does a great job considering I only use a slicer about twice a year.
Slicing up some pork roast at about 1/8 thick.
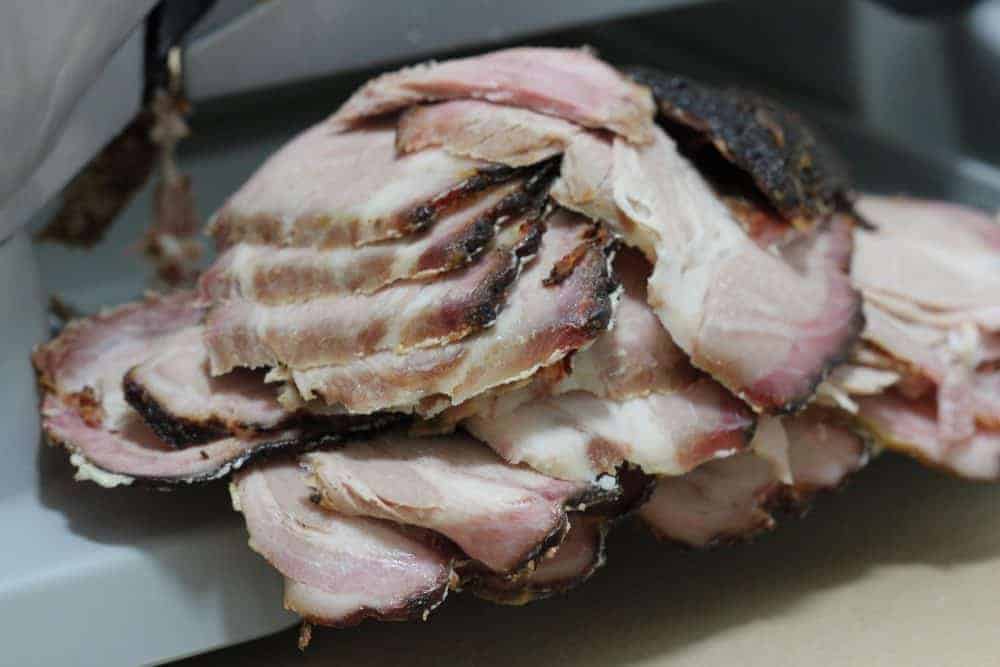
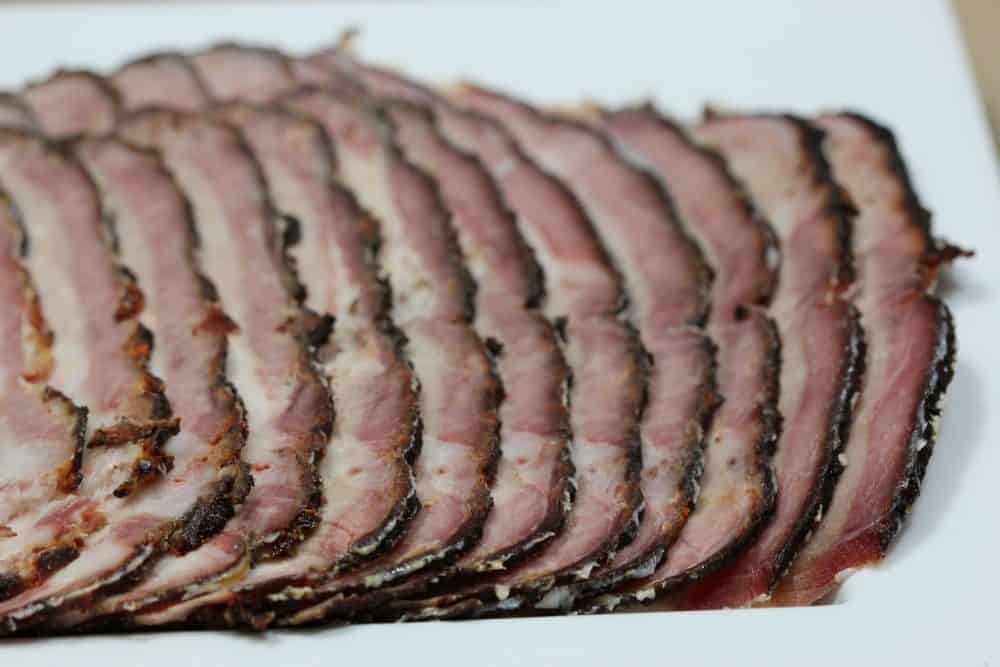
If you do not have a slicer, that's ok. Just get a sharp knife and you can slice the pork roast up that way and it will work just fine.
To make the sliders, I'm gonna need to get a few things ready like toasting the buns, warming the meat and making the campfire sauce.
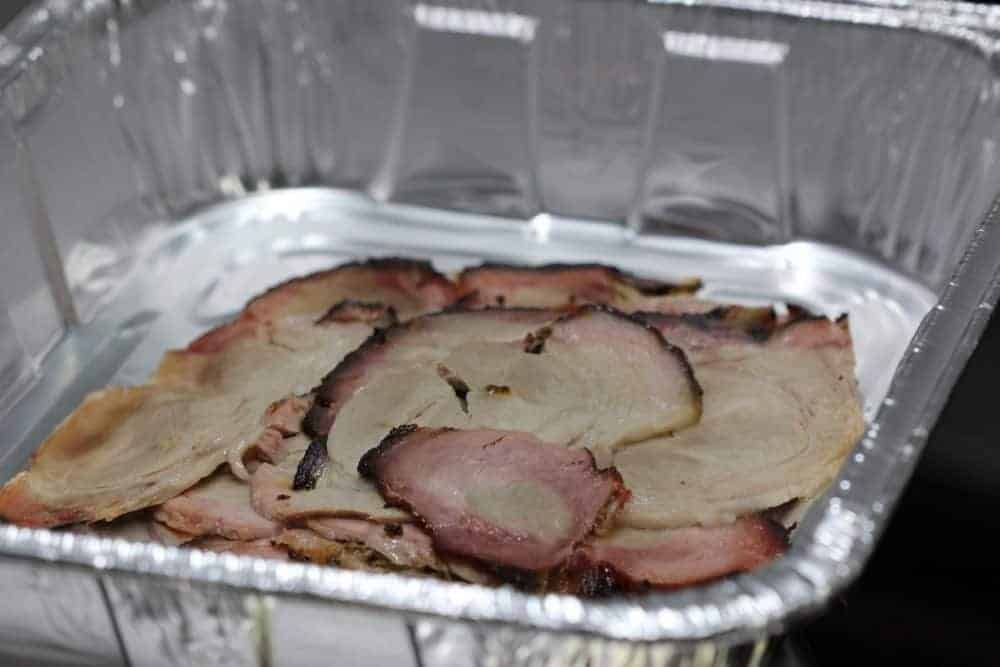
I recommend placing the meat you plan to use in a foil pan with foil over the top and putting it in a 275°F (135°C) oven for about 15 minutes. This gives you time to make the campfire sauce and get the buns ready to toast.
Make the Campfire Sauce
- 1 cup of Mayonnaise
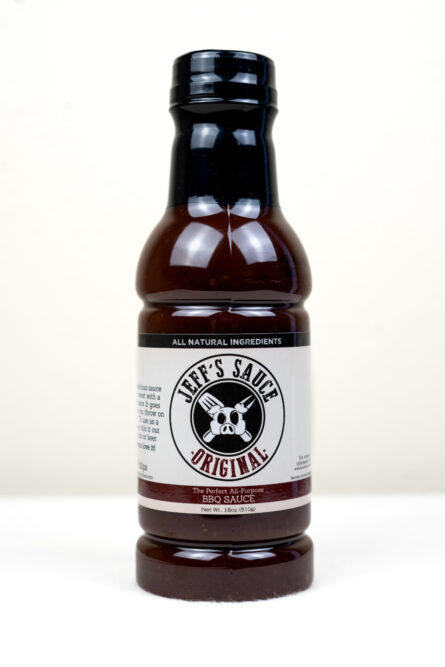
- 1 cup of Jeff's barbecue sauce (Purchase formulas | Purchase bottled product)
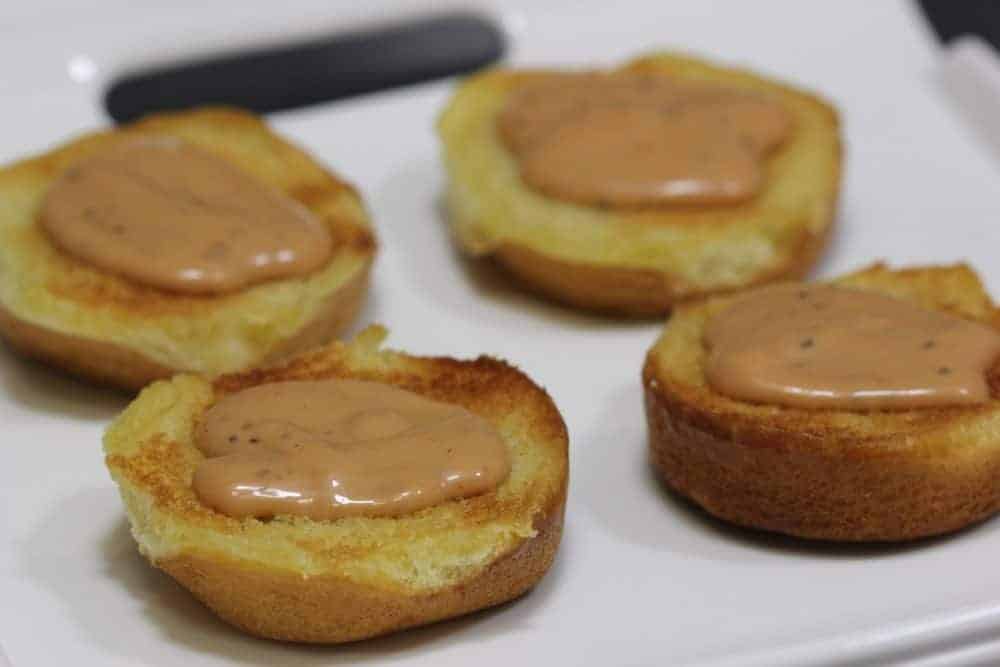
I hope you were not planning on that being too difficult or a lot of ingredients. It's super easy and super good.. just the way I like it. Mix the two ingredients together until the color is consistent and set aside.
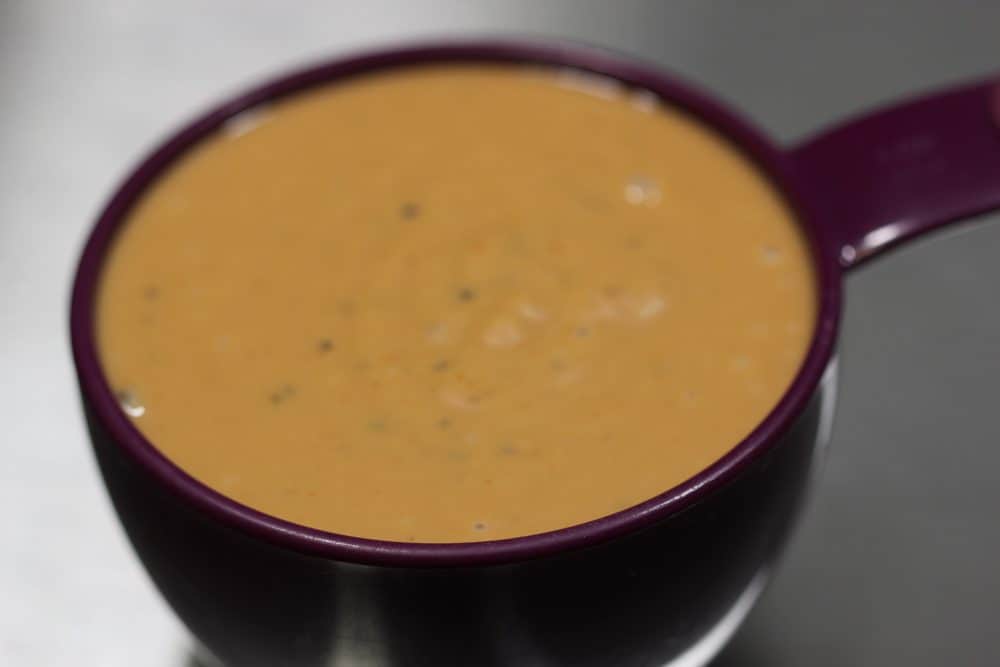
Toast the Buns
With the soft butter in hand, spread a thin layer onto the top and bottom of each bun and place on a baking sheet.
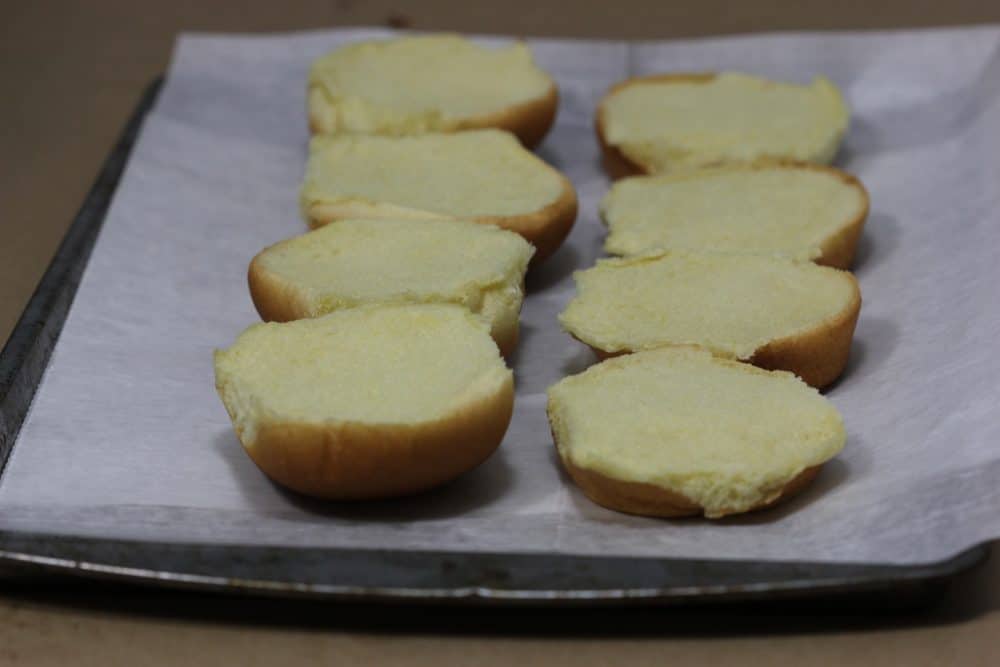
Turn the oven on broil and insert the buns to toast.
Watch them carefully so they reach a perfect golden brown and don't burn.
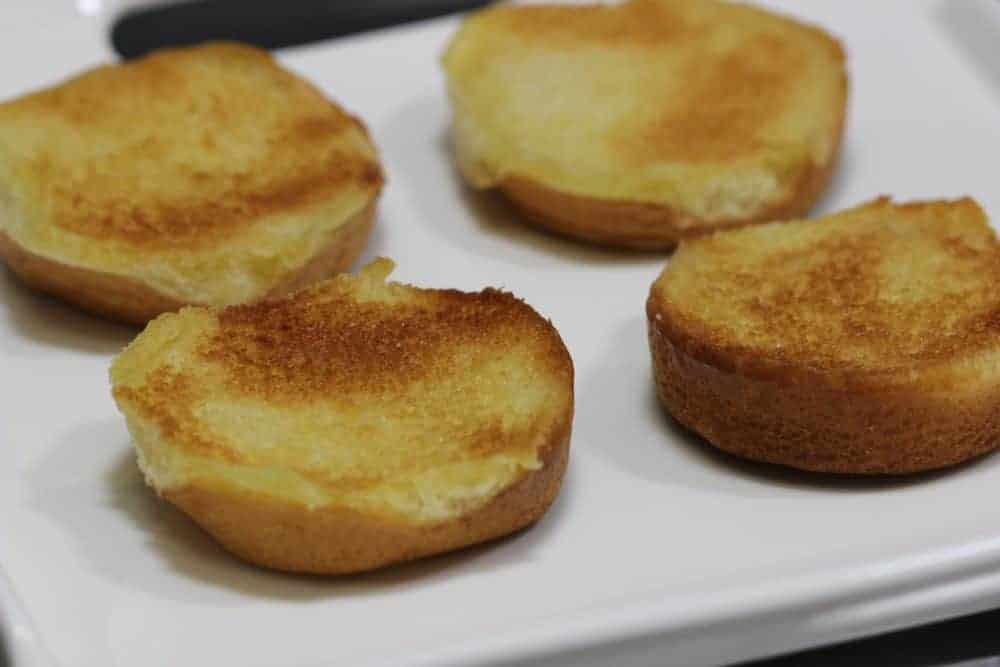
Meat is warm, let's make some sliders!
Place the toasted bun bottoms on a plate and start by adding campfire sauce on the bottom..
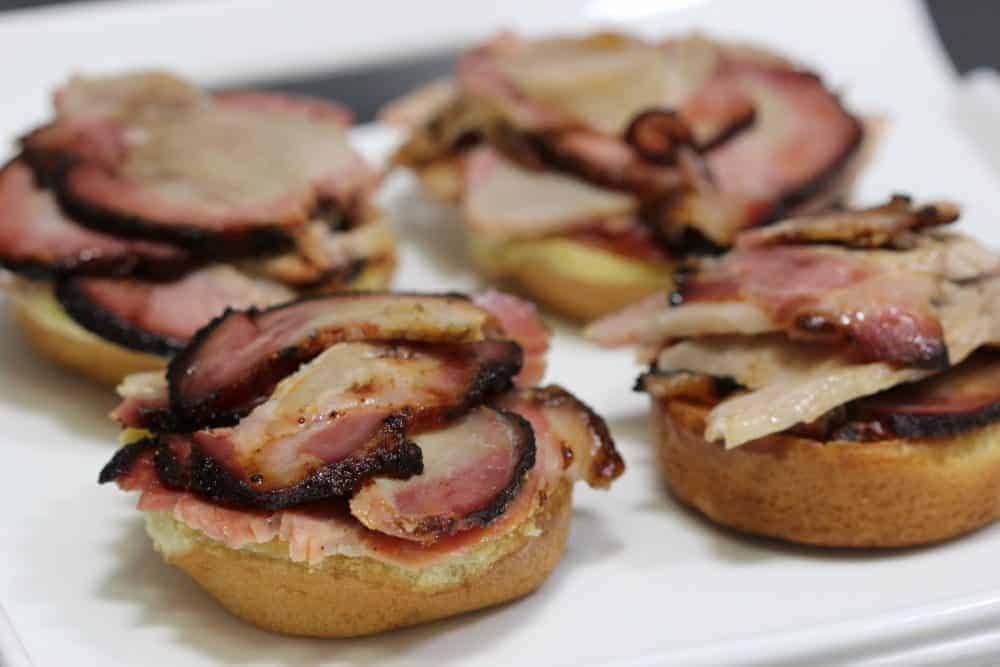
Add meat.
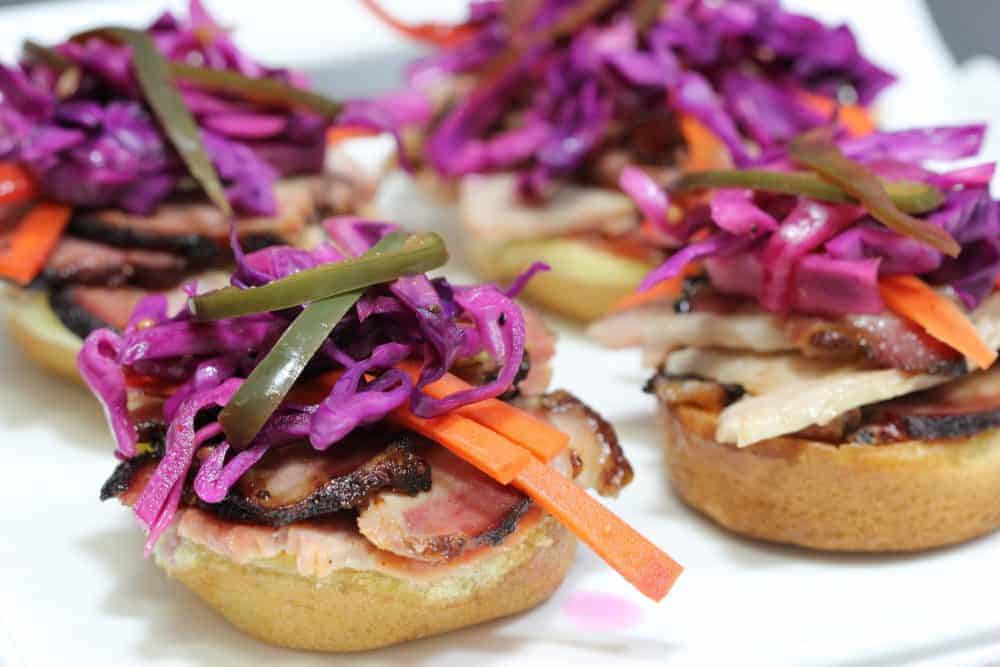
Add some slaw.
Here's the slaw recipe I used or you can just use your own favorite slaw recipe and the more colorful, the better. You can also use spinach greens or lettuce and a slice of tomato.
More campfire sauce–
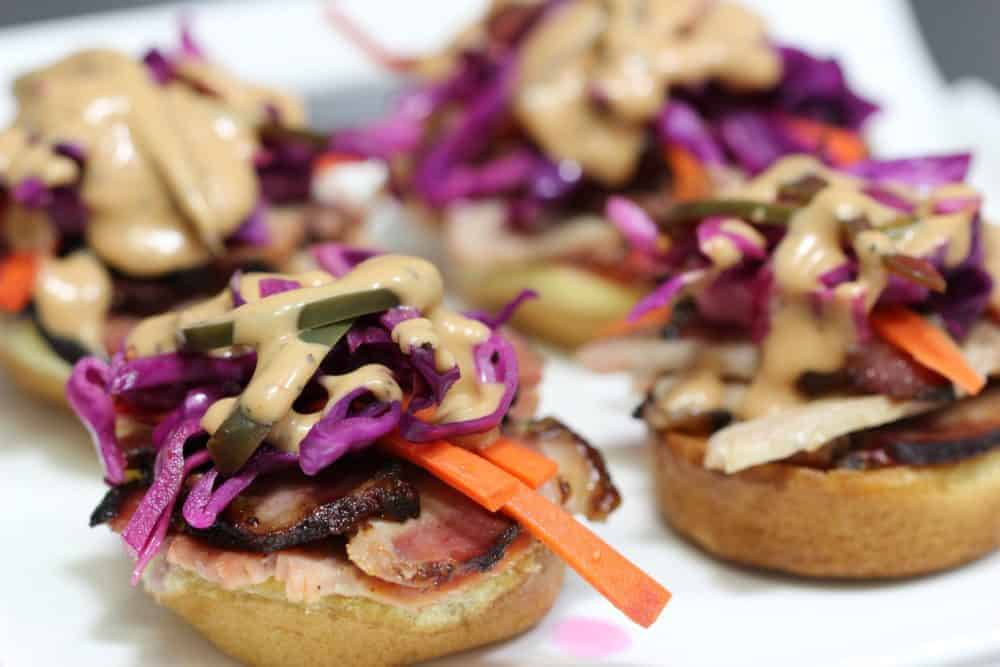
Top it with a toasted top bun and it's ready to serve immediately!
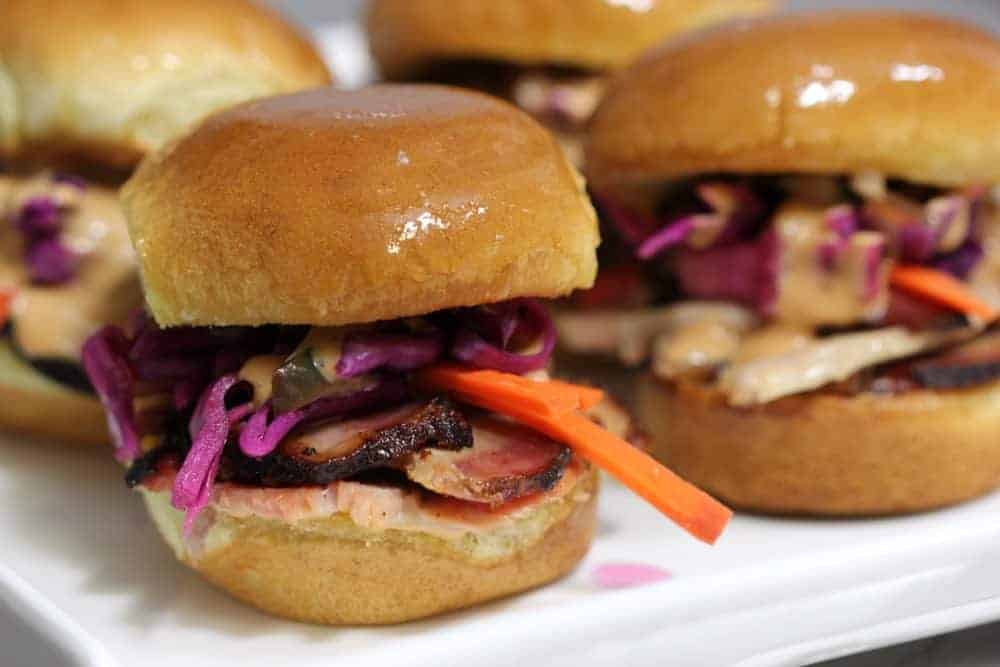
- This would also make a great sandwich using normal sized buns if you are so inclined.
- Add some hot sauce to the campfire sauce to light it up.
- Brush melted butter on the very top of the buns after assembling to make them look and taste even better.
- Is there something that you do different or would add to these to make them better? Let everyone know in the comments below.
Did you know? You can order the MASTER FORMULAS which allow you to make Jeff's original rubs and original barbecue sauce at home using your own ingredients! Order the Recipes
Sliced Pork Butt Sliders with Campfire Sauce
Ingredients
- 6-9 lb pork butt (boneless)
- Yellow mustard
- Jeff's original rub
- Slider buns (I use Hawaiian sweet rolls)
- ½ stick butter (softened)
- Jeff's campfire sauce (recipe below)
- Slaw (colorful slaw is best but your favorite will work just fine)
Instructions
- I recommend a boneless pork butt. If you purchase a bone-in, you will need to remove the bone with a sharp knife prior to cooking.
- To create a nice round shape for slicing, tie the pork butt up along the length and from end to end.
- Add a thin coat of mustard all over and then apply a heavy coat of Jeff's original rub. The pork butt is ready to smoke or it can be placed in the fridge overnight.
- Set up the smoker for cooking at about 250°F (121°C) using indirect heat and if you smoker has a water pan, fill it up. If you are using a gas, charcoal, or electric smoker, you need to have enough smoking wood to last about 4 hours. I used an equal mix of apple and cherry but you can use whatever smoking wood you have available. Once the smoker is ready, place the pork butt on the smoker grate.
- Once the meat reaches 175°F (79°C) (about 8 hours), remove it from the smoker and set the pan on the counter for about an hour to rest and cool down.
- Let the roast cool for about an hour then place it in the fridge for about 5-6 hours or overnight to firm up for slicing.
- Slice the smoked pork butt with an electric slicer or a very sharp knife into pieces that are about 1/8 inch thick.
- Make the campfire sauce using 1 cup of Jeff's barbecue sauce and 1 cup of mayonnaise. Mix thoroughly.
- Spread a thin layer of softened butter onto the tops and bottoms of each slider bun and toast under the broiler until golden brown. Watch carefully and do not burn.
- Warm the sliced meat in a 275°F (135°C) oven covered with foil for about 15 minutes.
- Place a dollop of campfire sauce on the bottom, stack 3-4 layers of meat on top of that, a spoonful of slaw, more campfire sauce on top with a toasted bun.
- Serve immediately!


Jeff-question. You recommend smoke/cooking a pork butt not for slicing/sliders to 205. This recipe calls for 175 and a short warmup before serving. What gives?
Stan
I use a pork loin for the same purpose. My wife also uses the slices when making Cuban sandwiches.
What type of dressing on the slaw are you using? The North Carolina vinegar base or the mayonnaise
Style.
Trish, This is a vinegar-based slaw and you can see the recipe at https://www.smoking-meat.com/spicy-pickled-slaw
Thank you, That’s great..The vinegar base would accompany the pork really well.
Nothing unusual or creative here, but I’m going to try this recipe with sliced pickled jalapenos on the sandwich or on the side. Stan
Sorry, I forgot the rest of my question.
Your recipe says it yields 6 sliders, but it was a 6-9 lb. butt. How much meat are you putting on a slider?
Jerry, I can usually make at least 20 sliders from each pork butt that I cook.
Generally a pork butt yields about 50-60% of what you started with, i.e. it cooks down, the fat renders during the cook, etc..
I usually figure on 5 lbs of usable meat per pork butt to make it quick and easy to figure. 5 lbs divided into quarter pound portions gives you 20 portions.
Your crowd and how many sides and extras you have will determine how many people it will actually serve.
Let me know if you have further questions about this. Meanwhile, I will try to make this more clear in the recipe instructions and re-publish the updates.
Jeff, about how many slides can you get out of this recipe?
Instead of going through the hassle of de-boning the pork why didn’t you start with a boneless pork shoulder to begin with? Just curious, Wouldn’t the end result be the same? I do like the recipe and will give it a shot.
Yes, a boneless pork butt is best. The other option is to debone it if you happen to get one with a bone.
I have made just about everything you have made. I have been with you for years. I tried making bacon from pork belly. Best bacon ever with low salt also. Recommend all to try it. Thanks.
Quick question- When you remove the butt from the fridge, do you place it on the smoker cold, or let it get to room temperature?
Randall, I usually take it out of the fridge and then go get the smoker set up. It sits on the counter maybe 20-30 minutes depending on what smoker I am using and how long it takes. It’s perfectly ok to put it directly from the fridge into the smoker as well.
Jeff:
Bought the recipes for sauce & rubs did a tomahawk for Christmas and a Prime Rib for New Years used your Texas Rub for both I’ve tried a lot of rubs over the years absolutely love the Texas rub. Haven’t made the sauce or the Original rub yet but I will get there.
Before I tie up my butt, I sprinkle your seasoning blend all over the meat for added flavor. Any opportunity to get more spices the better being your spice blend is that good.
I don’t have a direct heat smoker just a ugly drum smoker will it work for the butt?
Drums tend to work well even though the heat is not indirect. The butt will likely finish faster due to the direct heat. Once it gets to the right color (usually around 150-160°F), it is ok to wrap it in foil until finished.
Jeff, I am a fan from Arkansas. I enjoy your many ideas. As I opened this I was just thinking “does he ever chop or slice the pork? In Arkansas, at tradional BBQ stands, you get chopped or can ask for sliced and you (used to ) have to tell them to hold the slaw. ( I was in an old fashioned BBQ south of OK city, that actually had pork, and asked for slaw on it and created a bunch of conversation, as no one there had ever heard of it. Those of us chopped fans feel that it mixes the flavors more and many , like me, like the eating texture (bite) better than Pulled. My experience, as an old traveling salesmen who ate all over the south, is that the pulled tradition comes from the Carolinas, and has spread by the chains, which I avoid, as I feel they shortcut the old slow ways. I like your recipes but make a much simpler sauce that is a style popular in most of Central Arkansas, but as new places come in, they are pulling and saucing differently. The sauce I make is great for adding sweet to make it a KC style or heat up a bit with red pepper sauce.
This is not a criticism of your stuff, i have recommended your site to several who follow it, and I have enjoyed some different recipes from you. I have also adjusted some procedures due to your advice.
Keep up your great work, I look forward to your posts!
Hi Jeff I’m a big fan. I bought your book years ago and also purchased your rub and sauce recipes. I seem to have misplaced your Texas style recipe. Can you please send that to me again? I sure miss having it for my briskets.
Sent;-)
Meanwhile, make the campfire sauce by combining the barbecue sauce, ketchup, brown sugar, apple cider vinegar, and water in a saucepan. Bring to a boil, then reduce heat and simmer for 10 minutes, or until thickened
Made these for a ladies event my wife was hosting. Not sure what they liked more. The sliders or the extra campfire sauce I had. The ladies were dipping everything they could find in the sauce! I never would have thought to mix mayonnaise and BBQ sauce. Thanks for the new easy to make sauce!