Smoked Turkey in the Pit Barrel Cooker
Smoking-Meat.com is supported by its readers. We may earn an affiliate commission at no extra cost to you if you buy through a link on this page.
Read this article without ads
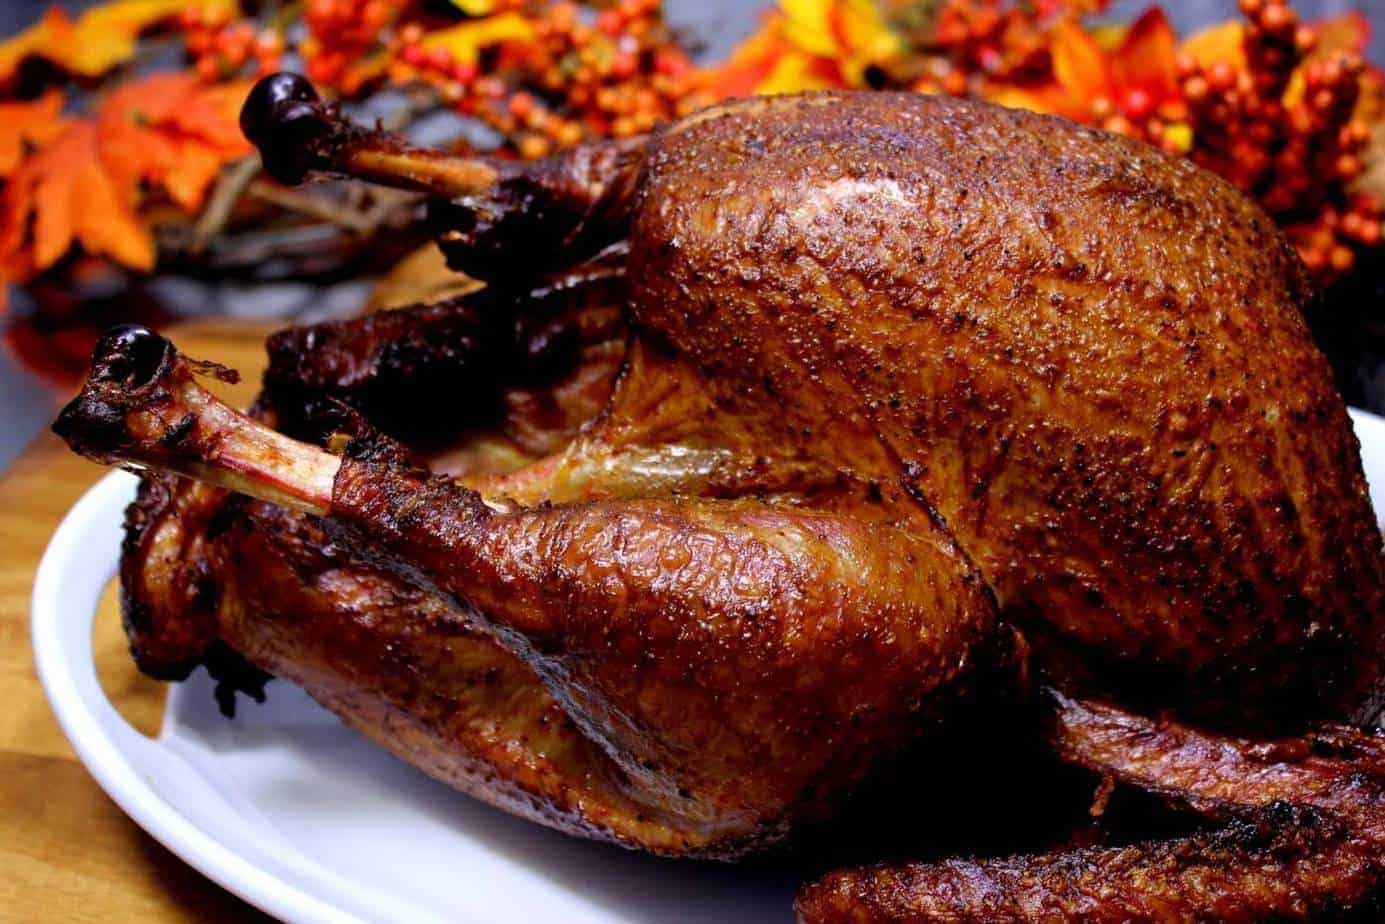
Thanksgiving is upon us and as tradition would have it, smoked turkey is the standard fare. In this recipe/instructional I not only want to show you a better way to brine the holiday bird but we'll be using a Pit Barrel Cooker. Don't worry, I”ll also demonstrate the proper way to do it in a traditional smoker as well.
Enough with the words.. let's get right to it!
- Prep Time: 20 minutes
- Dry Brine Time: 8 hours
- Cook Time: 4 hours
- Smoker Temp: 260-275°F
- Meat Finish Temp: 165°F
- Recommended Wood: Pecan and/or Mesquite
- 12-14 lb turkey
- Kosher Salt
- Mayonnaise
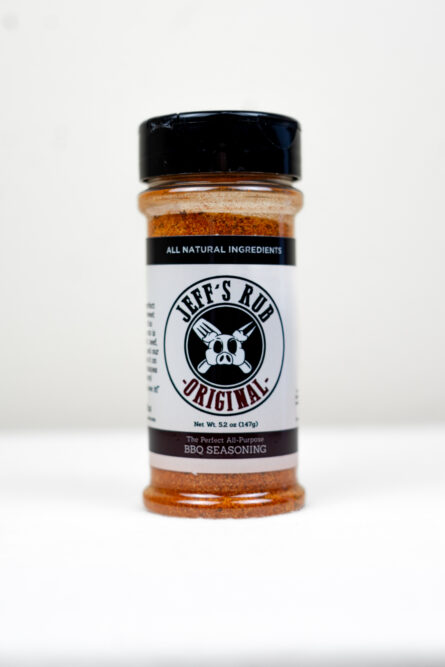
- Jeff's original rub
- Pit Barrel Cooker (recommended but any smoker will work)
- Precision thermometer such as Signals, Meater, Thermapen, ThermoPop, etc
I highly recommend a fresh, minimally processed turkey if you can find one. I found mine at my local Sprouts but Whole Foods and other similar stores also carry them. Call the meat department of these stores before you go to ensure you are not making a wasted trip.
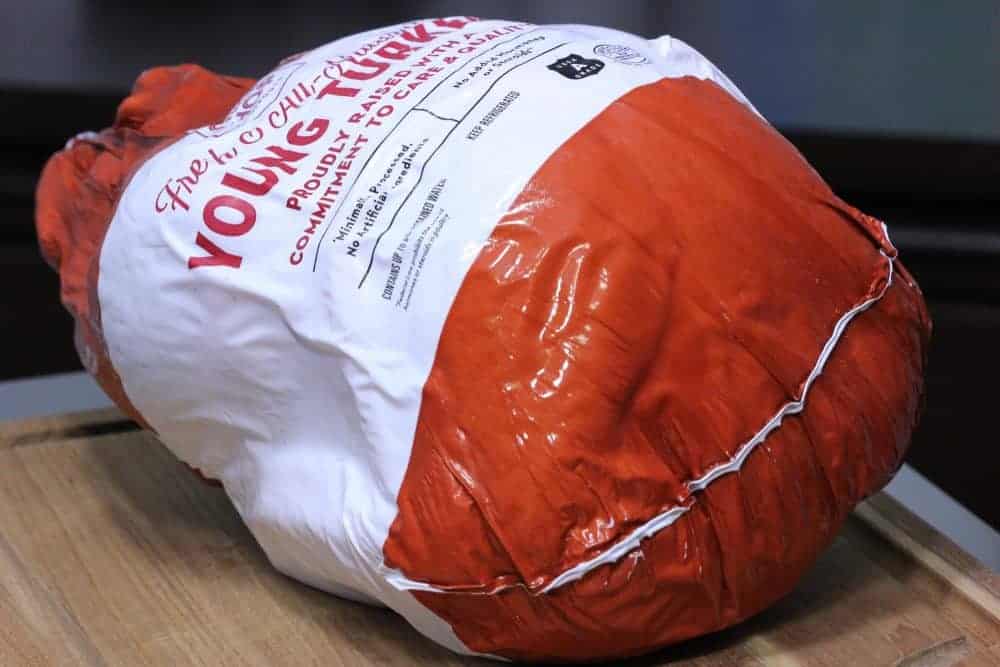
You an also opt for a frozen turkey at your local grocery store and that will be fine as well.
I paid $1.29/lb for mine and this price goes up if you go for organic or anything that sounds more healthy.
I am cooking this one in the Pit Barrel Cooker which cooks a little hotter than an average smoker so the size is not nearly as important but if you are cooking at 225-240 °F, then I recommend going for a 12-14 lb bird.
One 12 lb bird will feed about 6 with a few leftovers so if you need more than that, just cook multiple birds of that size rather than opting for a larger one.
If you purchase a frozen turkey, allow about 1 day of thawing in the fridge for every 5 lbs.
Example: A 12-14 pounder will require 2.5 to 3 days.
You can thaw a turkey in the kitchen sink using cold water if you get in a bind and need the turkey thawed faster. Place the turkey in the sink and run it full of cold water. Drain and refill with cold water every 30 minutes until the turkey is completely thawed. I don't like this method particularly but it does work in a pinch.
If the outside is thawed but the cavity is still frozen, you can run cold water directly down into the cavity to speed this up and this will also help in the removal of necks and giblet bags.
Dry brining works just as well as wet brining in my opinion and can be less messy if you are short on space and/or do not have a suitable container or space to wet brine a large bird.
This is simply a method by which you sprinkle kosher salt all over the outside of the turkey then place it in the fridge overnight.
The salt draws moisture from the meat, up through the skin where the water and salt mix together to create a slurry. This salty mixture then reabsorbs through the skin and down into the meat. If you are interested in the process you can look up “denaturing” but that is what happens when you brine a piece of meat such as a turkey via the dry or wet method.
Most recommend a half teaspoon of kosher salt per pound which amounts to 6 teaspoons equivalent to 2 tablespoons of kosher salt on my 12 pound turkey.
I go more by looks than measuring in my own cooking. I just try to get good coverage on the entire surface area.
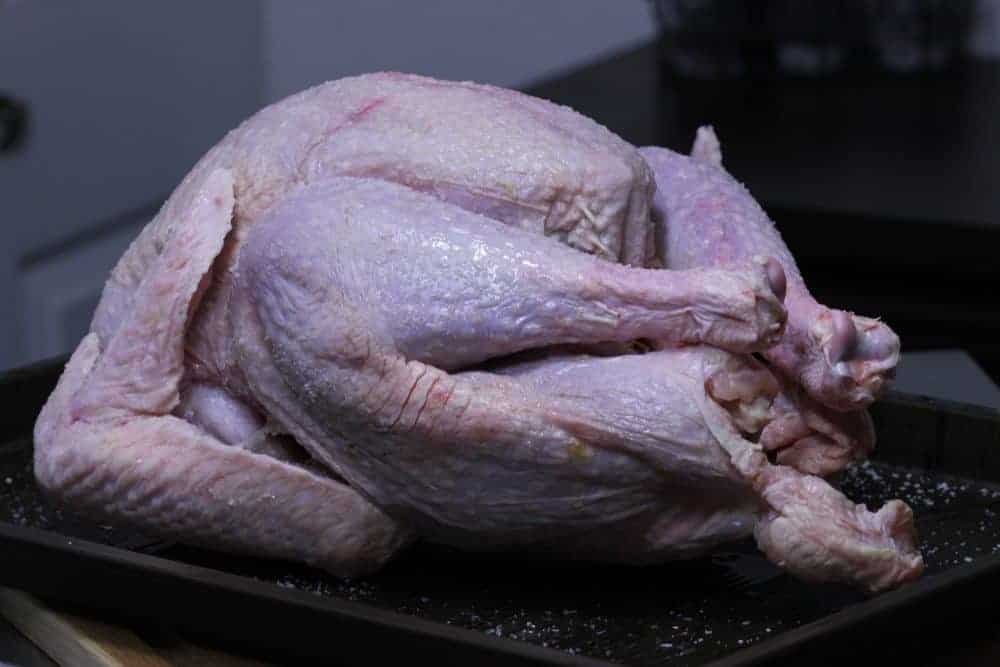
Truth be told, you'd have a hard time over doing it. I usually do it until it looks right then add a little more for good measure and it's NEVER overly salty using this method.
When you add the salt, you will immediately see the water start coming to the surface and melting the salt. That is some crazy science but it works!
Dry brine the turkey for at least 4 hours in the fridge but 8-10 hours or overnight is fine and there's really no need to rinse when you're finished.
This could also be called the messy method because it is very messy, takes up a lot of space in the fridge and you have to find a container big enough to hold a turkey and enough water to cover it. I've done it for years but trust me when I say that dry brining is a much better option. I'm always trying to find ways to improve and in my opinion, dry brining is a much improved way to brine the holiday turkey over wet brining.
Ok, if you're not convinced, that's fine. I won't hold it against you.
Let's make a wet brine:
- 2 gallons of cold water
- 2 cups of kosher salt
- A large container such as a 5-gallon bucket or similar (food grade)
Add 2 gallons of water and 2 cups of kosher salt to the brine container then stir until the salt is dissolved into the water. You'll know when this happens because the water will get clear again.
Place the turkey in the brine container and place it in the fridge so it will stay at or below 40 °F during this process.
What if you can't fit it in the fridge? Then you'll need to use an insulated ice chest or something similar. Ice can be used to keep it cold but that will dilute the water. Place the ice in zip loc bags to keep the water cold and prevent diluting the brine.
Brine the turkey overnight or 8-10 hours is sufficient.
I do not recommend longer than 12 hours with this this salt/water ratio since brining changes the texture of the meat over time.
Once the brining process is finished, you are ready to season the soon-to-be smoked turkey with a good dry rub. Rinsing after brining is not necessary but does not harm if you prefer to do it.
You can never go wrong with my original rub and it is my recommended dry rub/seasoning for the holiday turkey. I and hundreds if not thousands of others use it every year with rave reviews and you just can't argue with success.
What's really cool is that you can not only purchase the formula to make the dry rub yourself, but you can also purchase the original rub in a bottle, ready to use if you want to make it easy on yourself.
In order to help the rub to stick to the turkey (I hate losing that stuff), you can use mustard or mayonnaise rubbed all over the turkey. Don't worry because it won't taste like mustard or mayonnaise once it's cooked.
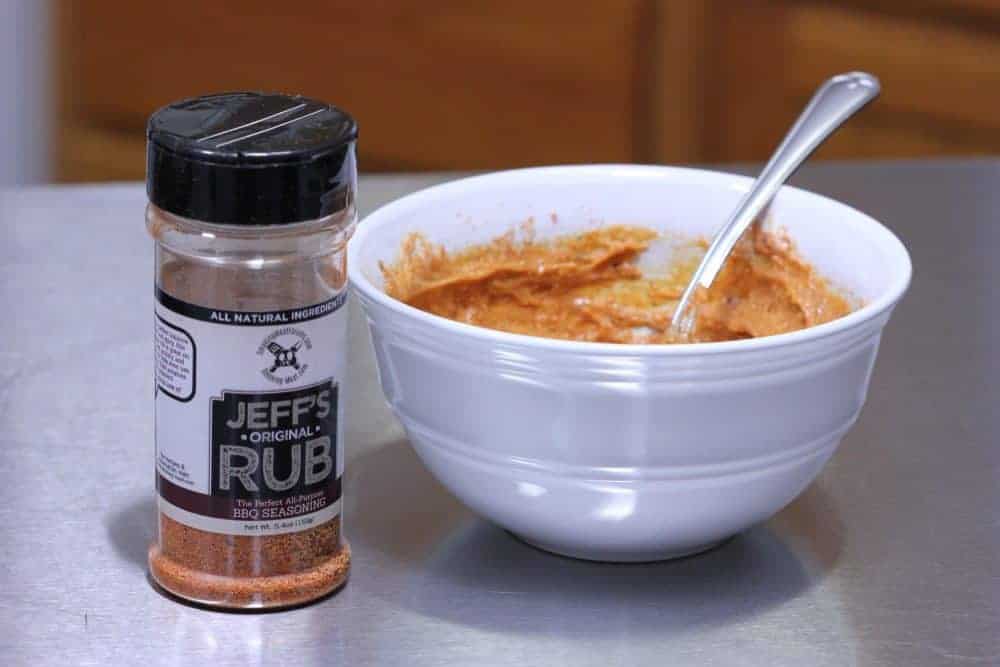
I took it a step further and mixed the rub into some mayonnaise before applying it to the turkey and it worked like a charm!
- 1 cup of mayonnaise
- ½ bottle of Jeff's original rub
Mix together thoroughly in a bowl and it's ready to use. Go ahead and take a small bite and you'll see that it's extremely flavorful but not very salty– just what the doctor ordered for this dry brined turkey.
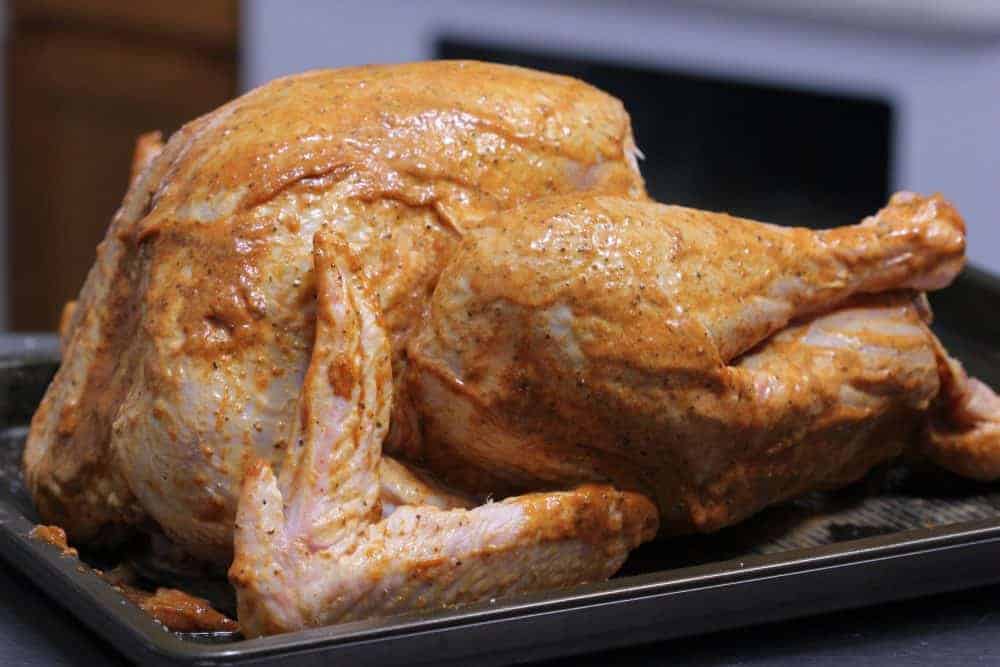
Make sure the turkey is really dry using a paper towel. Then rub the mayo/rub mixture all over the turkey making sure to get a good layer on the breast, wings, legs and even the back.
Anywhere you can get some up under the skin, that's a good thing as well.
If you want to truss the turkey, tuck the wings under, etc, then now is the time to do that. There is a traditional method for trussing a turkey but you can also do something as basic as just tying the legs together with some cooking twine so that it comes out a little prettier.
I opted to just let it cook all sprawled out so I could get plenty of heat and smoke to every square inch of surface area.
It's now ready to go into the smoker!
Pit Barrel Cooker sent me a cooker a while back and suggested that I use it for my holiday smoked turkey. Sounded like a great idea to me since I usually cook them at 225-240°F and it takes around 6-7 hours to finish. They said it would only take about 4 hours or so in the Pit Barrel due to the fact that it cooks a little hotter than traditional smokers and the turkey hangs from rebar instead of sitting on the grate.
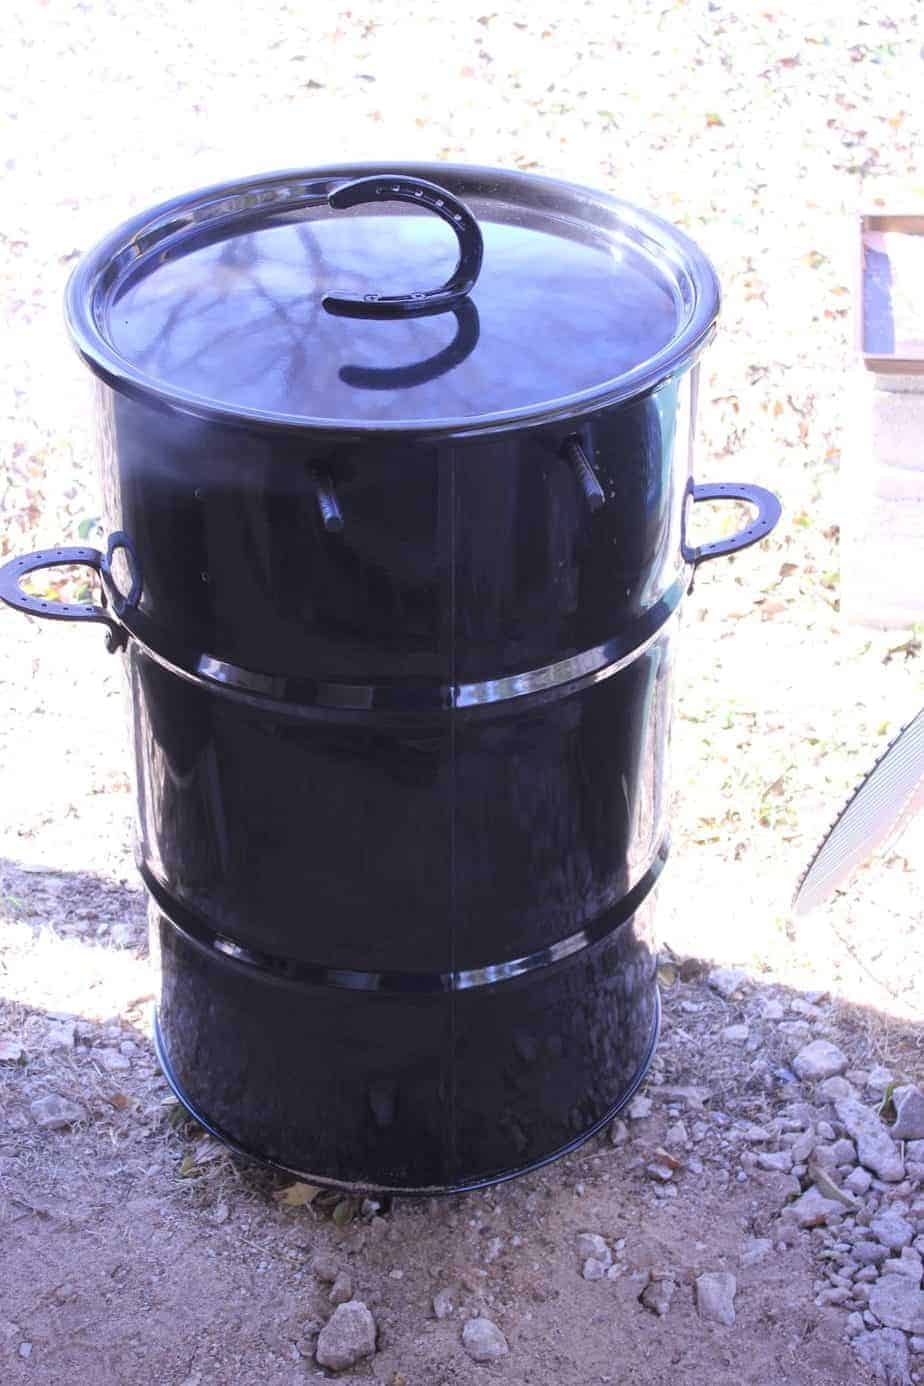
Sounded good to me!
Here's the setup:
Fill the charcoal pan level with charcoal briquettes. I usually prefer lump but I decided to go with their suggestion first and then go from there.
Then remove 40 of the briquettes and light them in a charcoal chimney.
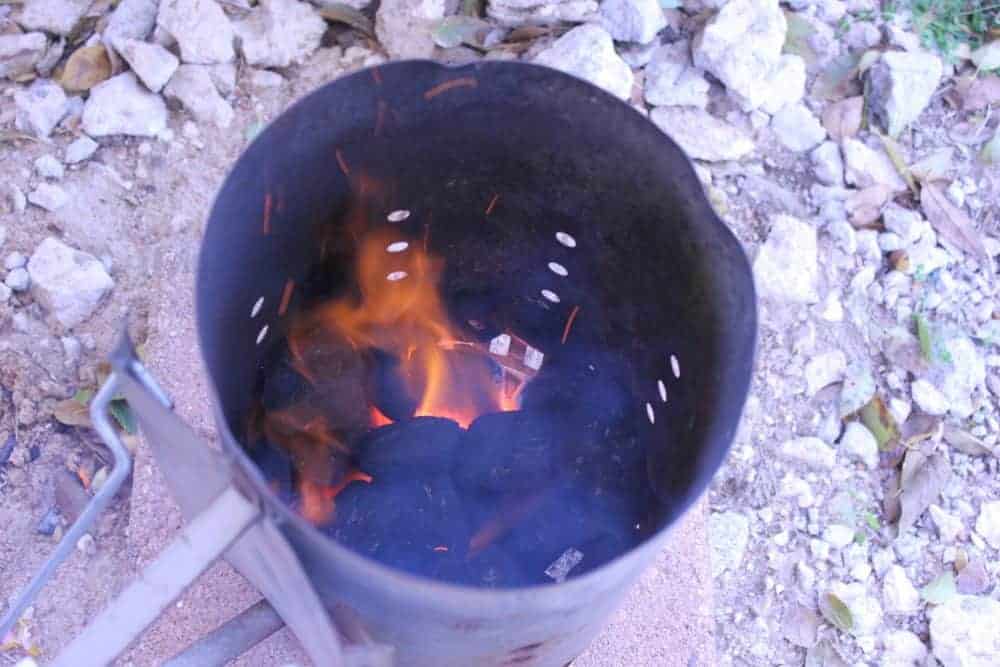
Place the charcoal pan down into the barrel and place 3-4 fist sized wood chunks on top of the charcoal.
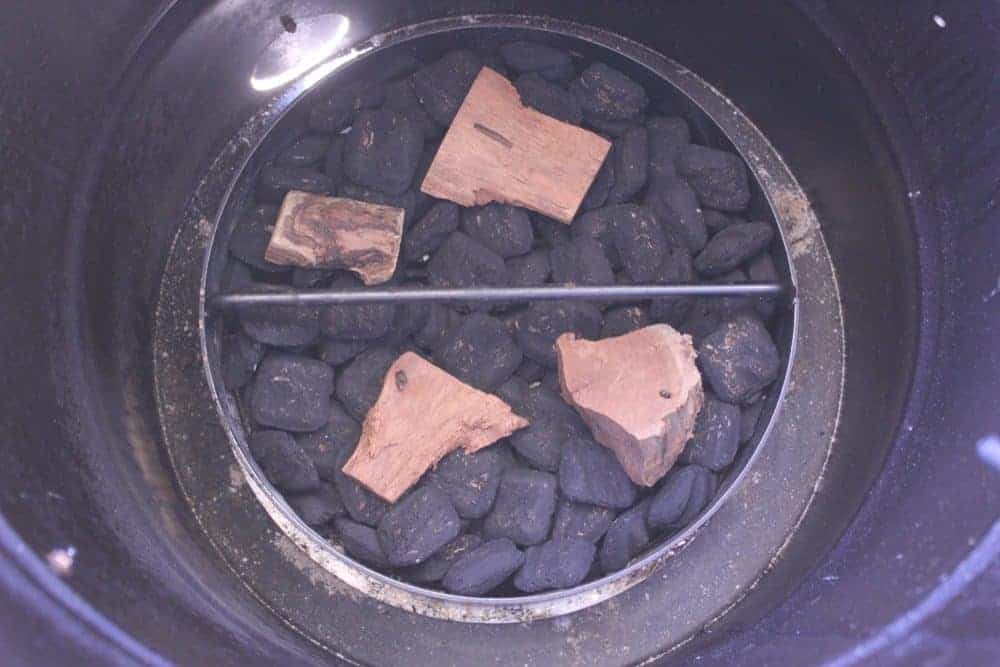
Once the charcoal chimney is ready, pour the lit charcoal over the top of the unlit charcoal in the pan.
I am at low altitude so the little adjustment vent in the lower back is at it's standard setting. If you are at higher altitudes, you'll want to set it according to the settings prescribed in the PBC manual.
Done!
Using a Traditional Smoker?
Set it up for cooking at about 240°F using indirect heat and if the smoker uses a water pan, fill it up with hot water.
I used PBC's special turkey hanger but you can also use the included hooks if you like. Heck, it also comes with a grate so if you are apprehensive about the whole hanging process, you can also just sit the turkey on the grate.
The “T” goes into the neck end, all the way through the cavity
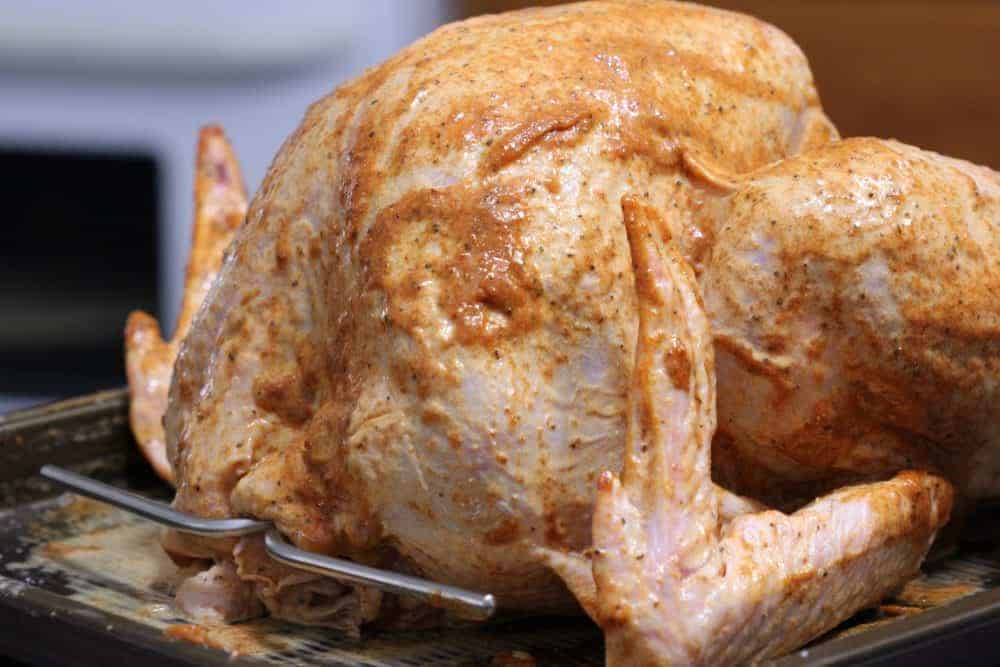
–then the hanging handle connects to the end of the “T”. It's that easy.
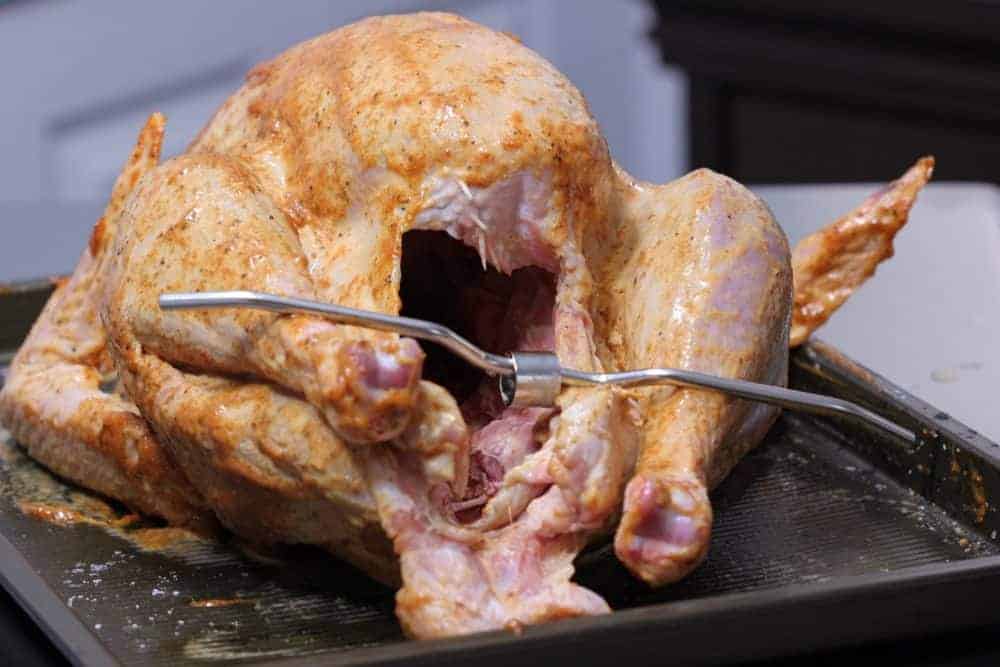
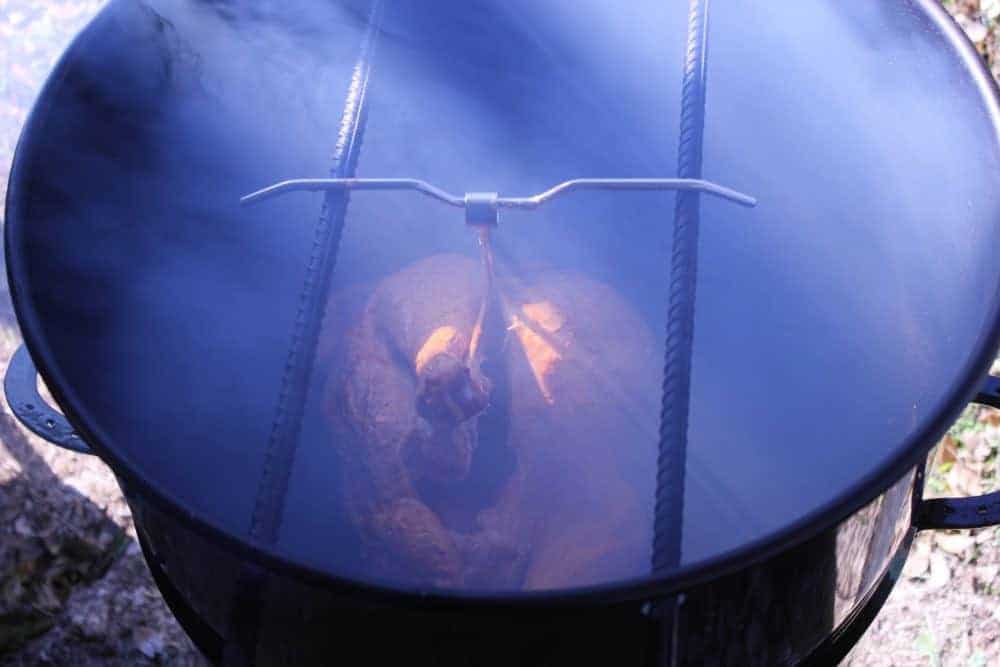
Remove one of the rods (rebar) from the barrel and lower the turkey into the barrel setting one side of the hanging handle on the rod then insert the other rod into place to finish hanging the turkey.
The hanging handle should rest across both rods suspending the turkey right in the center of the barrel. If you are doing (2) smoked turkey's, then just place them so that both turkeys have a little space between them so the heat can do its thing.
Smoked turkeys are NOT cooked to a certain time but rather to a certain temperature so make sure you use a precision thermometer that can stay in the meat while it cooks. I have several thermometers that I use but for something like this, I recommend the Signals by ThermoWorks or the Meater thermometer which has absolutely no wires and reads ambient temperature and meat temperature via a single probe.
I used the Meater for this cook and it was nice not having to mess with wires or multiple probes to measure the temperature of the meat as well as the temperature of the pit.
Place the probe so that the tip is in the thickest part of the breast or thigh.
Regardless of what thermometer you have and/or use, make sure it is accurate and then use it. Your family's safety is too important for trying to guess the temperature of poultry (or any meat for that matter).
Let the turkey continue cooking until it reaches an internal temperature of 165°F.
The Pit Barrel Cooker company recommends opening the lid about ¼ inch about 30 minutes before the turkey is finished cooking. This ramps up the heat creating some crispiness on the skin.
In traditional smokers, the skin usually has a really good bite-through naturally due to the long 6 to 7 hour cook in the smoker.
When the smoked turkey is finished cooking, bring the turkey into the house and let it rest under loose foil for about 15-20 minutes before carving. This is important to allow the juices to redistribute throughout the meat.
With the smoked turkey sitting breast side up, remove the legs, thighs, and wings then cut close to the bone down the center of the breast bone to remove the breast meat in one large piece from each side. With the breast removed, it can be sliced into pieces about ¼ to ½ inch thick.
I like to separate the dark and white meat so people can just grab what they want.
Pit Barrel Cooker Smoked Turkey for the Holidays
Ingredients
- 1 Whole Turkey (Fresh, minimally processed, 12-14 lbs recommended)
- 2 TBS Kosher Salt (Coarse)
- 1 Cup Mayonnaise
- ½ Bottle Jeff's Original Rub (about ½ cup)
Instructions
- Dry brine the turkey by sprinkling kosher salt evenly over the breast, legs, wings and back of the turkey. Total salt usage should be about 2 TBS. Place the turkey in the fridge uncovered for about 8 hours or overnight.
- Mix together 1 cup of mayonnaise with about ½ bottle of Jeff's original rub (½ cup).
- Make sure the turkey is nice and dry then apply the mayonnaise/rub mixture all over the outside of the turkey. Get some under the skin wherever possible.
- Set up Pit Barrel Cooker according to directions in manual. If using a regular smoker, set it up to cook at about 240°F using indirect heat.
- Place the turkey in the Pit Barrel using hooks or the special turkey hanger. You can also just set it on the included grate if you prefer.
- Let the turkey cook in the PBC for approximately 4 hours or until a thermometer reads 165°F in the thickest part of the breast or thigh. If you are cooking at a lower temperature such as 240°F using a normal smoker, the time will be closer to 6 or 7 hours.
- When the turkey reaches the finish temperature, remove it from the cooker/smoker and let it rest under foil for about 20 minutes before carving.
- Enjoy!


Will be using next year.
Hi Jeff,
I also have been following your site for years. Tried many different recipes for pork, beef, turkey. I bought a Camp Chef Woodwind pellet smoker and it change my view on smoking. I have tried wood, electric smokers, tried lump charcoal, but nothing beats pellet smokers.
I also did not like the Bluetooth temperature monitors, distance was poor. I saw a review on an RF temperature monitor and thought I would pass it along. [link removed]
I have not used it yet, ill let you know how it turns out. I particularly chose this one because it has 4 probes.
This is the 1st year I will try brining the turkeys, hope it turns out good.
Thanks and have a great Thanksgiving with your loved ones.
Eric
I smoked a turkey this year for Thanksgiving with your rub recipe but smoked it on at pellet smoker. It went head-to-head with my sister’s turkey she cooked in the oven and my nephew’s smoked pork loin. I used your brine recipe and your rub recipe and that bird came out perfect! I was told (by more than one family member) that my turkey was the best thing at the meal this year. Now my wife wants to go buy all the turkeys on sale now and put them in the freezer so we can do it more often than Thanksgiving. Thanks for all your help and advice!
And for anyone who hasn’t bought Jeff’s rub recipe, stop waiting and do it. It beats any store-bought rub hands down.
I know you said 12-14 pound turkey. And I have read not to smoke any larger than 14 pound turkeys. We have a 15.5 pound bird and I mentioned to my wife I would split it before smoking. She is really against the idea. Should I throw out that we will die if I do it whole, or should a 15.5 pound bird be okay? I’m using a propane Great Outdoors Smokey Mountain Series smoker if that makes any difference.
15 pound bird will be ok if you turn up the heat just a little.. maybe do them at 250-260 degrees. The idea is to get them to 140°F within 4 hours and that is tough to do unless you have a 12 lb turkey or use a higher heat.
The GOSM is a good smoker and will provide excellent smoke flavor even at the higher heat.
I’m going to smoke a 12 lb turkey for labor day. But I do things a little differently. First, I spatchcock the bird, but also finish splitting it into two parts, backbone removed. That gives me two flat pieces, one for each shelf that they will be cooked on in my vertical, electric smoker.
Then, I skin the bird.
Then, after removing any visible fat, I add the salt. In my case, I just wait for it to draw out moisture, and then add the rub. No mayo or mustard needed – it sticks to the wetness from the salt. Next, I add bacon across pretty much all of it to replace the skin. More rub on the bacon. Then refrigerate if not going to the smoker right away.
Then, smoke it and enjoy!
PS – salt does not pull moisture out of fat. Fat and water do not mix. So, if you really want the reverse osmosis caused by salt, you need to put it on meat (protein), not fat. (That goes for removing fat caps on all sorts of cuts of meat also.)
Jeff I purchased your recipes last year and the sauce, and rub are my only smoker add ons. I have usd them on everything. Wonderful blend. Trying your dry brine next using Omnivore Salt blend.
I have a RediChek 732 and works fine but a hassle with the wires. Also use a Pit Barrel cooker, which I love.
The one you recommend, the Meater, seems to have a problem inside a smoker, according to reviews. Would love to have an easy wireless option. Just wondering how yours worked out in the PBC.
Thank you for your patience! I have read the reviews and seen that some have had issues. I have multiple bluetooth devices and some get 30 feet or more while others lose connection if you get more than 10 feet away so that’s not something that really bothers me. I am hoping that bluetooth technology improves over time but I’m not a huge fan at this point– I just work within it’s limitations.
I also am not one to keep my phone in my pocket all day. If I am in the house, I’ll usually lay the phone on the cabinet and I’ll walk over and check it out if it chirps at me or if I need something. So I may not be a typical user.
When I was cooking with this using the PBC, I left the phone within 10 feet or so of the Meater and had no issues but I did notice that I lost connection when I carried my phone too far into the house.
I was just looking at their website and apparently they are aware of the range issues as they have come out with a new unit that uses bluetooth AND wifi for 165 feet of range. I assume this fixes all of their issues.
The unit itself is super nice.. I LOVE not having to deal with wires or multiple probes. One probe and I get meat temperature and pit temperature.. just like that and the app is pretty spiffy too. It does a great job of estimating time remaining and good graphing as well.
https://smoking-meat.com/meater
What temp do you start your bird at ? Fridge temp or room temp ? or in between ? Makes a huge difference in cooking time
You are correct, I usually start from fridge temp. Have a great Thanksgiving!
many of the grills and smoker recipes that you promote don’t come out right because they are different. you can’t always get the same results.
I know you have at least 100 smokers but I only have one.
Peter,
There are slight differences between various grills and smokers due to the design and how the air/heat flows inside of them but this is why I stress cooking to a certain temperature rather than time. I usually cook things on multiple setups to see how the time is averaging between them before posting the cook time.
The Pit Barrel only took about 4 hours to cook the turkey because it was running at 275°F approximately but you should be able to expect about the same time in a pellet grill, gas smoker or even an offset wood smoker running at the same temperature.
If you are seeing differences even though the smoker is running at a the same temperature as what I recommend, you may want to check the temperature at grate level, right where the food is sitting and make sure it’s actually doing what the thermometer says it is.
Other things that make a difference are how cold the meat is when it goes into the smoker, how often the lid is opened, etc.
What type of smoker or grill are you using?
My only question is how often do you add more charcoal and wood chunks during the cook time
The charcoal and wood lasted for the entire 4 hours and smoke was still coming out 4 hours beyond that and warm enough to cook.
Tried the rub and it was to die for!! Can’t wait to give the sauce a try as well! Thanks for sharing your wonderful recipes.