Finger Lickin’ Smoked Pork Ribs for Christmas

Smoking-Meat.com is supported by its readers. We may earn an affiliate commission at no extra cost to you if you buy through a link on this page.
Read this article without ads
One of our favorite family Christmas traditions in regards to food is the delicious smoked pork ribs that we pile up on the table for our annual Christmas dinner. This year we are going sticky so get the paper towels ready 'cause it's gonna get a lil' messy!
I have been thinking about something else I can do to make these even better than they already are and I happened upon the idea of dry brining the ribs for several hours before adding my original rub.
This extraordinary brining process that uses only salt and the natural juices of the meat has definitely pushed these over the top and you'll want to try these really soon.. maybe even for Christmas dinner?
- Prep Time: 25 minutes
- Brine Time: 4-8 hours
- Cook Time: 5 hours
- Smoker Temp: 230°F (110°C)
- Meat Finish Temp: 195°F (91°C)
- Recommended Wood: Cherry
- 2 or more racks of pork baby back ribs
- 2 teaspoons of Coarse kosher salt approx. (per rack of ribs)
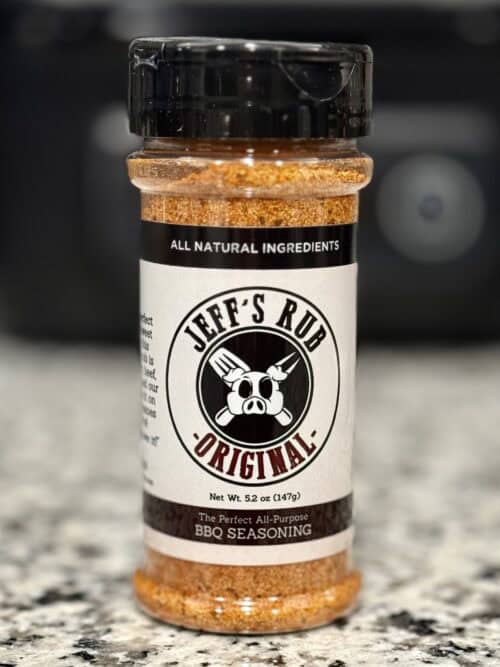
- Jeff's original rub
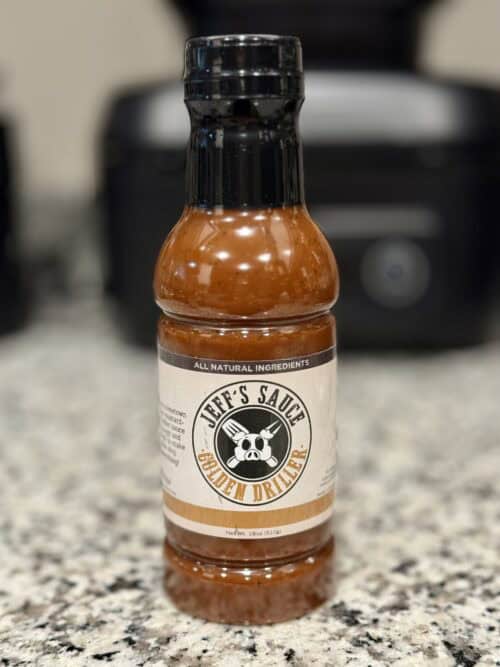
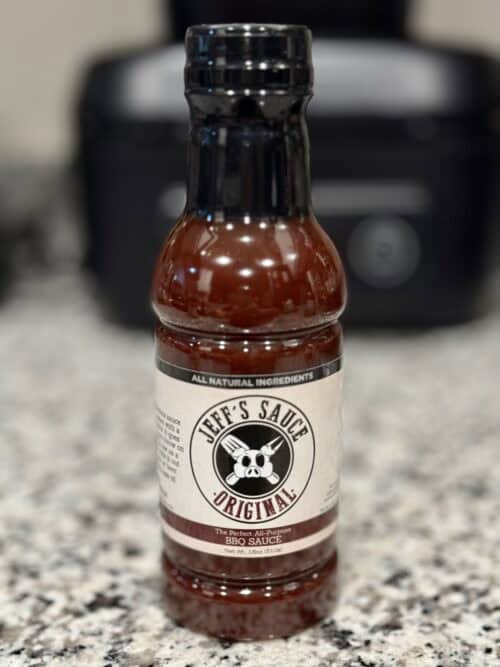
- Jeff's original barbecue sauce
Wet brining is when you place the meat down in a salt/water solution (usually about 6% salt) and it works really well but the meat takes on water. Sometimes this is good but there are other times when you just want the salt to get into the meat without extra moisture and this is where dry brining comes in.
When you sprinkle salt on the outside of meat, it begins to draw moisture to the surface. This salt and moisture becomes a sort of slurry that further dissolves and begins to get drawn back into the meat. If you give it time, it will find it's way all the way through the meat.
The hard part is knowing how much salt to use and this is something that you can't really measure accurately using volume.. you just sort of have to “eyeball” it. I have included some pictures within the instructions below to show you what the proper amount of coverage looks like.
Read more about wet brining vs dry brining
With these ribs, I removed the membrane first and then added salt to that bone side first for a few hours then flipped them over and dry brined the meaty side for about 4 hours. This method worked beautifully and I recommend you duplicate this.
The membrane is a thick plastic-like skin over the boney part of the ribs. removing this allows the smoke to penetrate the meat better and, in these ribs, it will allow the salt to penetrate the meat so as to dry brine them.
Pry up on the membrane using a knife or other sharp utensil. Then grab the membrane with a paper towel and pull it clean off.
Note: You can also use a pair of catfish skinning pliers if you like.


I explained above what dry brining is and how it differs from wet brining and now we are going to use this unique method on these pork baby back ribs.
Starting on the bone side, sprinkle kosher salt as consistently even as you can all over the surface of the ribs. You are looking for approximately 1/8 to 1/4 inch between the grains.
My best estimation is that I used 1 teaspoon of kosher salt on this side.
Here is a picture to give you an idea of the coverage you are looking for..

Place the ribs bone side up into the fridge for about 2 hours then remove them and place them back on the table or cutting board meaty side up.
You will now, once again, sprinkle kosher salt on the meaty side of the ribs using the same coverage as on the bone side.. about 1 teaspoon on this side as well.
Place the ribs once again in the fridge to let the kosher salt work it's magic on the top, meaty side of the ribs. About 4 hours is sufficient but 8 hours is ok if you need to leave them overnight.
There is no need to rinse the ribs.
Place the ribs meaty side up into a throw away aluminum pan (to contain the mess) and let the seasoning process commence.

Sprinkle enough of my original rub onto the top of the ribs so that you can no longer see the meat.. when you've done that, you've applied enough rub.

Let the ribs sit undisturbed for about 15 minutes and you'll see that the little granules of salt in the rub pull moisture to the surface that mixes with the rub and you will know this because they will begin to have a “wet” look.
While you are waiting is a great time to go get the smoker ready.

Some of you may be wondering about this… I normally use mustard as a sticking agent to help the rub to bond to the meat and I also usually apply rub to the boney side of the ribs as well. In this version, I decided to forego these parts of the process to reduce the salt on the surface of the ribs due to the addition of salt into the meat via the dry brining process.
This was just a precaution and my original rub is low on salt so there's no need to worry about the ribs ending up overly salty doing it the way I did. After the fact, I can tell you that you can rest assured that this method works perfectly.
Set up your smoker for indirect cooking at about 230°F (110°C).
I used cherry smoke for these but use whatever smoking wood that you like and have available.
If your smoker has a water pan, fill it up with hot water.
Once your smoker is preheated and you have selected the wood you will use and it is producing a little smoke, you are ready to place the pork ribs in the smoker.
Step 1
Place the ribs bone side down if possible.
Let the ribs cook at about 230°F (110°C) and with smoke for 2 hours.
Step 2
At the end of 2 hours, wrap the ribs with foil or place them in a deep foil pan.
Do this carefully so as to not tear the foil. If you do happen to tear it, just wrap it with another piece.


Place the wrapped ribs back into the 230°F (110°C) smoker.
Let them cook in this wrapped state for about 2 hours.
Please note: This foil stage is where the ribs get super tender. If you do not like super tender ribs then simply reduce the amount of time the ribs are in the foil.
Step 3
It is now time to unwrap the ribs from the foil or remove them from the foil pan and place them back on the smoker grate at 230°F (110°C) for about 1 hour.

This is also a great time to start slathering them with some of my original barbecue sauce, you won’t necessarily “need” sauce but it tastes amazing and that's what makes them sticky ribs.
I like to brush on a couple of layers of sauce during this last hour.. maybe 20 minutes apart to let each layer caramelize real good.

This 3-step method of cooking pork ribs is known as the 2-2-1 method for smoked baby backs. (for spare ribs it’s 3-2-1 with an extra hour in the first step)
For super-tender ribs:
- 2 hours on the grate
- 2 hours wrapped in foil or in a foil pan
- 1 hour unwrapped again and on the smoker grate
For tender ribs that are not quite falling off the bone:
- 3 hours on the grate
- 1 hour wrapped in foil or in a foil pan
- 1 hour unwrapped again and on the smoker grate
This method works flawlessly, but if you need some metrics for making sure that the ribs are actually ready to eat:
- Pork is officially safe to eat at 145°F internal temperature but pork ribs are tender at about 195°F (91°C). Feel free to check the temperature in the meaty area between the bones using your Thermapen or if you have the Thermoworks Smoke, that will work really well also due to the reduced tip on the end.
- The bones will probably be showing about ½ inch or more due to the meat shrinking and pulling back.
- The rack of ribs should bend nearly in half when held up at one end with a pair of tongs.
Remove the ribs from the smoker and take them into the house.

Turn them upside down on the cutting board so you can see the bones and slice between the bones with a sharp knife.

Pile the ribs onto a serving platter and let the feasting begin!
Oh.. and be sure to serve some of my warmed barbecue sauce at the table for those who like their ribs “extra messy”.

Finger Lickin' Christmas Ribs
Ingredients
- 2 or more racks of pork baby back ribs
- Coarse kosher salt
- Jeff's original rub
- Jeff's original barbecue sauce
Instructions
- Remove the membrane using a sharp knife, your fingers, the end of a spoon, etc. to get under the membrane. Grasp the membrane with a paper towel for better grip or you can use catfish pliers.
- Place the ribs boney side up on the table or cutting board.
- Sprinkle about 1 tsp of kosher salt evenly on the boney side of the ribs.
- Place the ribs in the fridge for 2 hours.
- Remove the ribs from the fridge, flip them over to meaty side up and sprinkle a tsp of kosher salt evenly on the meaty (top) side of the ribs.
- Place the ribs back into the fridge for at least 4 hours or overnight is okay.
- There is no need to rinse the ribs after this dry brining process.
- Season the outside of the ribs generously with my original rub on the top meaty side of the ribs.
- Let the ribs sit there just a few minutes until they get that "wet" look. This is the rub mixing with the natural juices in the meat.
- Set up your smoker for cooking at about 230°F (110°C) if possible. Be sure to use a tried and true thermometer to make sure that your smoker is running at the temperature that it says it is.
- Once your smoker is heated up and ready to smoke, it’s time to get those ribs on the grate.
- Place the ribs bone side down if possible.
- Let the ribs cook at about 230°F (110°C) and with smoke for 2 hours.
- At the end of 2 hours, wrap the ribs with foil.
- Do this carefully so as to not tear the foil. If you do happen to tear it, just double wrap it with another piece.
- Place the wrapped ribs back into the 230°F (110°C) smoker and you can even stack them all together if you need to.
- Let them cook in this wrapped state for about 2 hours.
- With a total of 4 hours past, you now want to unwrap them again.
- They will be very soft on the outside and very tender on the inside, and this last step is to firm up the outside just a little before serving them.
- Remove the foil and place them back into the 230°F (110°C) smoker for 1 hour.
- Paint the ribs with sauce several times over the course of this last hour to make them nice and sticky.
- Slice up the ribs and serve them
Nope. I had 2 racks of Baby backs cut in two (so 4 slabs). I did everything exactly as prescribed in the recipe. 2 hours at 225 on my Pit Boss. 2 hours double-wrapped in tin foil, 1 hour with foil removed basting with sauce every 20 minutes. They were “done” (over 145 degrees), but not “fall off the bone.” In fact, they were chewy and tough. Very disappointing. Back to the drawing board. I used a store bought rub called Memphis Inspired Seasoning Rub from Kroger. It was not good so I won’t use that again, but I can’t imagine that would be the cause of the toughness.
If I could leave 10 stars I would! I made these last night. I did everything except the brine. These were, without a shadow of a doubt, none, the BEST ribs I have ever had in my ENTIRE life – and my guests agreed. I’m dead serious. I have been in the travel/hospitality industry for 30+ years, I have eaten BBQ all over the place, I owned my own wine bar & restaurant and went to The French Culinary Institute in NYC. I have never had baby back ribs that were better than these. They were falling off the bone, amazing smoke ring, tender, tons of flavor and moist. I have found the nirvana of recipes for ribs and this is it. Thank you, Jeff.
Hi Jeff, you talk about a water pan a lot in your recipes. If you have a z-grill pellet smoker should you still put some sort of water pan in it?
Rick, I don’t use a water pan in any of my pellet smokers. I don’t think it would hurt anything though.. just probably not necessary.
If I don’t want to wrap the ribs how long do I smoke them?
I have done spare ribs with out wrapping and it took about 5 hours to get them to falling apart.
Thanks
When tenderizing the meat in the foil pan, can the ribs be stacked on top of each other, or do they really need to sit separate of each other? I have some extra space in my pans and would like to fit more ribs into the smoker.
I never put more than a couple per pan but I don’t think this would present a problem for the tenderizing part of the session.
Jeff, just love your recipes and articles on smoking meats. They are easy to understand in both the pictures and writenjoying body. Thank you for sharing your knowledge in “Smoking Meats” book, articles, and your rub/sauce recipes.
For all of us who enjoy playing with fire, thank you.
These look amazing!
I like the dry brine idea. Do you think beef ribs would benefit from doing a dry brine?