Smoked and Seared Pork Belly Slices
Smoking-Meat.com is supported by its readers. We may earn an affiliate commission at no extra cost to you if you buy through a link on this page.
Read this article without ads
I'm on my third batch of these smoked pork belly slices, otherwise known as “pure deliciousness”, in order to get the recipe and instructions absolutely perfect.
You need these really bad, although your doctor may disagree! pork belly isn't entirely healthy, and you probably shouldn't eat these every day, but for a once-in-a-while treat, I say go for it;-)
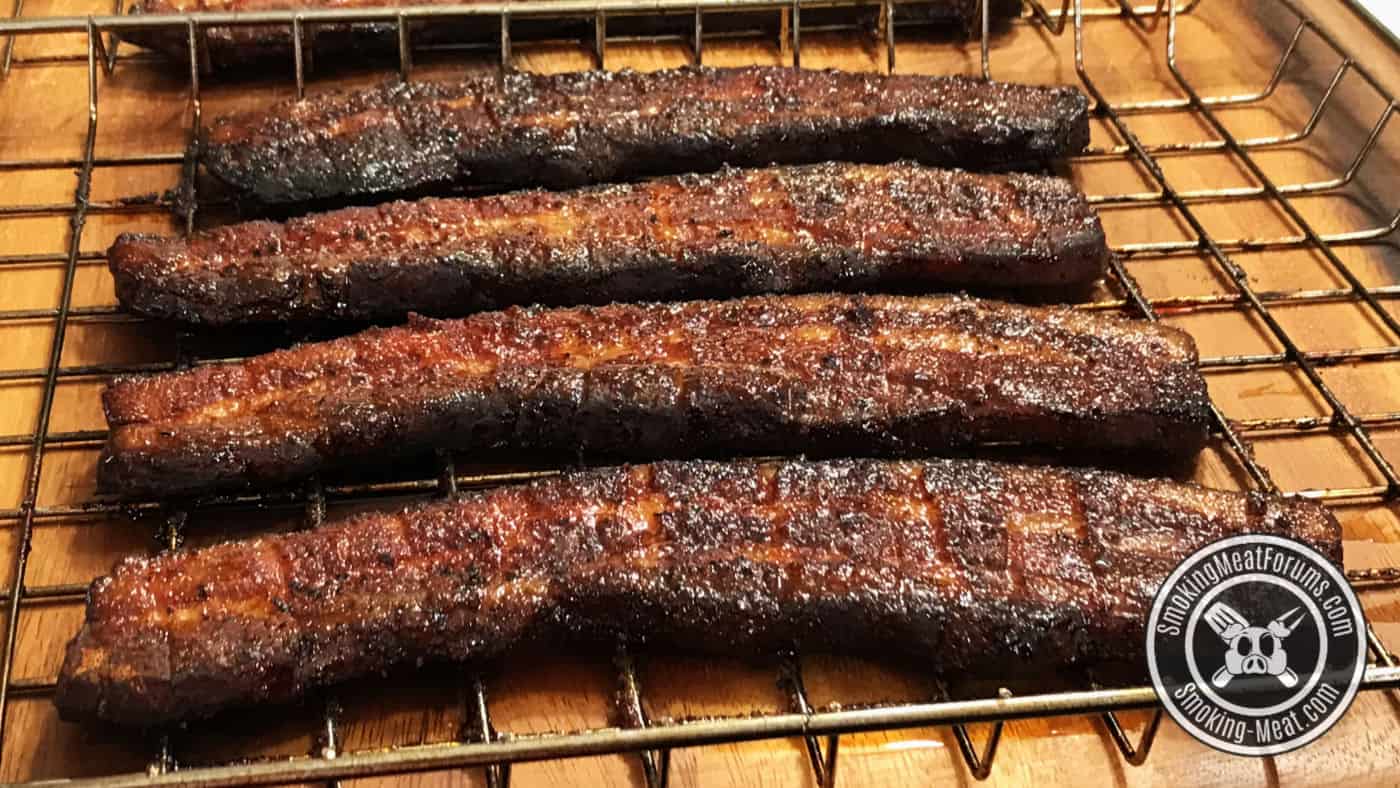
In my first batch, I only smoked them, and they were pretty darn good, but I knew they were missing something texture-wise. I then decided to give them a good sear in the frying pan after they cooled down, and that made all the difference in the world. A good crisp on the outside, tender and juicy on the inside. Oh yeah!
Helpful Information
- Hands-on Prep Time: 10 minutes
- Dry Brine Time: 2 hours
- Cook Time: 1 hour 30 minutes
- Smoker Temp: 225°F (107°C)
- Meat Finish Temp: 205°F (96°C)
- Recommended Wood: Hickory
What You'll Need
- 3-4 lbs pork belly slices (¼ inch thick is perfect)
- Kosher salt (for the dry brine)
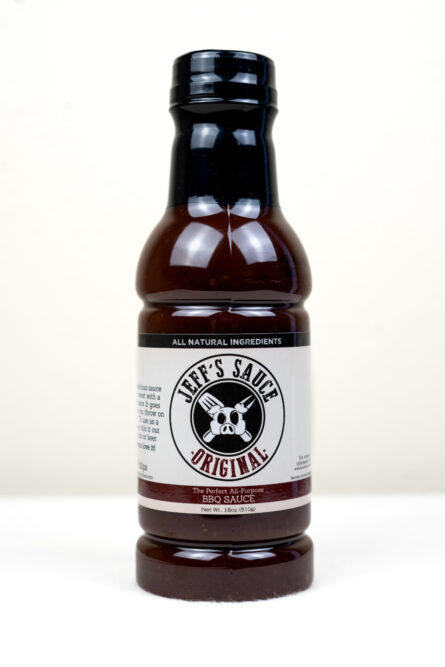
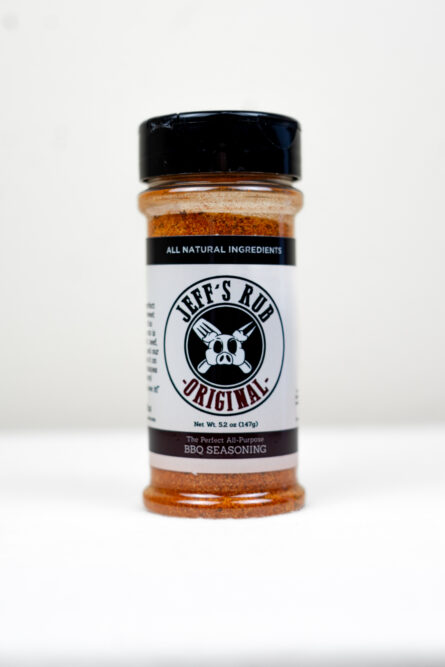
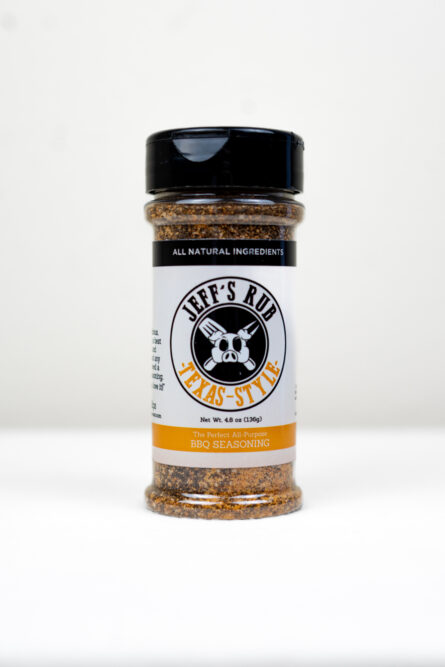
- Jeff's original rub
About Pork Belly
If you live close to a Costco, and perhaps some of the other big club stores, then you are fortunate. Many of them carry pork belly and pork belly slices like the ones I'm using in this recipe.
If you don't, you'll have to get a little creative, but it still should not be that difficult to find a store that carries it and/or can order it for you. You may also be able to get them to slice it for you into ¼-inch slices.
This is the part of the pig where bacon comes from; however, when making bacon, it gets cured, possibly smoked and sliced much thinner. I suggest calling all of the grocery stores, meat markets, etc. in your area and ask to speak to the meat guy. This guy or gal can tell you if they have pork belly or a good place to find it, and they'll be the one to ask about slicing it.
Step 1: Dry Brine the Pork Belly Slices
I like to get some salt into the meat of the pork belly slices to help bring out the flavor. This is especially important when you use my original rub since it does not have a lot of salt. After some trial and error, I decided that these absolutely needed more salt.
Simply lay the pork belly slices flat in a large pan.
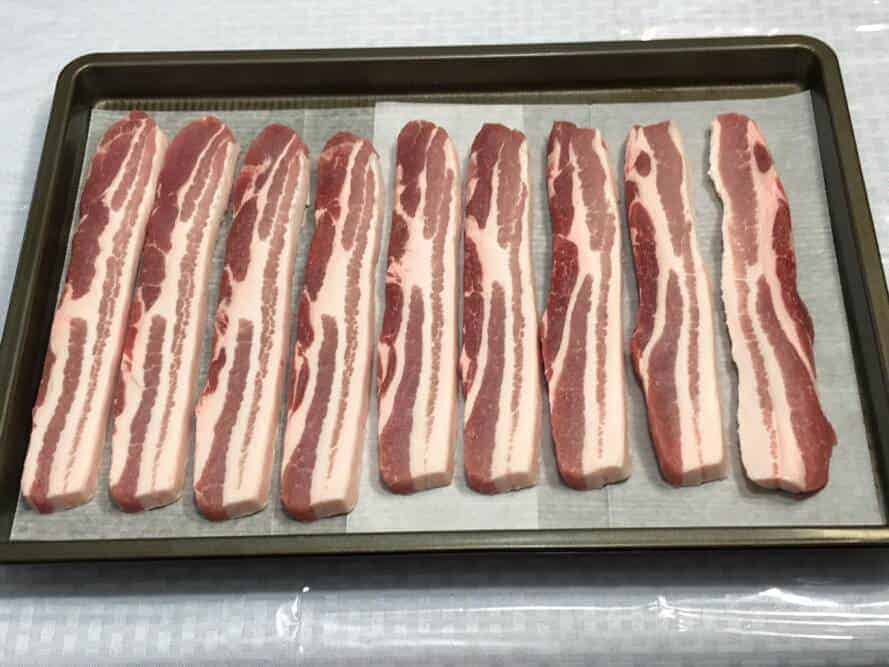
Sprinkle kosher salt all over at about 10% coverage. This is very difficult to measure, so it's more of a visual thing—here's an image that shows the coverage I used.
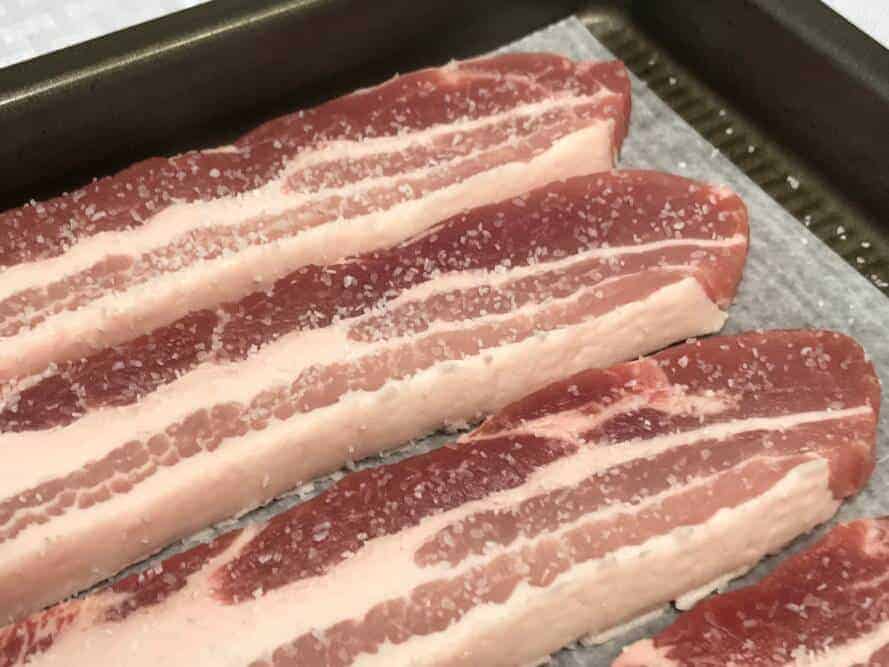
Place the pan of pork in the fridge for 1-2 hours. During this time the salt will draw moisture to the surface. Here's a picture of the pork after only 20 minutes.
See the moisture pooling on the surface and the salt beginning to dissolve?
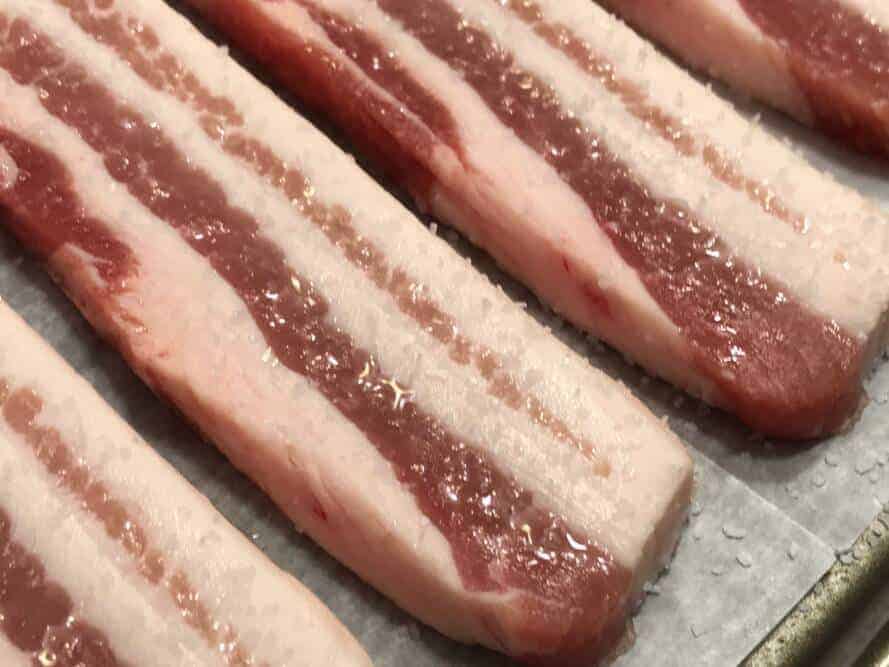
The salt will dissolve and mix with the moisture and absorb back into the meat. You will notice that this does not happen in the fatty areas as the oily fat blocks the moisture from coming to the surface in those areas.
At the end of 1-2 hours (depending on how patient you are), flip the meat over and repeat the dry brining on the other side, placing it back in the fridge for at least another hour although overnight is fine.
After the dry brining process, the meat is ready to be seasoned with my original rub.
Step 2: Season 'em Up
My original rub was originally designed for pork, specifically pork ribs. It adds that perfect balance of sweet and spice to the outside of the meat, and it's guaranteed to please.
Generously sprinkle the original rub all over the top side of the pork belly slices.
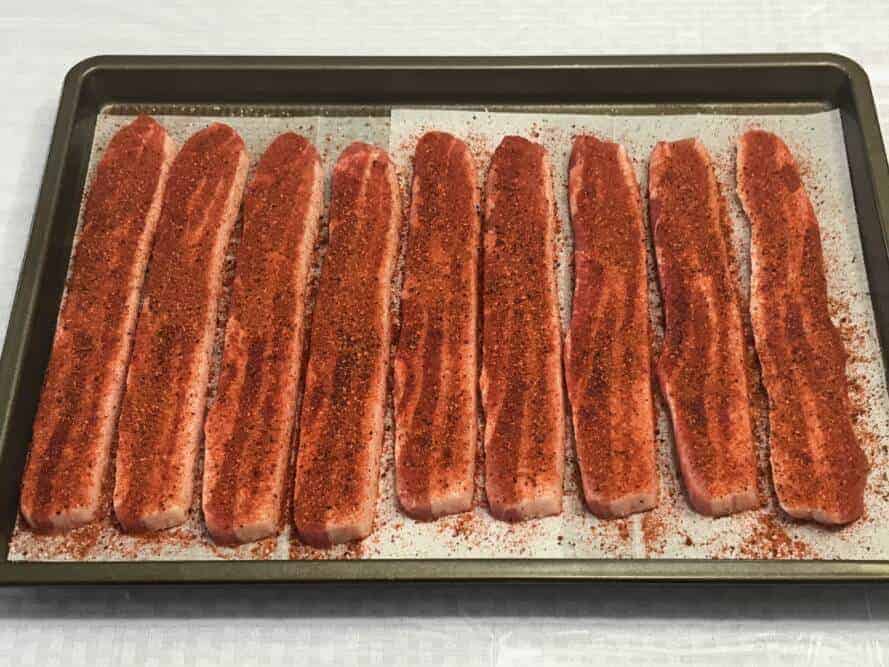
Let them sit there for 10-15 minutes or until they get that “wet” look. Sort of like the dry brining process, the small amount of salt in my rub draws moisture to the surface, and it mixes with the rub giving it a “wet” look and helping it to stick to the meat.
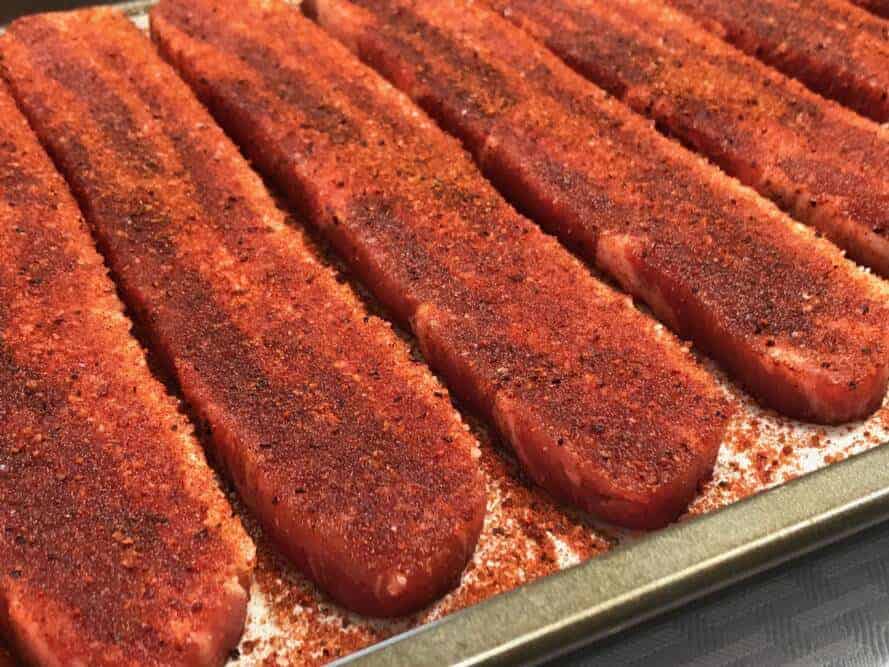
Flip the slices over and repeat the rub on the other side once again, wait for the “wet” look before proceeding.
This is a great time to get the smoker ready.
Step 3: Set Up the Smoker
Set up your smoker for indirect cooking at about 225°F (107°C) using hickory wood or whatever good smoking wood you have available.
You can use ANY smoker to cook these.
It's okay to use the water pan if your smoker is designed for this. I don't generally use water pans in smokers that do not come with a water pan. Having said that, unless you are drying something such as jerky, it is always okay to place a pan of water below the grate, on the grate or wherever it works best in your smoker to introduce a little humidity to the smoking process.
Once your smoker is preheated and ready to go, you can proceed with the smoking process.
Step 4: Smoke the Slices
I placed my slices on racks to make it easy to transport to the smoker. I also left the slices on the racks during the cooking process.
My favorite pans/racks can be seen HERE, and they are stainless steel, heavy duty and save you hours of cleanup time.
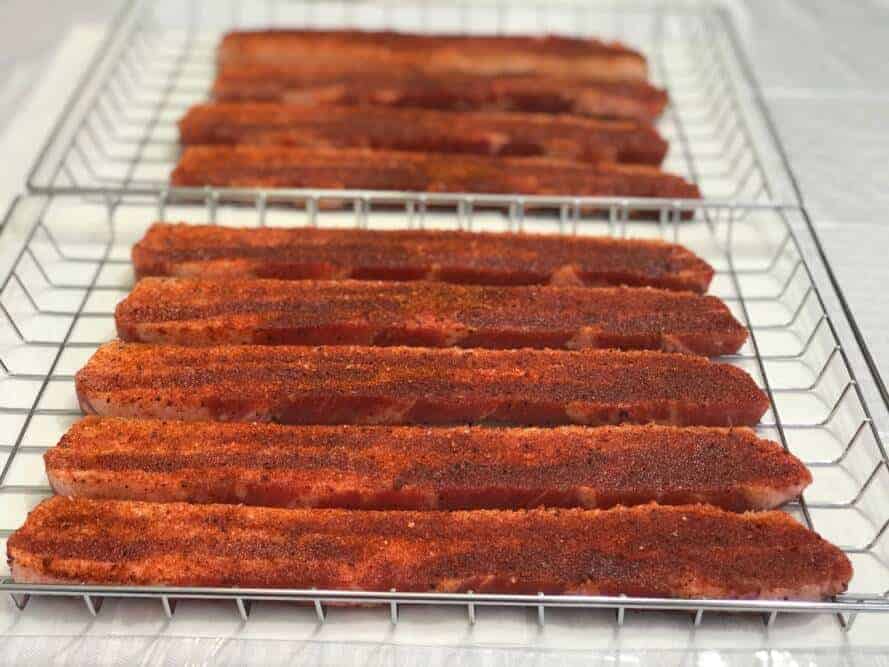
Place the pork belly slices into the smoker and let the cooking begin.
You can expect these to take about 90 minutes to reach 205°F (96°C); however, this greatly depends on how well your smoker maintains the temperature, weather, wind, how often you open the door, etc.
For these slices, it's not easy to use a leave-in thermometer like the “Smoke” by Thermoworks so I usually just check them with a fast reading Thermapen at about the 60-minute mark to see how things are progressing.
These will get more and more tender as you cook them, so don't pull them early.
Once they reach 205°F (96°C), remove them from the smoker and set them on the table or cabinet to cool.
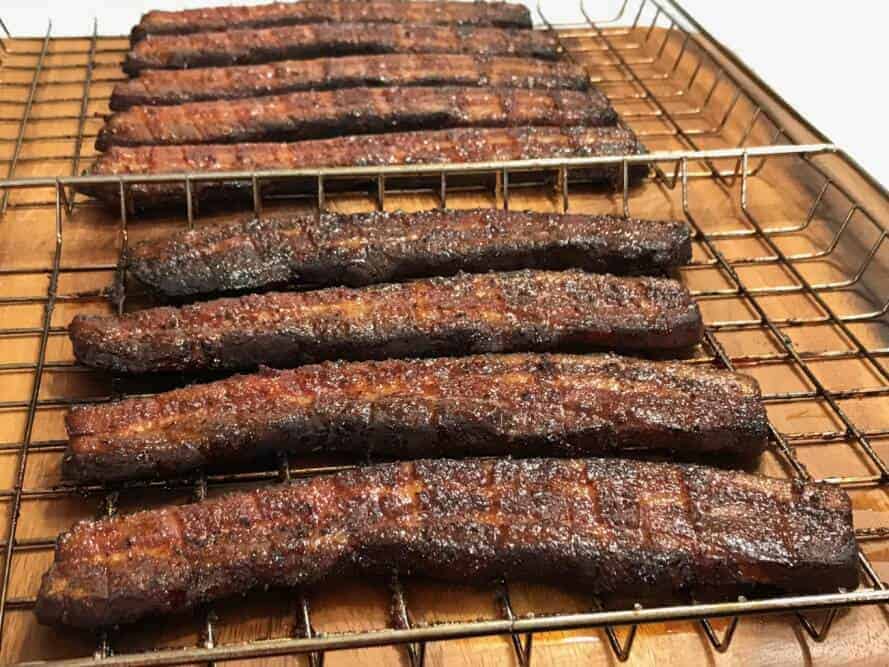
Step 5: Let Them Cool Down
Feel free to sample one if you like, but I can tell you that the last step makes all the difference in the world, and I hope you can trust me on that.
Once they are cool to the touch, I usually pile them into a foil pan and place them into the fridge covered.
Wait about an hour or longer before searing them for best results.
Note: because of this cooling process, these are great for making ahead of time, and then you can sear them right before your guests arrive.
Step 6: Sear Both Sides
I used a large skillet for this process the first couple of times and an electric griddle the last time. Both of these options worked very well, although outside on the griddle is always a better plan since there will be a lot of smoke when searing.
I recommend high heat, and you shouldn't need any oil since the meat tends to have plenty of fat.
Place a few slices of the meat into the pan/griddle for about 30+ seconds each side. You do not want it to be black but just a good sear that really brings out the flavor and the texture.
Note: I cut some of the slices up into smaller pieces, and that made it a lot easier to work with in the pan.
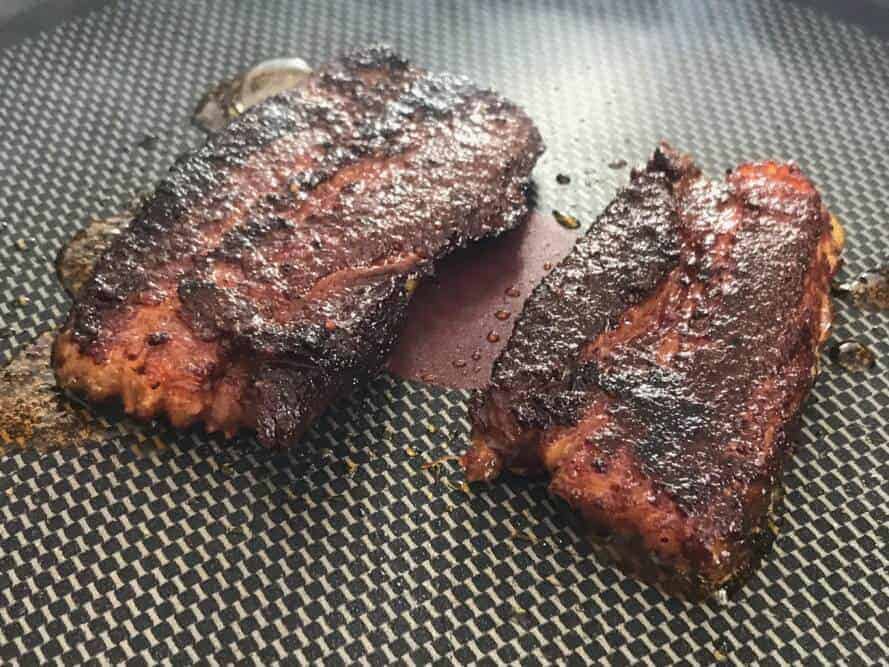
I served these to a crowd of about 10, and they were happy campers! I highly recommend trying these really soon, maybe even this weekend!
Smoked Pork Belly Slices
Ingredients
- 3-4 lbs pork belly slices (¼-inch thick is perfect)
- Kosher salt (for the dry brine)
- Jeff's original rub
Instructions
- Lay the strips of pork belly on a flat sheet pan for dry brining.
- Sprinkle salt on the top side of the meat at about 10% coverage, then place in the fridge for one hour.
- Flip the meat over, salt the other side in the same way, and place it back in the fridge for another hour.
- After the second hour, the meat is ready to be seasoned with the original rub.
- Season both sides liberally with Jeff's original rub waiting between the top side and bottom side for the rub to acquire that “wet” look before flipping them over.
- When finished, remove them from the smoker and let them cool for about an hour. You can also place them in the fridge to cool for longer if you are making them ahead of time.
- Just before serving, heat a skillet or electric griddle to high heat and cook both sides of the pork belly slices until they are well-seared but not blackened.
- Serve immediately.


Pork belly is always good. I cut my belly in 1/2″ strips and roll it around in a circle like a lollypop. Put a skewer thru it, Smoke for an hour. Then use cherry pie filling and brush it on and finish cooking. great look for parties.
Have you ever combined your candied bacon coating recipe with the sliced pork belly? I think it would work if I dry brined it like the pork belly recipe calls out?
I haven’t tried this but I think you’re onto a very good thing! Let us know how it goes!
Hey Jeff,
I over-salted the strips.
I probably went 80% instead of your 10%. They’re almost inedible 😩. Do you have a recommendation on de-brining them, and since I’ve already cooked them, maybe during the cooling process? Rinse them off? Wipe them off? Any suggestions are welcome!
Thank you!
Took a lot longer than 2 hours to smoke. But they were good.
Good lord, do not buy your meat at Costco, who knows where that meat came from. I source all my meat direct from various farms,
and yes, it makes a differance. No matter where you live, somebody out there will have good meat.
Crappy meat made to taste good, tricky. Good meat to taste good, a lot easier!
Johnny, you best check yourself
Wow! I just followed, kinda, your instructions. Salted, dry rub and smoked at 225 for 2 hrs though and 250 for an additional 45 minutes. Don’t know why so long to get above 200. Then turned up the Pitboss to 500 and seared on rack and turned at 2 minutes. The wife gave thumbs up!!! Now I have to find a good dippin sauce!
Have you tried grilling instead of pan-frying?
Searing them on the grill also works really well.
Thanks! I always default to grilling when making a greasy mess in the house is a possibility.
I tried this today and had a problem getting up to temp. I was smoking some ribs at the same time and assumed the belly slices would be done under 2 hours when I wrap my ribs and put in the oven. I’m using a RecTeq pellet smoker. After 4-1/2 hours they still had not reached 160. So I wrapped them and put them in the oven, also at 225. They eventually got up to temp but now the meat is a bit dry. I will try this again but smoke at 275 and wrap like I would ribs to get up to 205.
I can’t imagine why they would take so long to get up to temp. I usually get them to an internal temp of 205°F (96°C) within 90 minutes. I make sure mine are about ¼-inch thick, and even with ribs in the smoker with them, they should have been just fine.
The “dryness” on these usually means the fat has not begun to render which does not happen until they hit about 180°F (82°C). At this point, the fat begins to melt and they become incredibly juicy. Were yours really thick perhaps? This is the only thing I can think of that would have made them take so much longer.
No they were approx. the same thickness as the ones you did. I’m actually trying them after searing for the first time as I type this. They were finished too late last night to try them. So I just fried some eggs and seared three strips for breakfast. They are very good, not as dry as I was expecting, but still some room for improvement. I think maybe smoking at 275 and wrapping like ribs will solve the drying issue but more importantly getting them up to temp in a timely fashion.
Rick, I haven’t tried them wrapped. Let me know how that goes if you get a chance.
Rick, I haven’t tried them wrapped. Let me know how that goes if you get a chance.
Keith, those are Bradley racks which I used to recommend but nowadays, they are hard to find. I have been using these stainless steel pans with a rack inside lately and getting great results.
Made this today. Wow these are great. My breakfast meat for next week!
Looks good
Going to try this
This weekend on my Traeger for BLT’s
Thanks
Jeff
Jeff, can these be frozen prior to searing process. Of course they would thawed prior to searing!
John
Yes, it should not be a problem to freeze these and then thaw and sear as needed.
Could the rub be put on during the Salt/Dry bring step to eliminate one step?
Dave, you certainly can. I write it out as two steps so people can see the salt working but I’ve done it together many times with no issues.
These are simply amazing! I get the pre sliced at Costco. The searing is really the key!
Hi Jeff,
Was the meat cured first or uncured right out of the package?
Looks like a great recipe Jeff … definitely going to give it a try soon on the Camp Chef Woodwind pellet grill I bought recently. One question, to save a little prep time … any reason why I couldn’t use a cooling rack on a sheet pan to dry brine both sides of the belly at the same time in the fridge?
Bill, dry brining works when the salt draws the moisture to the surface where it mixes with the salt. This salty brine pools on top of the meat and is slowly re-absorbed back into the meat. For this reason it is difficult to do both sides at the same time on a cooling rack.
To speed things up, and if you’re using a stainless steel pan, you could salt both sides at the same time and lay them flat in the pan. The top side would brine as usual and the bottom side would soak up any salty liquid that is created in the process.
Thanks for enticing me to try pork belly. My first attempt turned out very well and I’ll be heading back to Costco to stock up on more bellies. I was easy on the rub and smoke and added a little bit of sauce a few minutes before I pulled them out of the smoker. Excellent! Thanks again and keep up the good work.
I have been doing these for years. Near the end of the cook. I brush on some Sweet BBQ sauce. Turn up the smoker. When the sauce gets tacky I pull them. Have to be careful. The pork grease and the sugar in the sauce will burn quickly.
“I placed my slices on racks to make it easy to transport out to the smoker.”
I understand the wire racks for easy transport but why not smoke directly on the smoker grate (Traeger) or cookie sheets (May cook like frying?)?
I have 4 pans of bacon from my belly but not 4 racks.
I use the racks inside of foil lined pans quite often to reduce cleanup time and I get plenty of smoke flavor that way with no difference in cook time. If you prefer laying it directly on the grate, that is also a great option.
Jeff,
Made these delicious Pork Belly Strips for Sunday football and yes I did buy my strips from Costco (not sure what prompted the previous comment.). Turned out fantastic. I seared on the grill, watch out for flare ups, but man they were fantastic! I used a high quality sweet and hot rub and they were melt in your mouth. Thanks for the recipe!
Gene
Costco meat is garbage
The meat I get at my local Costco is really good.. it looks good, it tastes good and it’s easy to find stuff that’s grass fed, free of antibiotics, etc. It’s better than any of our local grocery stores but not quite as good as a specialty butcher shop if I wanted to pay the higher prices.
I speak only from experience and have no financial relationship with Costco other than the fact that they happily take my membership fee every year without blinking an eye ;-)
Can you elaborate on your statement for those of us who are interested?
Maybe at your costco, mine is great.
I think Lonnie may be garbage
Lonnie, why so angry?
“Brine” means salt and water. What you are doing here is curing, more specifically salt-curing. Also, given that there is no step to remove the salt after curing, couldn’t you just add the additional salt to to your rub and save a step ?
Kevin.. soaking meat in salt and water is wet brining, salting meat for a while before you cook it to allow the juices to come to the surface and reabsorb is called dry brining. Curing is when you use pink salt or other curing salts to cure meat such as you do with bacon, ham, etc.
I made these with a costco pork belly. I finished them the next day by searing them in a cast iron skillet with brown sugar and they were amazing. They needed that little extra sweetness, it made them next level good. Chopped them into bits and served them, they were gone in seconds.
I coat them in maple syrup and then put a rub called “maple cane” on them (maple, cane sugar, and salt) prior to smoking. They come pork candy…
I saw the pork belly at Costco. These are 1″ thick strips, 5 or 6 to the pack. Should I slice t h see to 1/4″?
For the pork belly slices, about ¼ inch is the best thickness. You could also change gears and just make pork belly burnt ends out of them. At 1-inch thick the Smoked Pork Belly Burnt Ends! are perfect!
Was wondering if you can freeze them after they have cooled for future use.
I’ve done this before with excellent results. It’s great to just grab one or two out of the freezer and chop up to throw in a skillet with some eggs or mix in with some mac-n-cheese !!!. Getting ready to to do another batch this weekend !!!
I made this for NYE and it was a huge hit!! I think when I make it again, I will sear the slices on my grill. I followed to the letter
Hi Jeff – I have tried many of your recipes this past six months and everything g
Has been terrific, thank you!!! Many of your recipes call for meat to be smoked at 240 degrees. I have a Traeger (which is absolutely awesome) but the temperature settings are in 25 degree increments, so I have 225 or 250 as my options. I generally use 225 when you are recommending 240 because when it comes to smoking “slow and low is king.” As a general rule of thumb would you recommend 225 as I am doing currently or 250?
For a pellet smoker, I recommend cooking as low as possible as that produces more smoke. 225 would be a better option for the Traeger.
Can I use an outdoor grill for the seating step or will the the amount of fat cause too many flare-ups?
A grill will work just fine. There may be some flare ups but that will just sear the slices faster and should not be a problem as long as you stay close and watch them carefully so they don’t burn.
do you have a recipe for smoking the pork belly whole, without slicing it
Happy news Jeff! Turns out this is a great food to eat on a Ketogenic diet! I’ve lost 41 pounds in 9 weeks with no effort or hunger pains due to a low carb (meat), High fat (bacon), moderate protein diet. Sure I throw in an avocado a day and plan to try smoking some with a nice apple wood next week! I saw a recipe for smoked greenleaf lettuce that I might try too! Somked cheese filled, bacon wrapped, peppers…yum! I have pork belly burnt ends, thighs, and boneless beef ribs smoking now!
Are these previously cured or are they uncured? I want to make my own bacon
They are uncured when you buy them. Perfect for curing them yourself and making your own bacon!
Did these for Superbowl and wow!!!! They were GREAT!! Had 1/2 of them left and took a few pieces to the guys at work. Broiled them for a bit instead of searing in the pan. HUGE HIT!!!
Thanks Jeff!!
Jeff, I’m a smoking-meat.com devotee and just made my first attempt at your Smoked and Seared Pork Belly. A couple of comments:
1) The finished product was REALLY salty. I tried to adhere to your “10% coverage” for the brining process. Should I have rinsed off the brine before applying your rub?
2) I purchased a 4-lb pork belly from the local farmers market, and it included the skin. The butcher suggested leaving the skin on, so I did. After smoking, the skin became very hard, and I ended up peeling it from the pieces, since it wasn’t really edible. So the suggestion is NOT to buy the pork belly with the skin and have the butcher remove the skin before slicing up the meat.
Thanks for many, many very fine meals, and your weekly recipes!!
Steve Corcoran
Cleveland, OH
Make sure your local market didn’t cure the pork belly ahead of you buying it. I made these this past weekend with a 9lb pork belly and they turned out excellent! Not too salty at all and just right. They were a huge hit!
working on recipe for pork belly now. Should we cut off the rind/ hide
I have made these for several years. I cut these into small bits with tooth picks. The only thing I do differently is when they reach close to 200 I brush on BBQ sauce and turn up the grill to sear the sauce. Amazing !!!
Jay,
I have a Traeger. I am wondering if instead of pan searing it would would it work the same if I turn the Traeger up to 450-500 degrees for a quick sear at the end.. This is how we do a lot of our meats?
No worries I get the same quality from Sam’s Club. Used this recipe on the same cut and it was great. Thanks for the ideas.