The Smoky Okie Brisket Smoking Method
Smoking-Meat.com is supported by its readers. We may earn an affiliate commission at no extra cost to you if you buy through a link on this page.
Read this article without ads
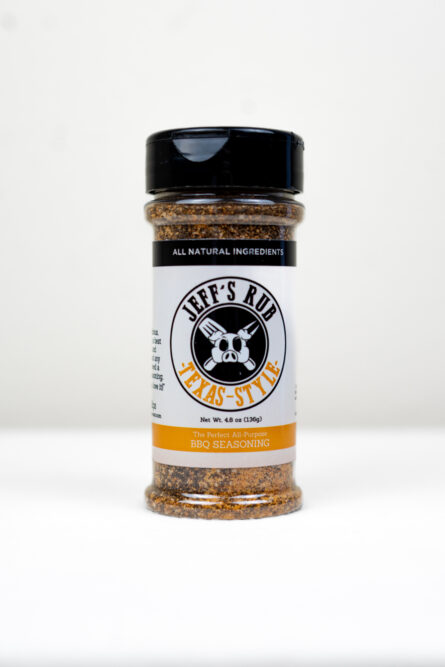
This is a slightly modified version of the legendary Smoky Okie brisket smoking method. Of course the seasoning of choice for the delicious cut of beef is none other than my Texas style rub .
Smoky Okie instructs us to super sear the brisket over a very hot flame before you place it into the smoker. After searing it, you place it into a pan where it smokes and sits in it's own juices to help keep it moist and juicy. It does get flipped a few times during the process so all sides get some smoke.
I highly recommend you try this method and especially if you have not had good luck with smoked briskets in the past.
- Prep Time: 15 minutes
- Dry Brine Time: 4-6 hours
- Cook Time: 9-11 hours
- Smoker Temp: 250-275°F
- Meat Finish Temp: 200°F
- Recommended Wood: Cherry and/or Hickory
- 10-12 lb brisket (mine was 17 lbs because that's what I already had)
- Kosher salt (for dry brining)
- Jeff's Texas style rub
- Large foil pan
- Aluminum foil, heavy duty
Smoky Okie says to put rub on the brisket a day or two before you are ready to smoke it and to wrap it tight with plastic wrap. However, I don't like burnt rub and feel a better option is to just dry brine the brisket with some good ol' kosher salt. Save the seasoning for AFTER the sear.
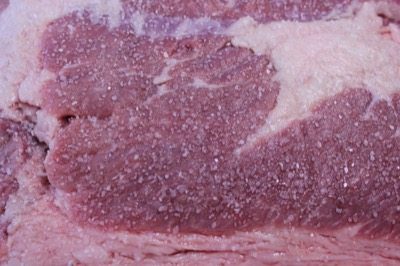
To dry brine, just sprinkle coarse kosher salt generously on the meaty parts of the brisket. It doesn't affect the fat so you don't have to do the fatty side or the fatty areas of the brisket.
Here's a picture to show you the kind of coverage I recommend:
Place the salted brisket in the fridge, no need to cover it, and just let it stay in there for 4-6 hours even overnight would not be a bad idea.
During this time the salt will draw brisket juice to the surface. The juices will cause the salt to melt, the two will mix to create a slurry and this saline mixture will then be drawn back deep into the meat.
When you take the brisket out of the fridge after the dry brining process is complete, there is no need to rinse it off. It's a big hunk of meat and the salt gets dispersed throughout the whole thing.
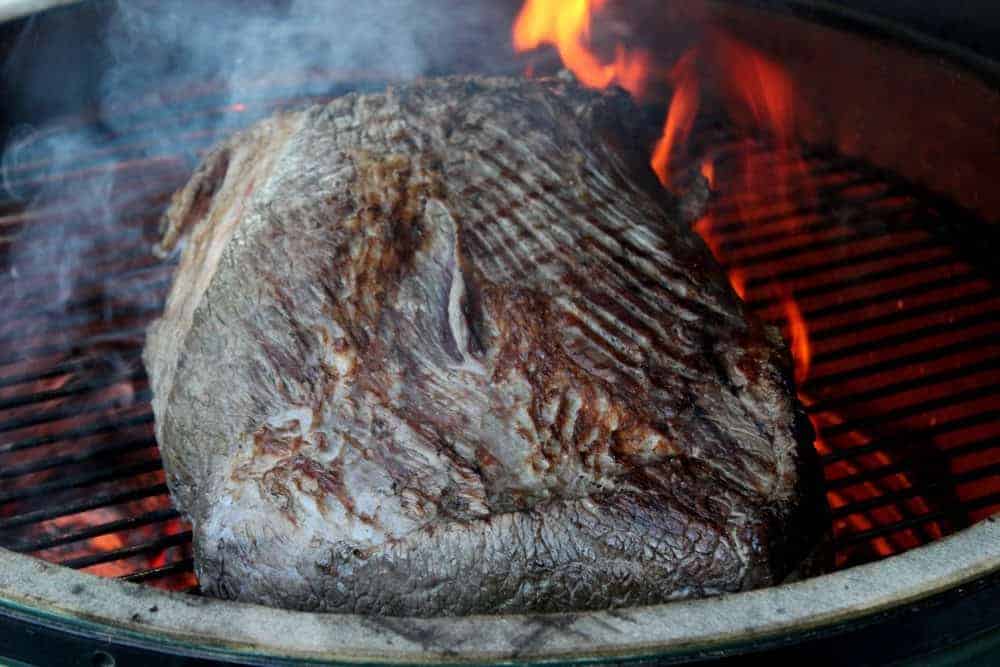
This method calls for searing the outside of the brisket before placing it into the smoker. Smoky Okie says it will be so dark that you might even think it's ruined. This is probably because he puts the seasoning on before searing it. I recommend searing the brisket without seasoning so you'll get a good nice brown sear. You really don't need to burn it up for this method to work well (in my humble opinion).
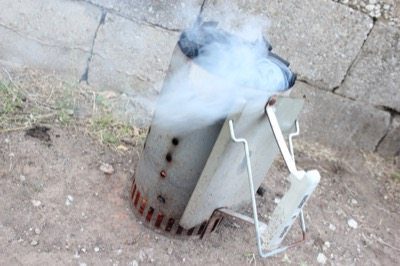
I decided to use my Big Green Egg for the searing process. To start, I made up a batch of lump charcoal in a chimney starter.
Chimney starters are really easy to use, you simply fill it with lump charcoal, place some dry newspaper or paper towels in the bottom and light it. Make sure it's on an area or surface that can handle fire and lots of heat.
Within just a few minutes, you'll see the coals in the bottom starting to glow and before you know it the flames will be leaping out of the top and the coal will be ready to use.
I used the XL Big Green Egg but you can use almost any charcoal grill, smoker or even a fire pit in the ground with a grate over it to sear the brisket.
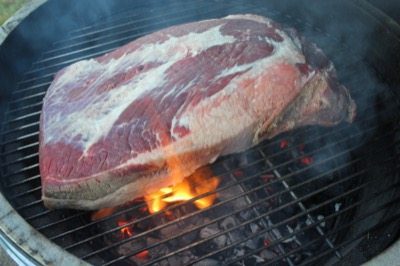
When the coals are ready, place the brisket fat side down on the grate and let the fun begin.
It's really helpful to have some extra long tongs for this but if you don't, some nice leather gloves that go up your arms a little ways will also be helpful.
I singed most of the hair off my hands and lower arms doing this one.. Oh the sacrifices we make for amazing food!
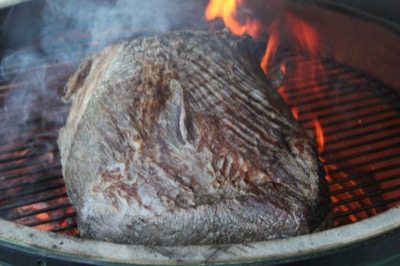
Plan on lots of fire and smoke.. as the fat renders, it will drip down on the coals and the fire will shoot up and over the brisket giving it an excellent sear. it will also smell delicious enough to eat right then and there.
Leave it for 2-4 minutes then flip it over very carefully. I used gloves to grab ahold of the end away from the fire and flip it over.
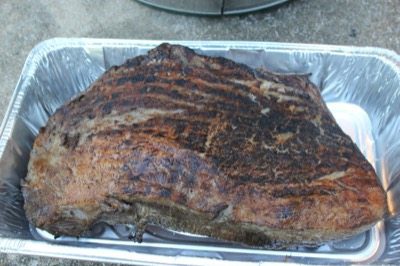
Leave the other side down about 2-4 minutes then remove it from the heat and place it back into the pan.
Now it's time to add the delicious Texas style rub all over that bad boy!
It's probably oily enough so the rub will stick good but if you need to, you can brush on some vegetable or olive oil.
Coat the top, bottom and sides of the brisket generously with the Texas rub making sure it ends up with the fat cap side up.
About the Smoker
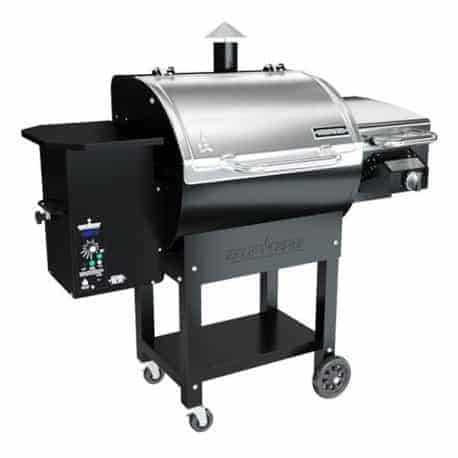
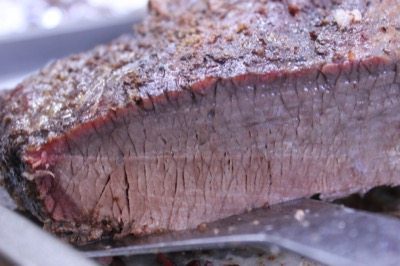
I used the new Camp Chef Woodwind for the smoking part of this recipe and it did a fantastic job.. maybe the easiest time I've had with a brisket and even got a decent smoke ring! I have used a few other brands of pellet smokers and, in general, they all work similarly but the Woodwind by Camp Chef has added a few features that many of the others are missing.
- An ash cup on the bottom of the unit to catch the ashes and make cleanup easy.
- A chute that opens so you can dump the hopper when you want to replace the pellets with a different flavor.
- A 2nd cooking shelf comes standard.
- 3 year warranty and free shipping ain't a bad feature either!
In case you can't tell, I really like this machine and I think if you are in the market for a smoker that is easy to use, introduces a ton of smoke flavor to your food and has the ability to cook from 160°F all the way up to about 500°F, with smoke, then this might be something you need to look at very closely.
Because I like the Camp Chef Woodwind pellet grill so much, I have worked out an affiliate deal with them. When you click on my link to go check out the Woodwind pellet grill, their system will know it came from this website. That way if you decide to purchase one today or even a week or two from now, it will give us a small monetary thank you for sending you their way.
I only recommend products that I absolutely love.. if we can get a few dollars for recommending products that we love and use.. even better!
My affiliate link is: https://www.smoking-meat.com/woodwind
Regardless of what smoker you use, set it up for cooking at about 250°F with indirect heat. If your smoker has a water pan, fill it up.
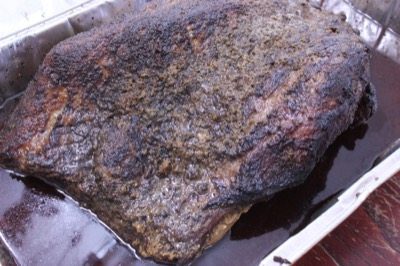
Place the pan with the brisket on the smoker grate. Make sure the brisket is fat side up.
Leave it in this configuration for 2 hours.
Now flip it over to fat side down and let it go another 2 hours undisturbed.
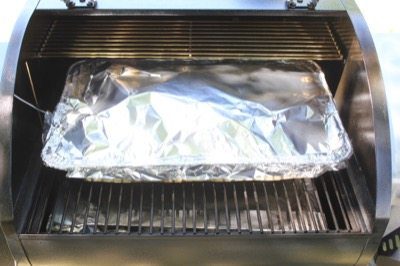
Flip the brisket back to fat side up and cover pan with foil..
Cover the pan tightly with heavy duty foil.
I recommend inserting a digital probe into the brisket so you can monitor the temperature while it cooks. Something like the “Smoke” by Thermoworks is a great tool for this.
Fortunately, I have the Camp Chef Woodwind and it just happens to have a special meat probe built in so, of course, I used that one =)
(I tested it with my Thermapen and it was right on the money.)
Continue cooking the brisket in the smoker until it reaches an internal temperature of 200°F.
Yes, of course you can finish it in the oven if you want to. No smoke is getting through the foil so you can discontinue adding wood for smoke and if you need to use a different unit such as the kitchen oven, it will work just fine. Maintain the 250°F setting in whatever you use.
When the brisket reaches 200°F, remove it from the smoker and set it on the cabinet with the foil open a little to allow it to rest and begin to cool down.
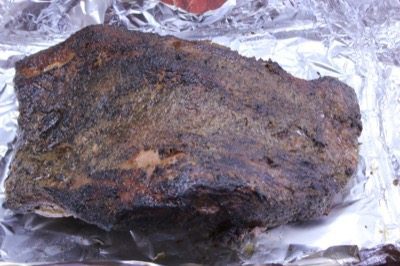
After it's cooled down enough so you're not going to scorch yourself if you touch it, remove the brisket out of the pan of juices and set it aside or on a cutting board.
Now is also a great time to pour the juices into a container and into the fridge so the fat can begin to solidify at the top. If you have a grease separator, that will work great also. Once the fat solidifies at the top, it can be scooped off and discarded leaving you with delicious au jus.
Using a very sharp knife, slice the brisket across the grain into ¼ inch thick slices.
Serve with some of the au jus for dipping or you can pour the au jus over the brisket slices before serving.
Wherever you see an asterisk *, it means I deviated from his original method.
- Season with rub a day or two ahead.*
- Wrap in plastic* and place in fridge until ready to use.
- Just before searing, pack brisket with black pepper*.
- Prepare the smoker for cooking at 250-275°F and while it's preheating, build a hot fire for searing in a separate grill.
- When smoker and separate hot grill are ready, place the brisket on the hot grill and sear top, bottom and sides until it's so black you think it's ruined.
- Once seared, place the brisket fat side up into a large foil pan and into the smoker for 2 hours.
- After 2 hours, flip the brisket over to fat side down.
- After 1 hour*, flip it back to fat side up and cover pan with foil.
- Continue cooking until brisket reaches an internal temperature of 200°F.
- Dry brine with coarse kosher salt 4-6 hours or overnight before smoking.
- Place in fridge during dry brining and until ready to use. No need to rinse the salt off.
- Prepare the smoker for cooking at 250-275°F and while it's preheating, build a hot fire for searing in a separate grill.
- When smoker and separate hot grill are ready, place the brisket on the hot grill and sear top, bottom and sides until it's nicely browned and seared.
- Once seared, season the brisket all over with my Texas style rub and place the brisket fat side up into a large foil pan and into the smoker for 2 hours.
- After 2 hours, flip the brisket over to fat side down.
- After 2 more hours, flip it back to fat side up and cover pan with foil.
- Continue cooking until brisket reaches an internal temperature of 200°F.
- Be sure to use a full packer brisket– this is one that still has the fat cap intact and has not been trimmed up.
- This brisket only took 9 hours even though it weighed in at 17 lbs. The smoker maintained about 250°F the entire time.


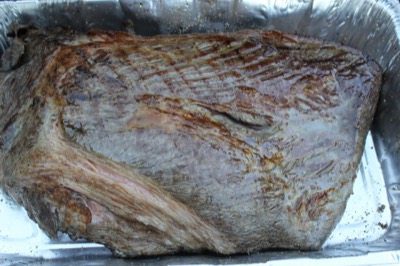
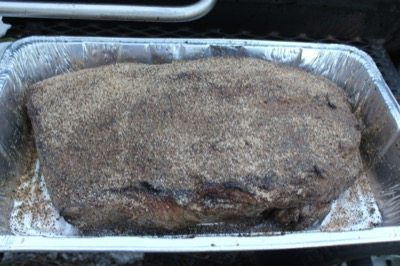
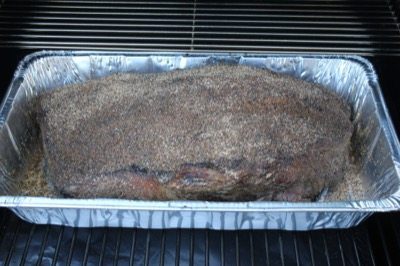
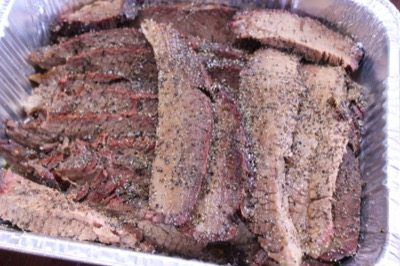
I have smoked many things but never a brisket because I was always afraid to mess up a big piece of meat. I got an 11 lb brisket from my local butcher and followed Jeff’s recipe. Applied the rub and let it marinate for over 24 hours. Did the browning step on my Blackstone as I don’t have a pan large enough to do it on the stove. Inkbird thermometer to watch the temp. It turned out fantastic! (Despite my Camp Chef flaming out a few hours into the smoke. Restarted it and it worked with no problem.). Moist and tender. I have never had a bad smoke when following a recipe from Smoking-Meat. Thanks again Jeff.
Jeff…ever since I started smoking tasty animals, your site has been my go-to source for recipes and information. I’ve been using your rub recipes and tips for over 7 years now, and just wanted you to know how much I appreciate your effort.
Now for my argument…:)
I love this modified Okie method, but I’ve started finishing the brisket fat side down because I like to add a little bourbon to the pan when I wrap the foil. If I leave the fat side up, I end up scraping much of that tasty bark away to try to get rid of the fat. If I finish with the fat down, much of it melts away, and what doesn’t can be safely removed without losing any bark.
But, other than that adjustment (and the bourbon, of course), this method gives me great bark and outstanding smoke ring. Plus, I love the aroma of the searing meat in the pre-dawn darkness! Thanks again!
Have you ever used this method with a pork butt? I was curious and wanted to try. Thanks!
I have not tried that exact method on a pork butt, however, I think it would work great!
Hey Jeff,
My name is Steven Tucker and I bought the rub and sauce recipes ages ago (probably 6 -8 years) and I wanted to tell you that I still love them although I did have to make some of your recommended changes as my wife was starting to whine about everything being too hot – I thought about getting rid of her instead but I figured after 38 years of marriage I could make one change for her – lol. I wanted to mention something I started doing a couple years ago and everyone else may already be doing it but I’ve never seen it mentioned anywhere so I thought I’d mention it here. Concerning the chimney fire starter: I used to use the newspaper but down here in SW Oklahoma we have a really severe wildfire issue so the flying pieces of newspaper ash bothered me so I started using the cooktop section of my propane grill and it really works great! I rarely used it for anything anyway and after taking off the wire rack the pots sit on the chimney thing fits perfectly. I think it even takes less time than the newspaper. Also, I think I developed the greatest BBQ beans by using some of your rub and sauce and then putting the whole pot on the fire end of my offset and let them get the smoke as well. Every time I eat them they seem to get better and better.