Homemade Pastrami from Brisket – The Smoke
Smoking-Meat.com is supported by its readers. We may earn an affiliate commission at no extra cost to you if you buy through a link on this page.
Read this article without ads
If you've ever wanted to make your own pastrami at home for St. Patrick's day or just because you like the stuff, then the time is now and this is the 2nd step in that process.
In case you missed it, in part one I showed you how to prepare and cure the brisket for 6+ days. You can check that out HERE.
In this tutorial, I will walk you through the easy steps of post cure preparation and smoking the cured brisket to turn it into something absolutely juicy, tender and mouth watering!
Note: If you're looking for a digital meat thermometer, my guide called “6 best digital meat thermometers” will help you decide which one is best for you.
Continued from part one of this tutorial on how to make homemade pastrami from brisket – the cure..
- Prep Time: 30 minutes
- Cook Time: 12-18 hours
- Smoker Temp: 225-240°F
- Meat Finish Temp: 200°F
- Recommended Wood: Pecan or oak
- Cured packer brisket
- 1 tsp of vegetable oil
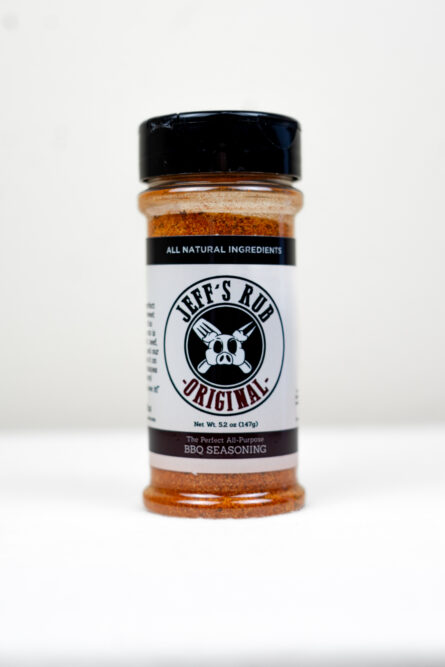
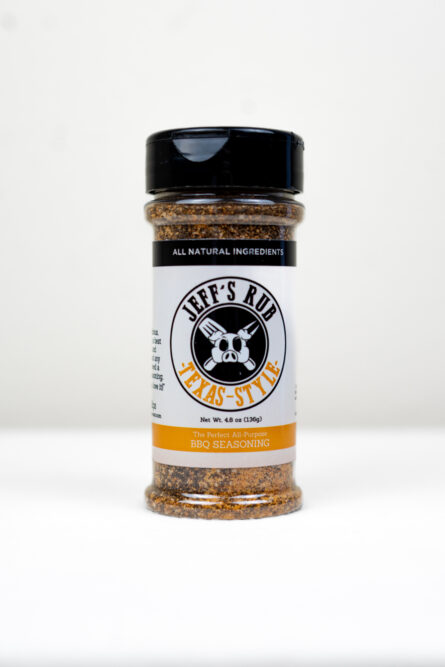
- 3 TBS of Jeff's Texas style rub
- 1 TBS of crushed coriander
Remove the pan with the brisket from the fridge and set it on the counter.
Try not to spill the thing like I almost did!
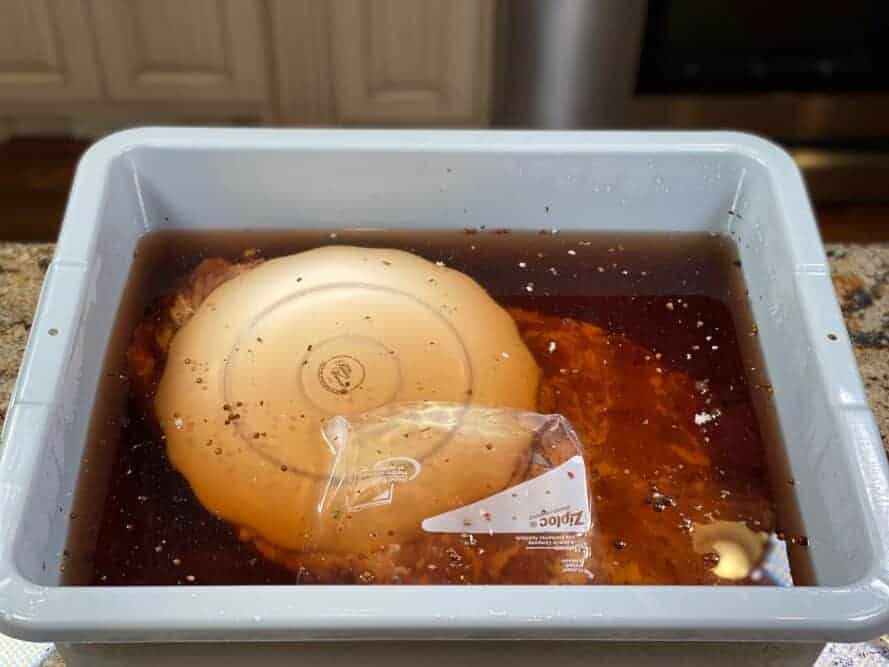
I recommend removing the brisket from the pan and setting it on some absorbent paper or down in a pan temporarily.
Discard the curing brine and rinse the pan. Refill with cold water.
Place the brisket back into the pan and rinse it really well with the cold water.
Remove the brisket and discard the water. We are now ready to test the salt level.
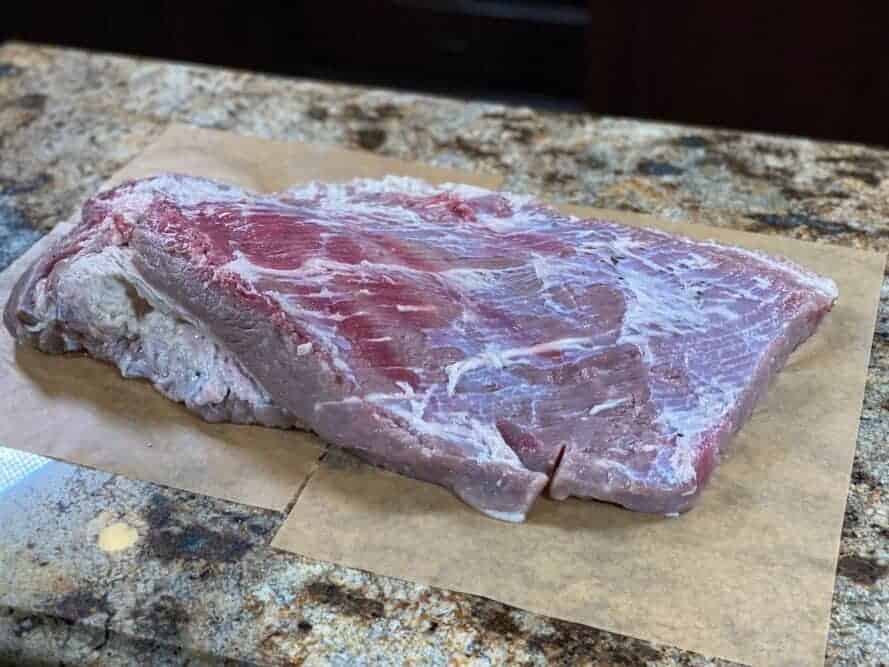
To test the salt level, cut off a corner (preferably across the grain).
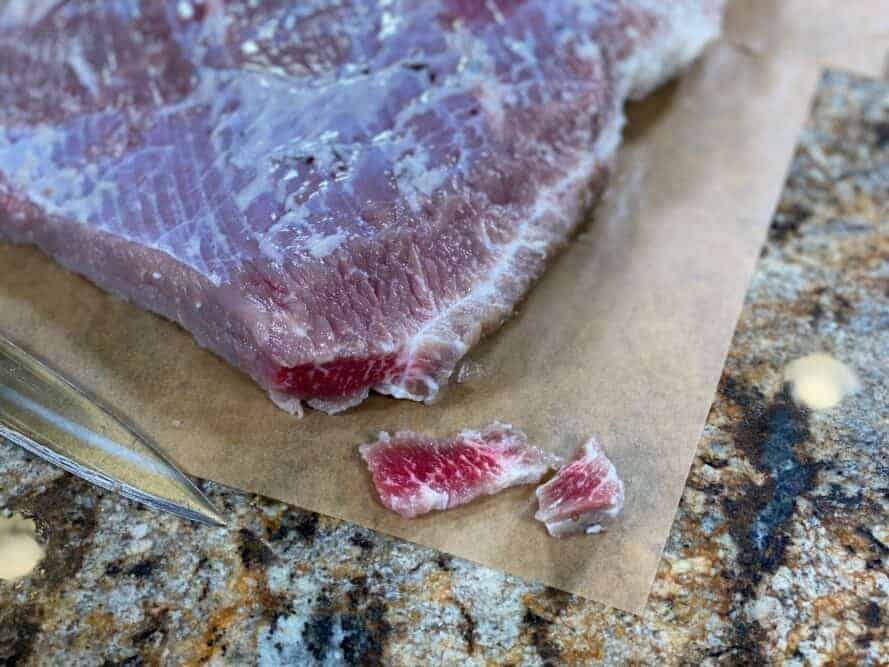
Heat a skillet over high heat and once it's hot, add a small bit of oil (maybe a teaspoon) and add the brisket slice to the pan.
Fry the piece of brisket as you would a piece of bacon until it's tender.
The piece below has been fried and is ready to eat.. note how it is still pink. That is the cure in the brisket keeping it from browning as meat normally would.
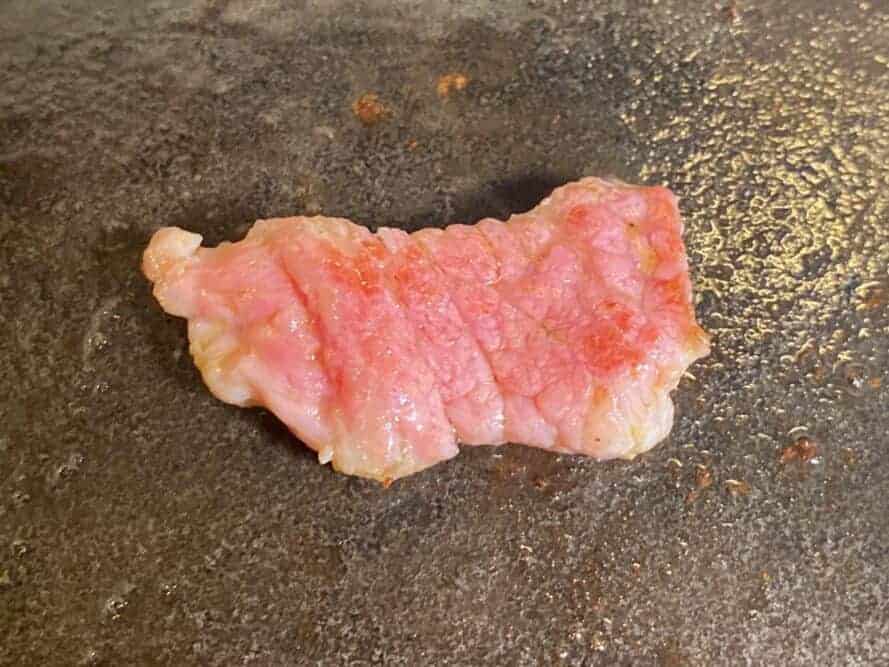
Taste and assess the salt level. Everyone has a different tolerance for salt so you'll have to be somewhat subjective here.
It's supposed to be salty but it should not be so salty that you can't even eat it.. draw an imaginary line in your mind and decide if it's ok or needs to be reduced a little.
To reduce the salt, fill the pan with cold water and place the brisket in the water. Put the pan back into the fridge for 3-4 hours then test the saltiness again by cutting off another slice about 1/8 or ¼ in thickness.
Continue doing this test and soak until you get it the way you like it.
For what it's worth, using my version of Pops brine exactly as it's posted, it did not need any soaking at all.
The brisket has the perfect amount of saltiness and is ready to add some seasoning for that crust. Traditionally, coriander is a predominate flavor in pastrami but I really like the Texas style rub — what to do? I chose to crush up some coriander in my mortar and pestle and add it to my Texas style rub to kill two birds with one stone flavor-wise.
Note: if you don't have a mortar and pestle or don't even know what that is.. think of mortar as a ziptop bag and the pestle as a hammer. Place coriander in the bag, seal it up and take out some frustration.. carefully;-)
I added 1 TBS of crushed coriander to 3 TBS of the Texas style rub. You can adjust this to your own preferences.
The rub was mixed well and then some of it was applied all over the top of the brisket in a nice even layer. A fork was used to press the rub into the meat.
You can place the brisket directly on the grate, or if you like to keep your smoker cleaner, you can place the brisket down in a large foil pan or on a full sized sheet pan with a rack.
By the way, I've had a lot of people ask me about the pan and rack in the image below.. I found those on Amazon and they are super nice to have. Check them out.
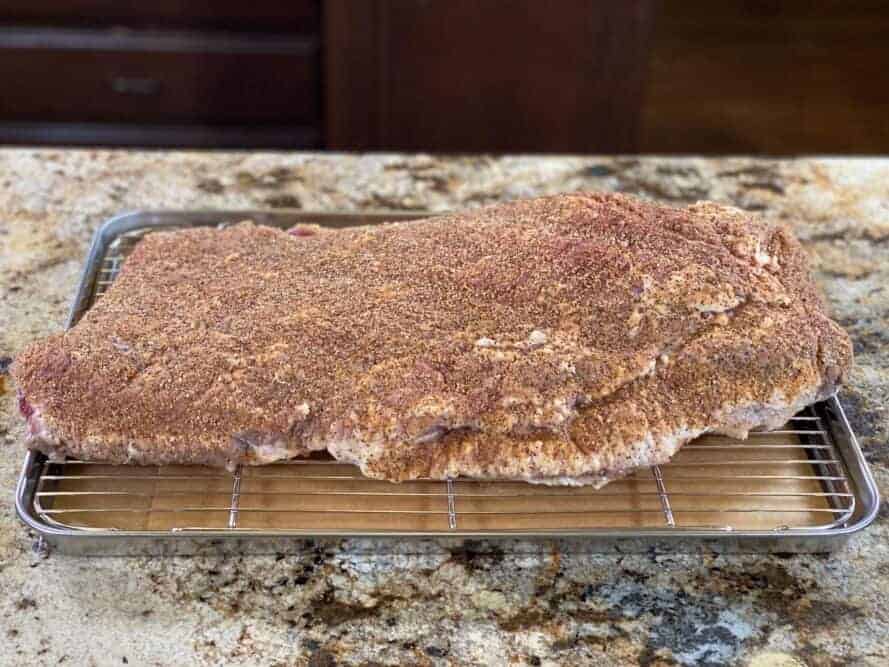
The cured brisket is now ready for the smoker
Preheat the smoker to 225°F using indirect heat. If your smoker uses a water pan, fill it up.
For the wood pellets I used a competition blend of hickory, maple and apple from Pit Boss however if you are using a charcoal, electric or wood smoker, I recommend pecan or oak for smoke.
Once it's ready, place the brisket in the smoker and maintain 225 to 240°F for 12-18 hours depending upon the size and thickness of your brisket.
I used the Camp Chef Woodwind Wifi on Hi Smoke which maintained an average temperature of about 225°F.
I used the Smoke X to test the ambient temperature as close to grate level as possible.
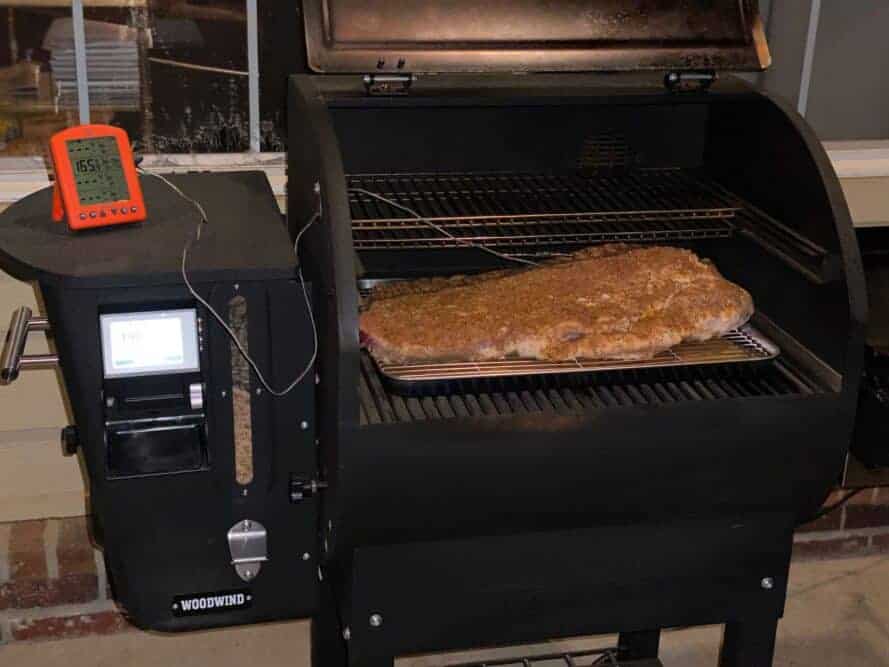
Note: I did not insert a meat probe until the brisket had been in the smoker for around 14 hours and had reached that nice mahogany color that I was expecting.
From start, it took my 16 lb brisket about 14 hours to reach 165°F in the thickest part.
Note: If you're looking for a digital meat thermometer, my guide called “6 best digital meat thermometers” will help you decide which one is best for you.
You do not have to wrap the brisket.. I do this sometimes to speed things up and help keep it moist but often I just let it finish in it's own time in a foil pan and it does just fine.
Because I trimmed so much of that fat off the top, I opted to place the brisket down in a foil pan and cover with foil when it reached 165°F.
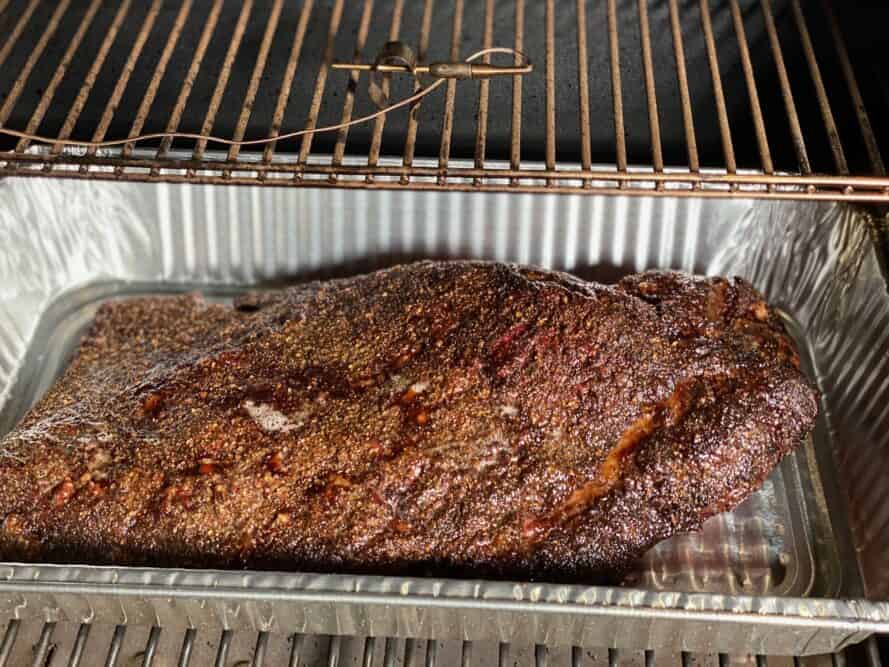
5 hours later, it hit 200°F and the probe was able to go into the brisket like butta' so it was time for a 1 hour rest;-)
Remove the brisket from the smoker and let it sit on the counter still covered for at least 1 hour.
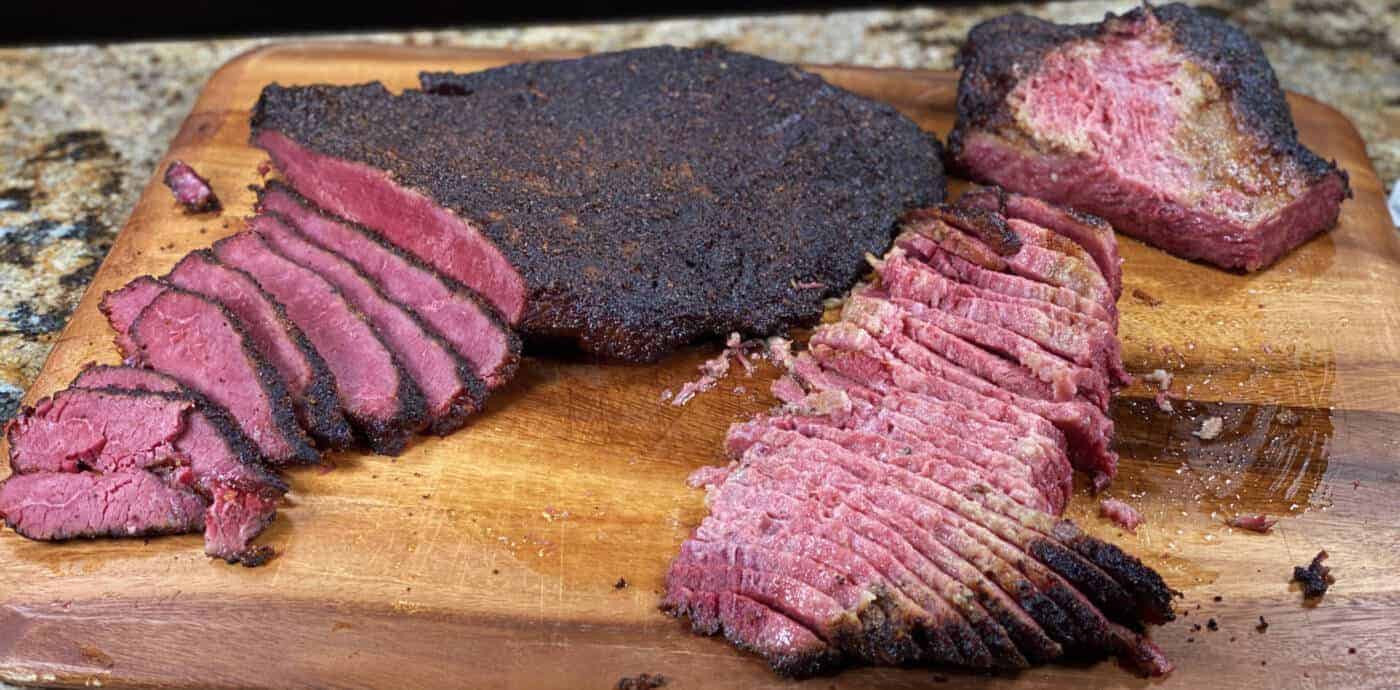
Ready to slice it up and give it a taste! The excitement is almost more than I can handle!
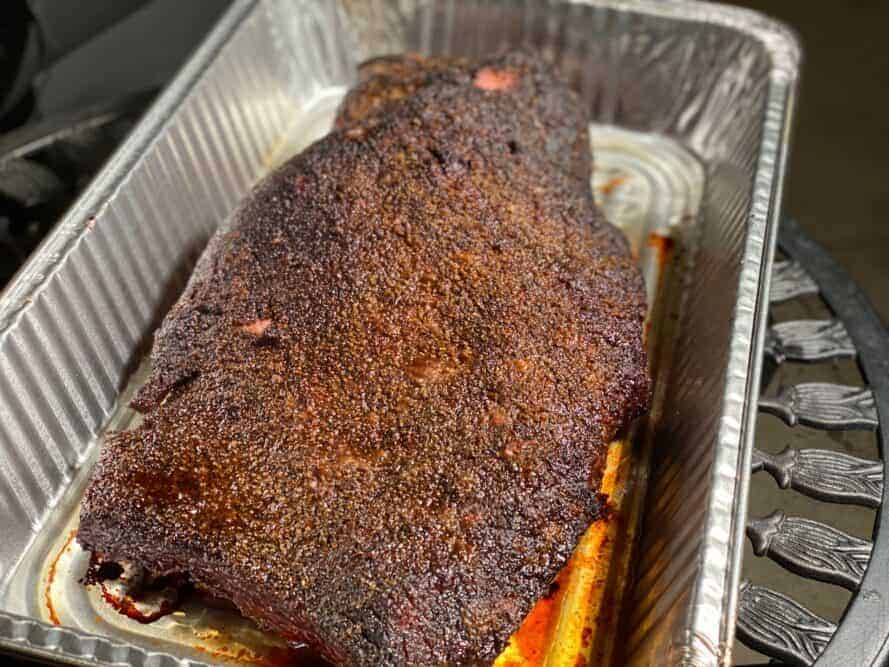
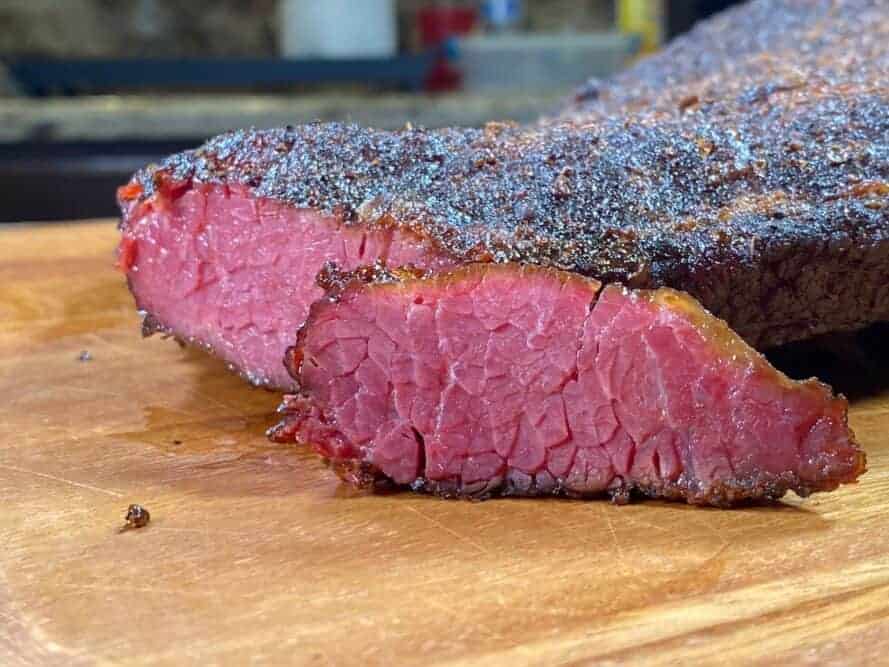
Wow!
It looked great, it tasted even more amazing and I am happy to have some extra fridge space back.
These are going to make some great sandwiches and maybe even some sauer kraut and corned beef over the next day or two.
Doesn't the Texas style rub add more salt? A little but unlike MOST rubs out there, I based both of my rubs on flavor rather than salt. Salt was added at the very end to just pull the flavor to the front– gently.
Can you use a smaller piece of brisket or maybe a small 3 lb chuck roast? Absolutely! Just follow the same instructions and only make enough curing brine to cover. It will work amazingly well.
What if I just want to purchase an already cured piece of brisket from my local grocery store? No problem at all. Start by frying a piece to check the salt level and just go from there using this tutorial.
Homemade Pastrami from Brisket – The Smoke
Ingredients
- 1 Cured brisket (A flat or trimmed version is fine)
- 3 TBS Jeff's Texas style rub
- 1 TBS Coriander seeds
- 1 tsp vegetable or canola oil
Instructions
Rinse Well
- Rinse the brisket well under cold water.
Test the Saltiness
- Cut a small, thin slice of the brisket and fry it in a pan until tender. Taste it to determine if it is too salty.
- If too salty, soak in a pan of cold water in the fridge for 3-4 hours to remove some of the salt. Repeat this process of frying, tasting, soaking until it is perfect. Note: This recipe is a relatively mild concentration and usually does not require any soaking.
Season it Up
- Pour enough coriander seeds into a mortar and pestle to obtain 1 TBS of crushed coriander. Mix 1 TBS of crushed coriander with 3 TBS of Jeff's Texas style rub.
- Apply a light to medium coat of the rub to the top side of the brisket and on the sides as much as possible. Press down all over with a fork to make it stick.
Smoke Time
- Preheat smoker to 225 degrees using indirect heat. Once it's ready, place the brisket in the smoker and let it cook until it reaches 165 degrees F.
- Place brisket in pan and cover with foil or wrap the brisket in unlined, unwaxed butcher paper or foil and continue cooking until the brisket reaches about 200 degrees.
- The brisket is finished cooking when a probe inserted in the thickest part gives no resistance.
Finish and Taste
- Rest the brisket covered for at least 1 hour then slice across the grain and serve.


Finally tried your recipe. Had a brisket from a half cow we bought. It turned out great. We love the flavor your rub adds. Definitely will be making this again. Thanks for your books, all the recipes and tips. Sure makes it easier to use the smoker for great meals.
Thank you for the great information I grew in Bakersfield Ca hot pastrami was King
Great recipe! I used Jeff’s simple cure recipe and process (https://www.smoking-meat.com/march-5-2020-homemade-pastrami-from-brisket-the-cure) for 8 days and then rinsed, soaked overnight in plain water, then rinsed again. I switched things up by using an approximation of the pastrami rub from Katz’s Deli (see David’s comment from 3-14-2023). I use Jeff’s Naked Rub on practically everything, and Jeff’s Texas Rub on most of the rest, but I wanted to get that hardcore deli pastrami flavor for this. Smoked a 4-5 pound brisket flat for about 7 hours at 225 degrees until it hit 165, then steamed it with Guinness, onion and garlic until 205. The results were incredible! Best pastrami I have ever had!
I must have used to much crushed red pepper in the brine. When I tested for saltiness after a 6 day brine, the salt level was OK, but it was pretty spicy hot. Great for me, not for my wife, though. Will soaking it in water do anything to reduce the spicy hotness like it does to reduce the saltiness? If not, I guess the whole pastrami will have to be for me. Oh, well!
I prefer my Jewish rub: 2 tablespoons whole black peppercorns
1 tablespoons fresh coarsely ground black pepper
1 tablespoon whole coriander seeds
1 tablespoon coriander powder
1 tablespoon brown sugar
1 tablespoon paprika
2 teaspoons garlic powder
2 teaspoons onion powder
½ teaspoon whole yellow (white) mustard seeds
½ teaspoon mustard powder
Howdy! Tom from Wisconsin. I just rinsed it off really good. Pat it dry & did not put any rub on it. I used a water pan & spritzed it occasionally with pure apple juice. Smoked it till 165 internal temp. Wrapped it in foil & put them on a rack in a pan with some liquid in the bottom of the pan to keep them moist. Cover the pan with foil. I finished them in the oven at the same smoking temp. When the internal temp hit 200-205. I turned off the oven & let them sit in the oven for 1 hour. They turned out FANTASTIC!! I have been smoking meat, poultry & fish for over 40yrs. These were the best thing I ever smoked!
I was super disappointed when, after 9 days and following your directions to the letter, I pulled the beef out to check the salt level before smoking and it was dark gray in the center when I cut into it. Nothing like the bright pink in your photo. I thought I had ruined it somehow but I proceeded with testing for salt level by frying a couple slices in the pan and they went from dark gray to a beautiful shade of pink. Amazing.
I must say I am soaking now to reduce some of the salt because it was a bit too salty for my taste but it looks like it’s going to be well worth the effort. Smoking all day tomorrow!!
the best
Jeff. Been a fan of yours for years now. You have got to try smoked chicken salad sandwiches and smoked chicken dumplings. Amazing!! Especially with your seasoning.
Smoking this weekend curious as to how much smoke? I’m using a kamado. Thanks.
I usually recommend adding smoke for about half of the cook time.. for this, I recommend a light smoke for at least 4-6 hours but going longer will not hurt a thing.
I made this meat this weekend. I used brisket flats. I did as the instructions said to get it to 200 degrees. The meat was very tasty but very dry. I did trim a lot of the fat off the top, possibly too much? I covered at 165. I use Land 48 offset smoker, kept the heat around 225-240 took 14hrs. Any tips?
Just put a brisket in the cure….can’t wait to taste this
Just finished with this recipe and the results were amazing. I went with a 10 day cure on my brisket and it was too salty so had to soak for 4hrs. Will definitely only cure for 6 days next time. My wife loves pastrami and has been wanting a good sandwich for a very long time. She said this was the best she’d ever had. I must agree. This recipe creates excellent results. Thank you so much for this web site.
What is the reason for temperature of meat to be 200 degrees? What if it was cooked to 180 degrees to keep the meat from drying out to much. I have an electric smoker.
Harvey, certain cuts such as brisket and pork butt have lots of intramuscular fat which helps them to stay moist even when you cook them for a very long time.
These cuts also require cooking them to extremely high temperatures in order for them to be tender. A brisket is not nearly tender enough at 180°F nor has the fat fully rendered at that point. For this reason, the meat will likely be dry and tough if you try to eat it at 180°F.
I ended up making this after I could find brisket again and what a hit. My family all agreed this made the best Reubens ever. I will certainly make it again. Thanks for the recipe.
Water in the smoker pan?
Yes.. water pan full never hurts with corned beef.
So the FAQ asked “What if I just want to purchase an already cured piece of brisket from my local grocery store?” And your reply says yes. My add on to that question is; if you are using a store bought corned beef, would you opt for the flat, or point cut?
Thanks, Jeff. I cured my own flat last fall and smoked up some pastrami. Very nice, although leftovers (in the freezer until last week) were mediocre.
During the cure process I was a little worried I had done something wrong as the meat was going grey. Turns out that’s normal, so probably good for people to know that.