Smoked Chicken Wings -Garlic Parmesan
Smoking-Meat.com is supported by its readers. We may earn an affiliate commission at no extra cost to you if you buy through a link on this page.
Read this article without ads
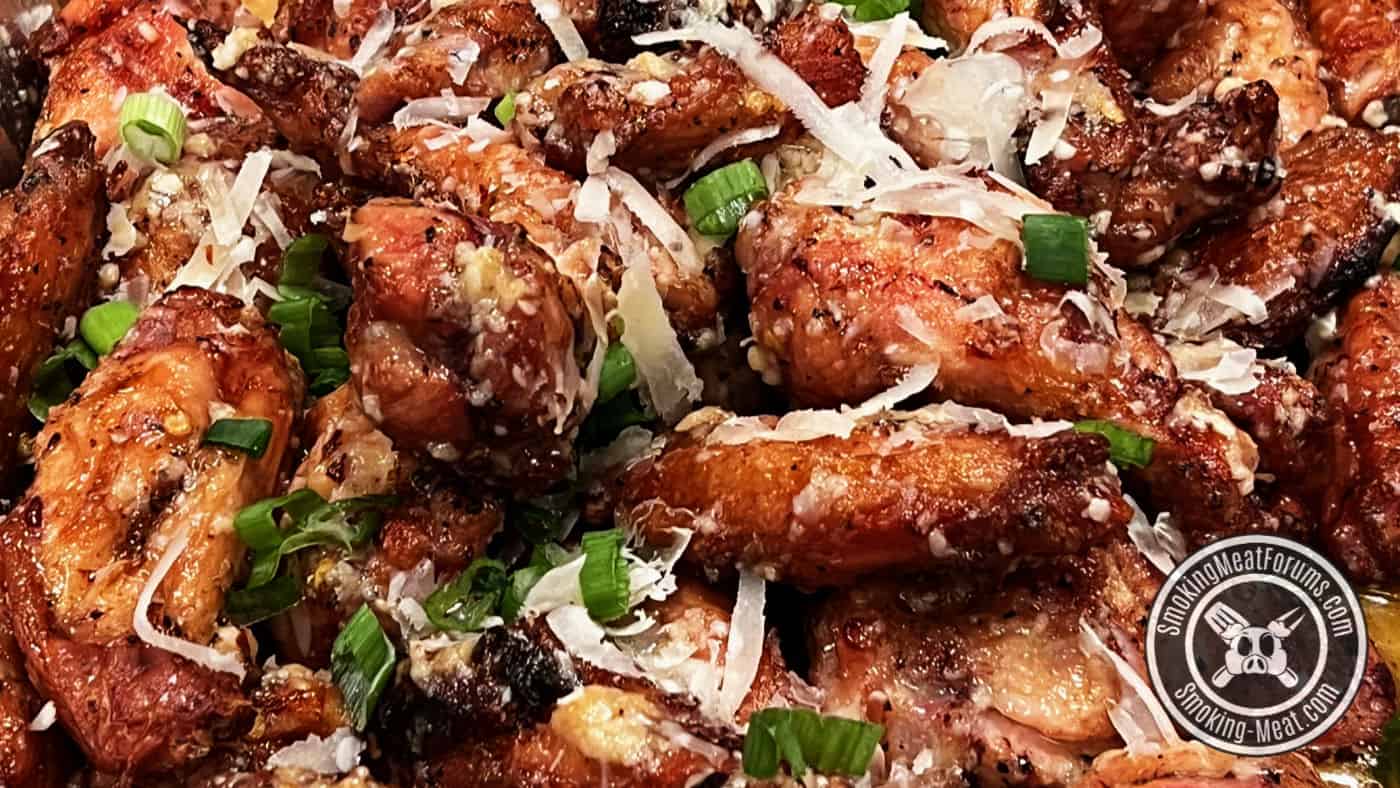
I love smoked chicken wings and this recipe for garlic parmesan smoked chicken wings has got to be one of the best I've ever done. Real parmesan, loads of garlic and a good mix of smoke and high heat to crisp up that skin.
Give 'em a try and be sure to make plenty!
Helpful Information
- Prep Time: 20 minutes
- Dry Brine Time: 8 hours
- Cook Time: 1 hour (varies depending on cooking method)
- Smoker Temp: 400°F (204°C)*
- Meat Finish Temp: 175°F (79°C)
- Recommended Wood: Hickory
*First 30 minutes at 160°F (71°C) to get some smoke flavor then up to 400°F (204°C) for about 30 minutes to finish them off.
What You'll Need
- 4 lbs Chicken wings
- 2 teaspoons Coarse ground kosher salt
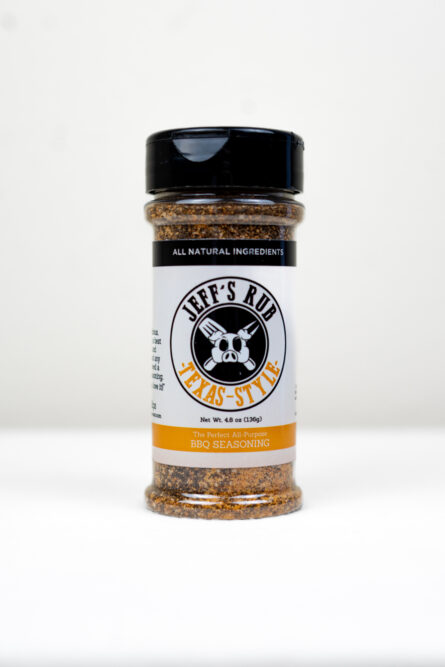
- Jeff's Texas style rub (Purchase formulas | Purchase bottled product)
- 2 sticks butter (½ lb)
- ½ lb block of parmesan, grated (about 2 cups grated)
- 2 teaspoons garlic, chopped
- 2 teaspoons red pepper flakes
- 2 TBS lemon juice (about 1 lemon)
- 1 handful of Green onions and/or parsley for garnish, chopped
Did you know? You can order the MASTER FORMULAS which allow you to make Jeff's original rubs and original barbecue sauce at home using your own ingredients! Order the Recipes
What are Smoked Chicken Wings – Garlic Parmesan
Most smoked chicken wings are made in about the same way however you can add various ingredients during the preparation or after they are smoked to change up the flavor.
In this version, I add lots of melted butter, grated fresh parmesan and chopped garlic along with red pepper flakes and lemon juice to create some of the best garlic parmesan chicken wings you may have ever tasted.
To make these even better, I started with fresh, minimally processed chicken wings.
How to Make Smoked Chicken Wings – Garlic Parmesan
Step 1: Dry the Wings
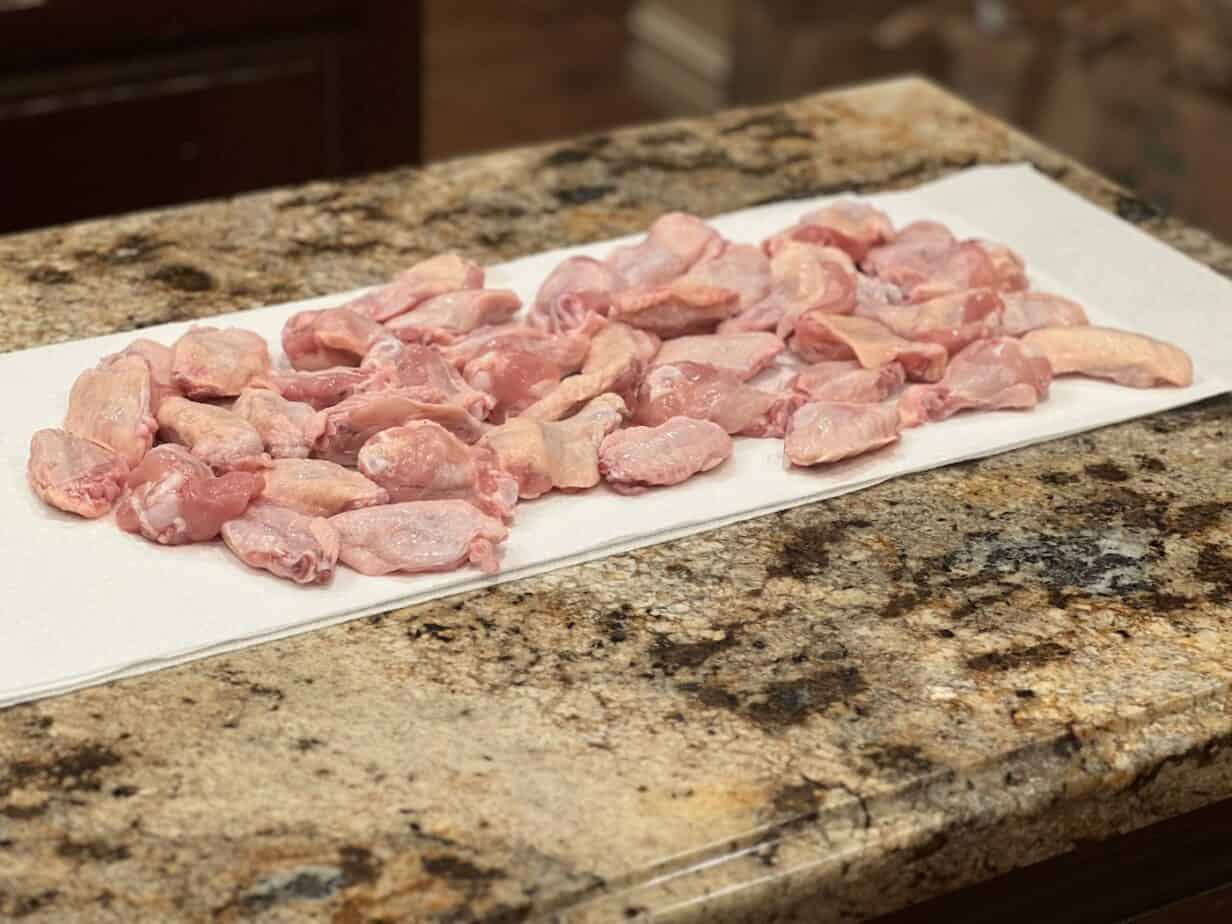
To get started, I poured the wings out onto a few layers of paper towels and then patted the top with paper towels to remove any excess moisture.
Step 2: Dry Brine
I often wet brine chicken however, I want the skin on these to be as crisp as possible consider they are made in a smoker so dry brining is the better option.
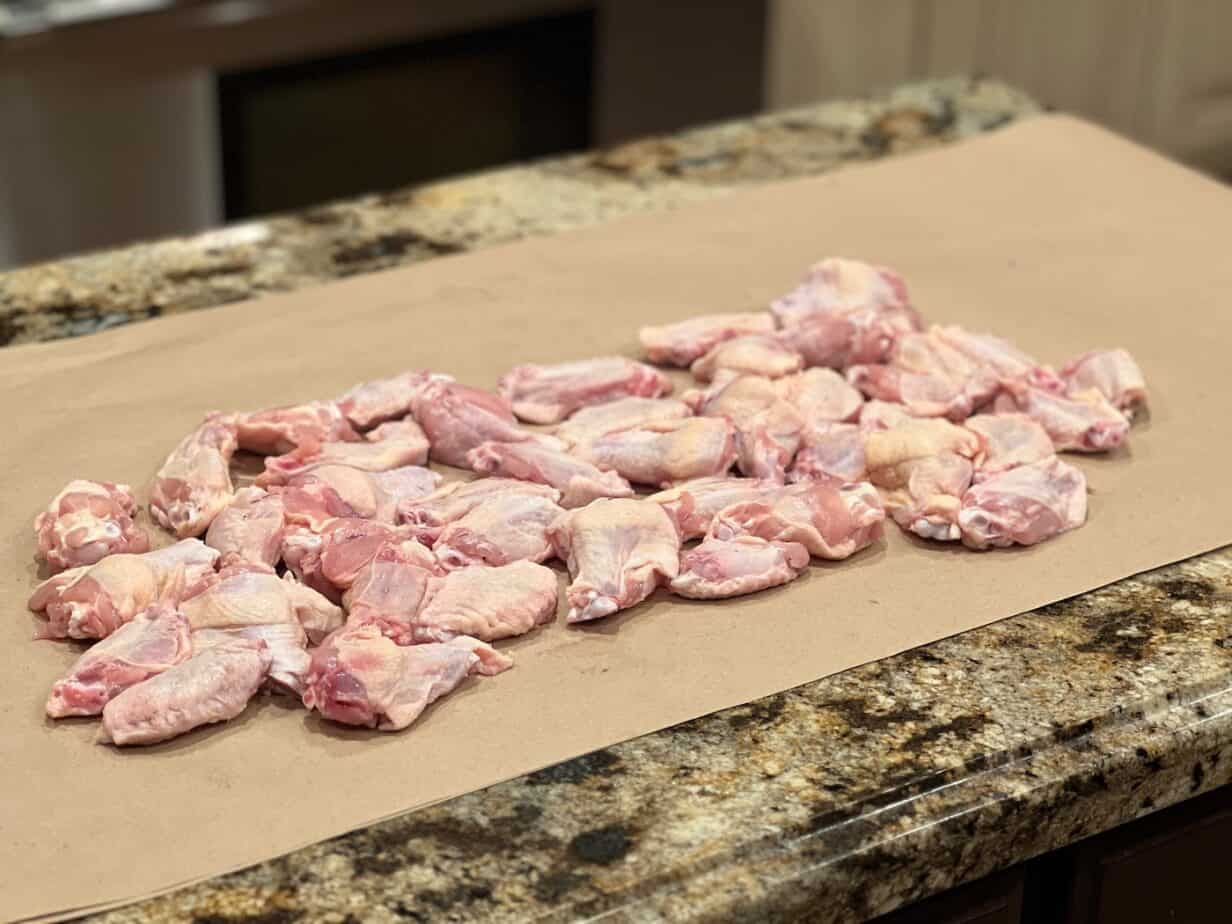
To get started I transferred the dried wings onto some butcher paper that I had laid on my counter.
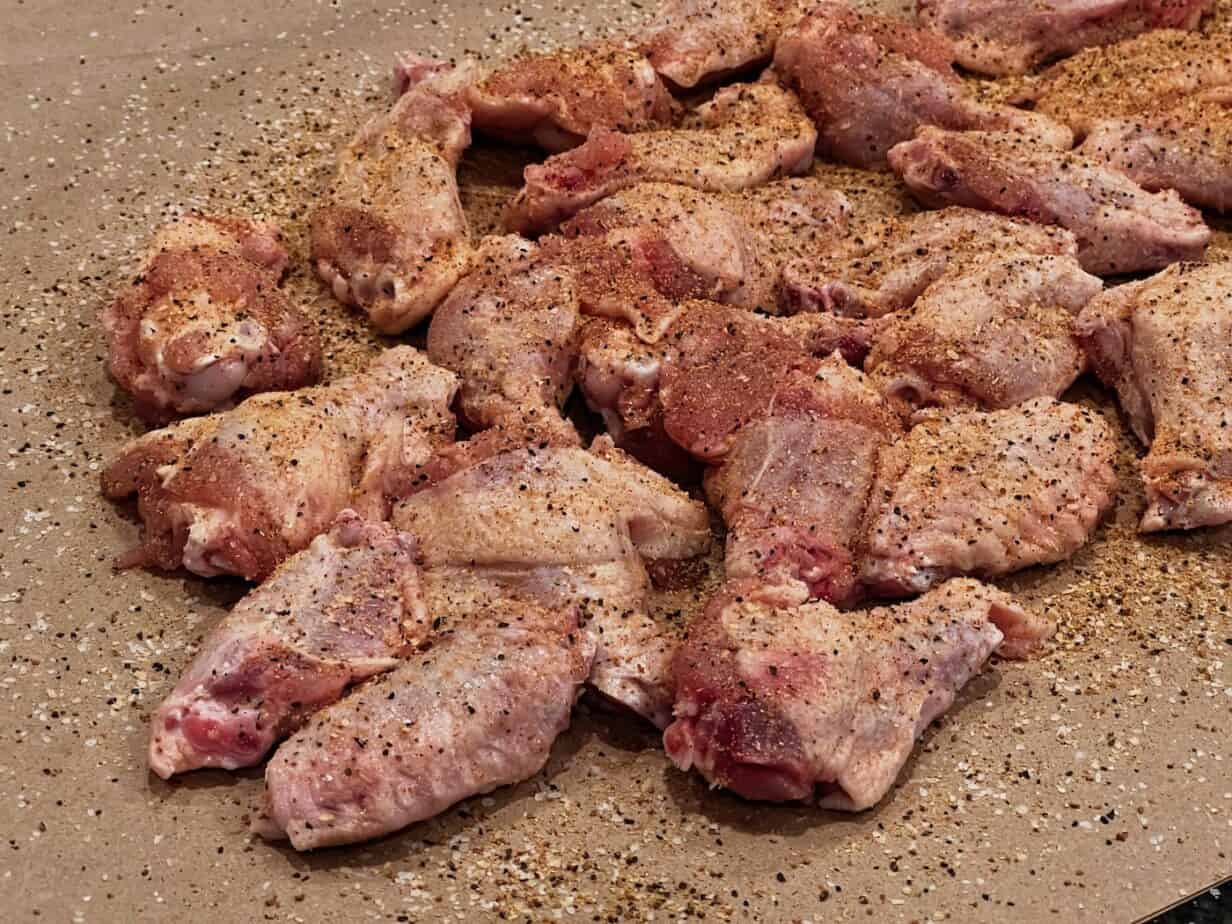
To dry brine these chicken wings, sprinkle on about ½ teaspoon of kosher salt per pound + a light coat of my Jeff's Texas style rub (Purchase formulas | Purchase bottled product).. just the top side.
Step 3: Fridge Time
To enhance the flavor and allow the salt and seasoning to do their thing, I transferred the wings into a gallon sized zip top bag.
I only added salt and seasoning to the top side however, as I picked up each wing to place it into the bag, I dabbed the bottom side into the salt and seasoning that had fell onto the paper.
In this way, both sides get seasoned and there is less waste of salt and seasoning.
After placing all of the wings into the bag, I pressed out the air and sealed it up.
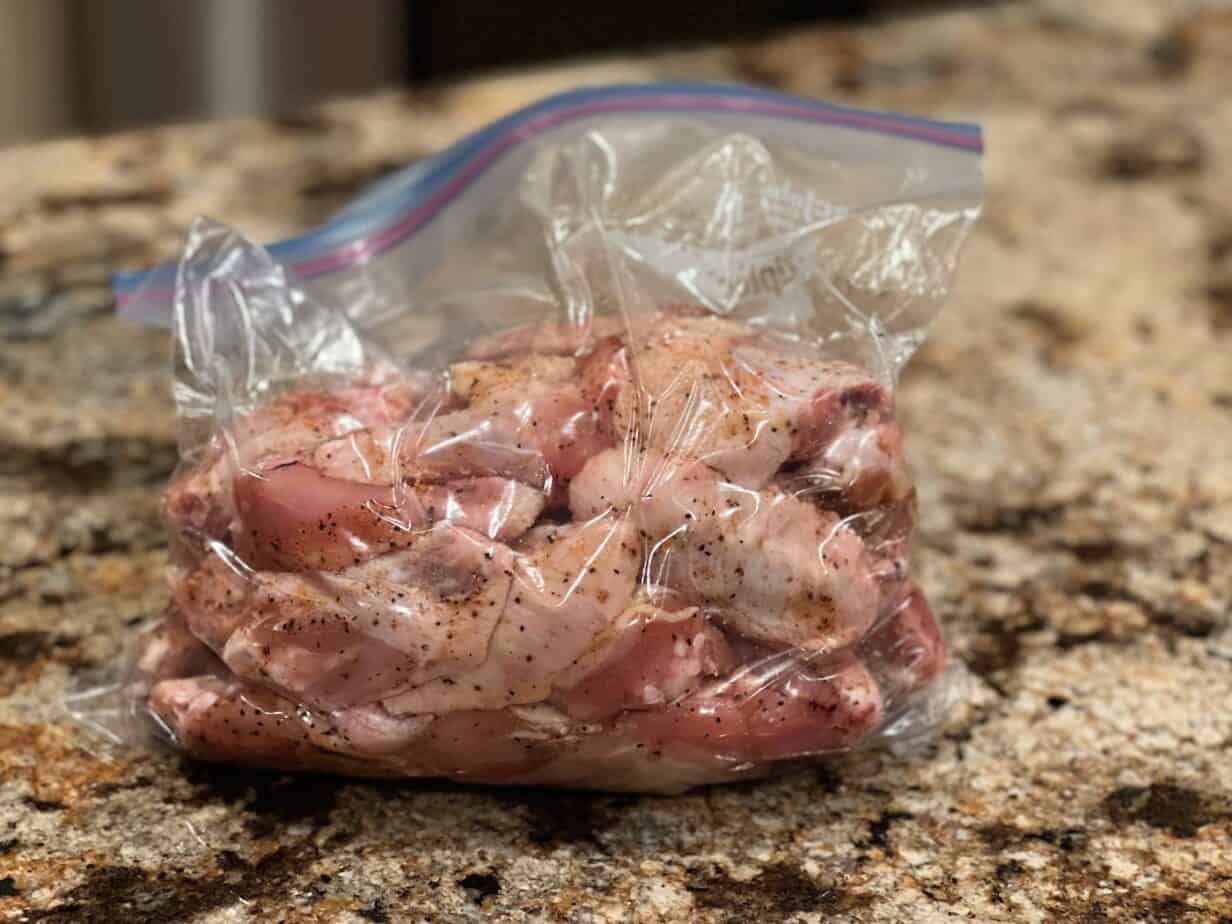
The bag was placed into my garage fridge overnight or about 8 hours.
Step 4: Set up the Smoker
When you are ready to smoke the chicken wings, remove the chicken from the fridge and lay it on the counter while you get the smoker going.
I used the Camp Chef Woodwind for mine.
In a pellet smoker, set it up on the special smoke setting or as low as it will cook. This is usually about 160-180°F.
If you are using any other kind of smoker, set it up for cooking at 275°F (135°C).
If your smoker uses a water pan, leave it dry for these chicken wings.
Make sure you have enough wood for at least 30 minutes of good smoke.
Step 5: Smoke Time
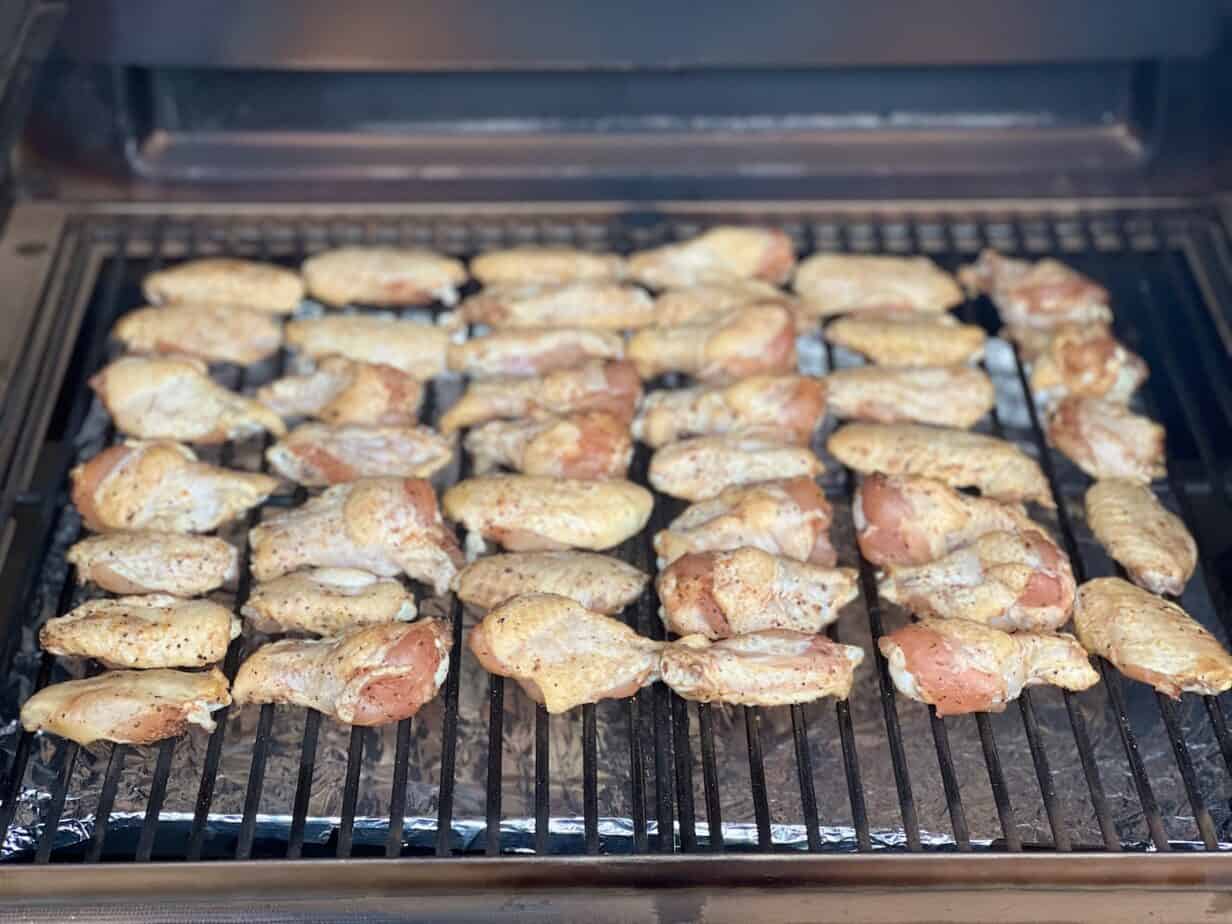
Once the smoker is ready, place the chicken wings directly on the grate and let them cook until they reach about 175°F (79°C) in the thickest part.
Note: If you're looking for a digital meat thermometer, my guide called “6 best digital meat thermometers” will help you decide which one is best for you.
If you are using a pellet smoker, let them smoke on the special smoke setting for about 30 minutes then increase the heat to 400°F (204°C) until they reach about 175°F (79°C) and or they are as crisp as you like them.
The time will vary depending on the size of your chicken wings but should take about 1 hour.
Here's more tips for cooking on a pellet smoker
If you are using a traditional smoker, let them smoke at 275°F (135°C) until they reach in internal temperature of 175°F (79°C) and/or they are as crisp as you like them.
The time will vary depending on the size of your chicken wings but should take about 1.5 hours.
Note: it's okay to let smoked chicken wings cook to a much higher temperature than this. Some of my wings had an internal temperature of 190°F (88°C)+ and they were still very good.
Step 6: Make the Butter, Parmesan, Garlic Sauce
While the wings are cooking in the smoker, you can make the sauce that will turn them into smoked garlic parmesan chicken wings.
First, shred the parmesan into a bowl, but leave a little piece of the block for shredding on top of the smoked chicken wings just before serving.
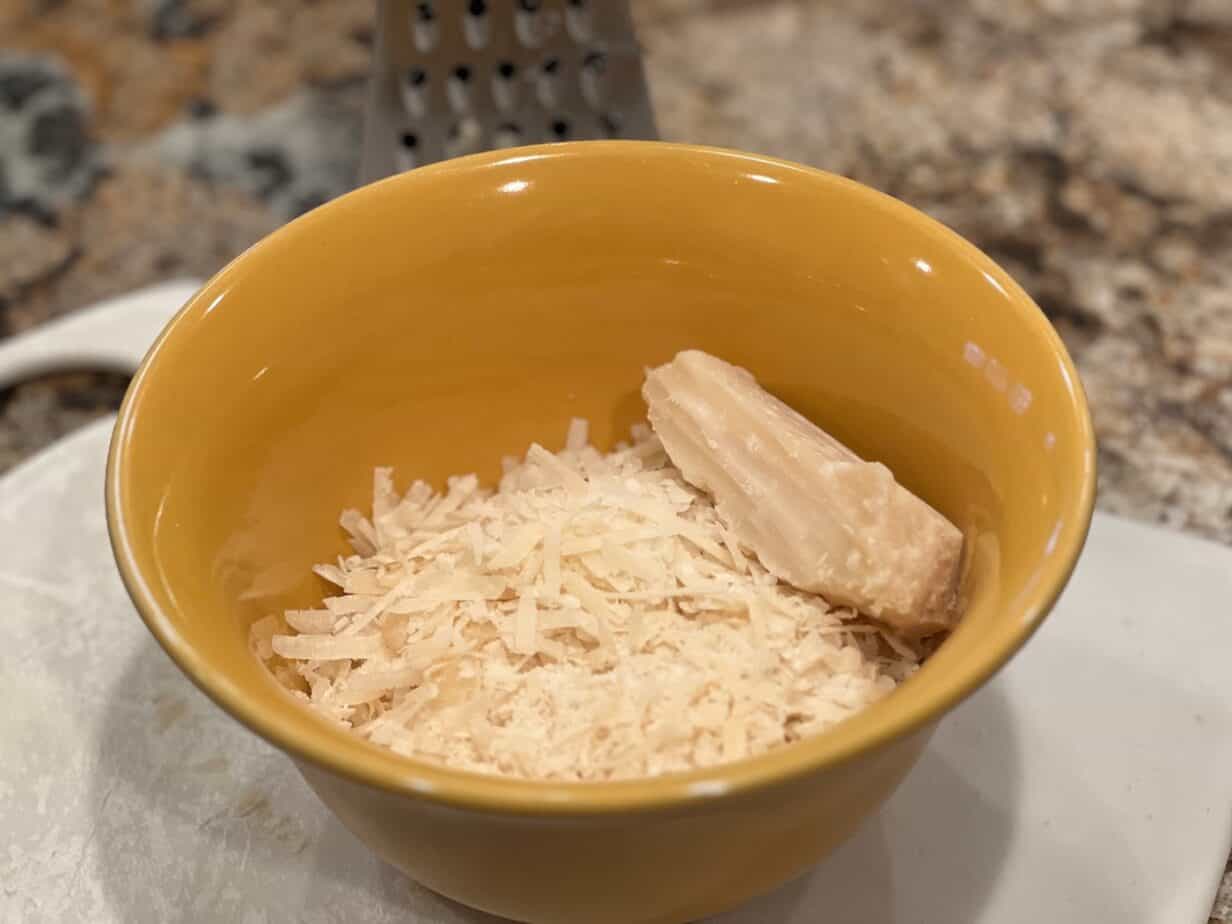
Place 2 sticks of butter into a small to medium sauce pot and set it on top of the stove. Don't turn it on yet but it's good to have it ready to go.
Chop about 2 teaspoons of garlic (4 cloves) or you can use already chopped garlic in a jar.
Have your red pepper flakes standing by as well.
Once the smoked chicken wings get within about 10 minutes of being done, melt the butter over low heat and once the butter is melted, stir in the grated parmesan.
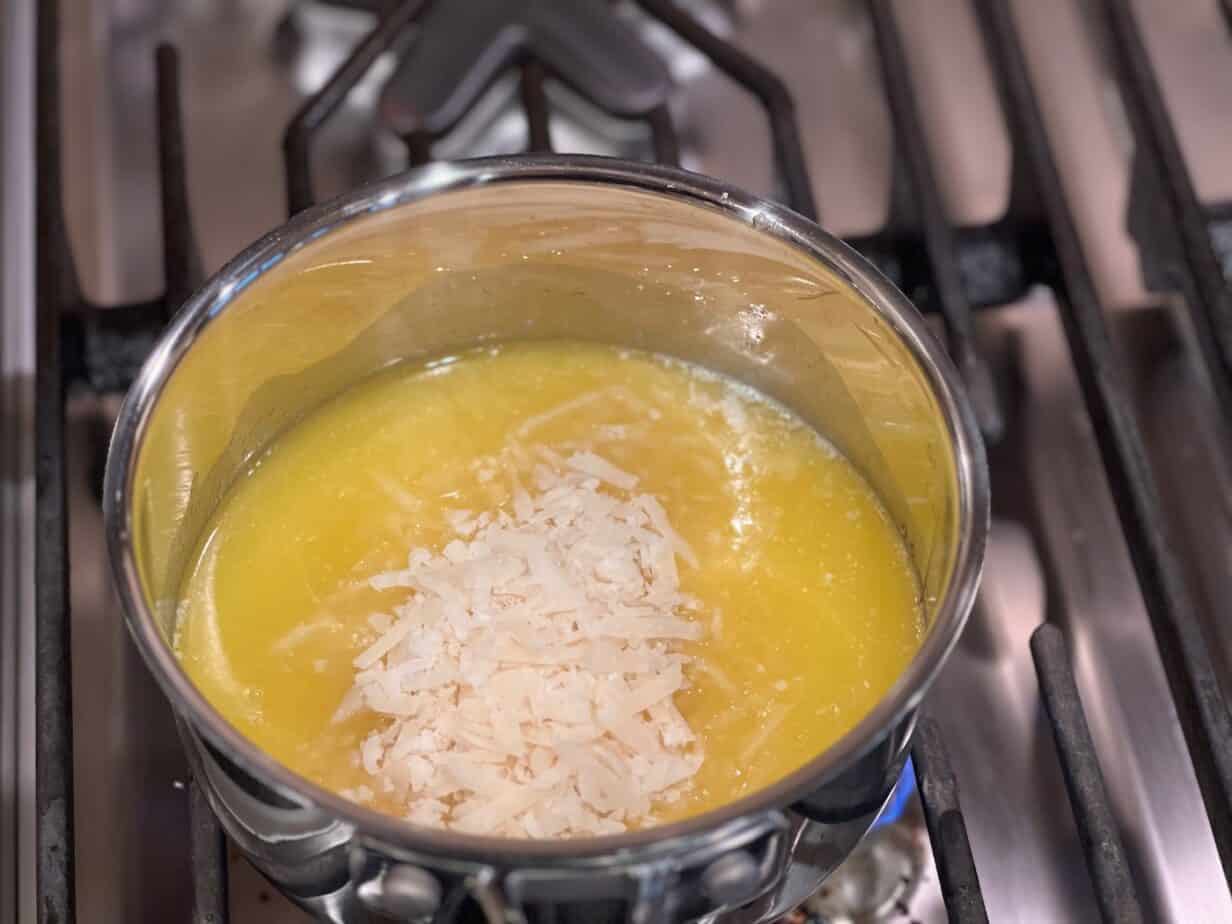
Continue to stir the parmesan and butter until all of the cheese is melted and combined with the butter.
Add the garlic and red pepper flakes and the sauce is ready to go. Leave the sauce on very low heat while you run out to get the chicken wings.
Step 7: Toss the Smoked Chicken Wings in the Sauce
I used a half size foil pan for the chicken wings when they were finished cooking.
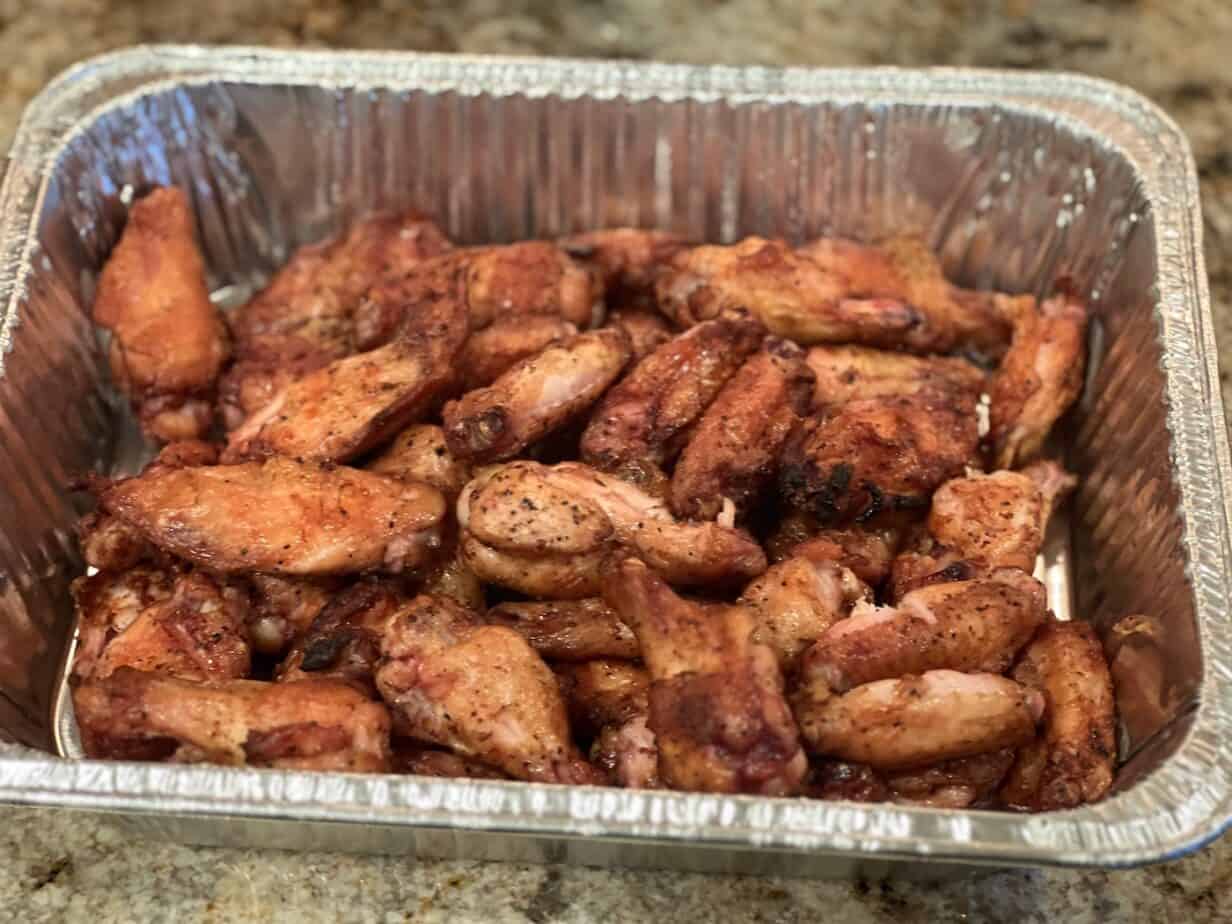
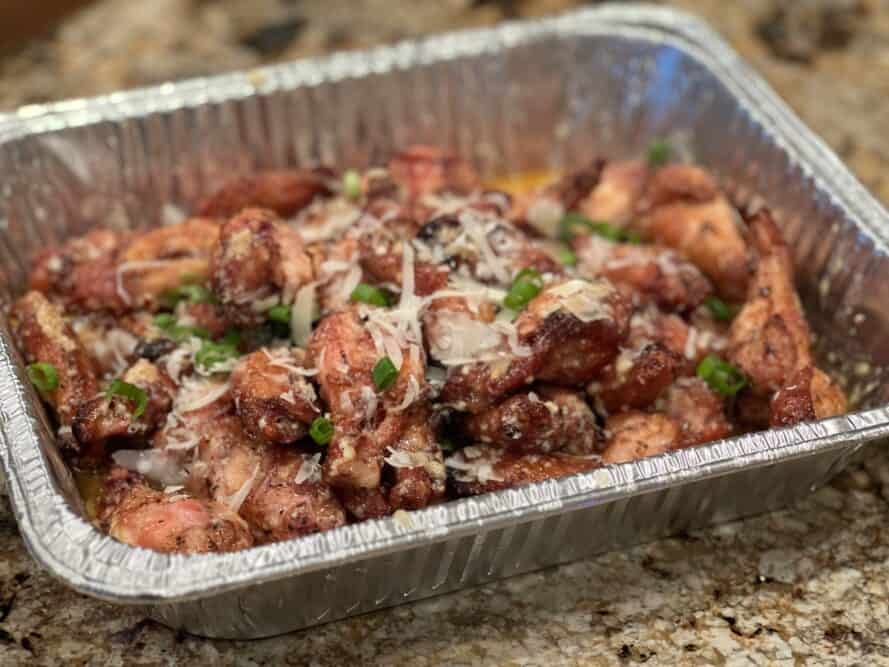
Once in the house, I poured the garlic parmesan sauce over the wings and used a spatula to turn the wings over the sauce and make sure they were well coated.
I then spritzed the top of the smoked chicken wings with the juice from a whole lemon or about 2 TBS to really zest them up.
Step 8: Serve 'em Up
Just before serving, I quickly grated more parmesan over the top of the wings and sprinkled on some chopped onion greens and parsley.
Questions
Can I smoke chicken wings at 225°F (107°C)?
Yes, you can but you'll need to do a few things to help the skin be the best it can be at this temperature.
First, you'll want to dry brine the chicken for about 8 hours then dry the chicken in the fridge for about 8 hours before cooking them.
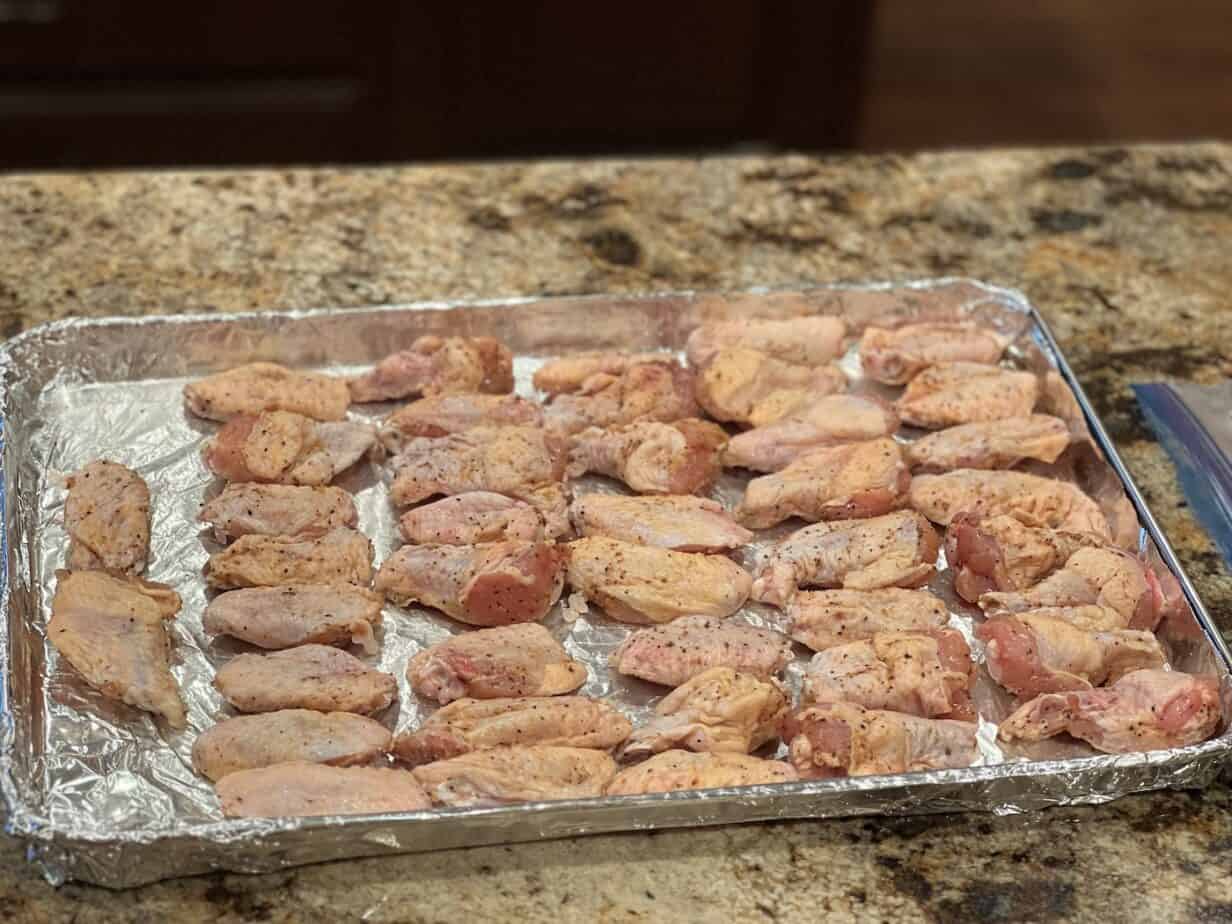
In essence, you'll dry brine them in a bag as we did in the recipe then pour them out onto a baking sheet in a single layer and leave them in the fridge for an additional 8 hours to help the skin to dry out further.
Did you know? You can order the MASTER FORMULAS which allow you to make Jeff's original rubs and original barbecue sauce at home using your own ingredients! Order the Recipes
Recipe Card
Smoked Garlic Parmesan Chicken Wings
Ingredients
- 4 lbs Chicken wings
- 2 teaspoons Coarse ground kosher salt
- Jeff's Texas style rub
- 2 sticks butter (½ lb)
- ½ lb block of parmesan (grated (about 2 cups grated))
- 2 teaspoons garlic (chopped)
- 2 teaspoons red pepper flakes
- 2 TBS lemon juice (about 1 lemon)
- 1 handful of Green onions and/or parsley for garnish (chopped)
Instructions
- Dry the wings with a paper towel
- Pour the wings out onto a baking sheet or large piece of butcher paper.
- Add about ½ teaspoon per pound of coarse kosher salt (top side only)
- Sprinkle light coat of Jeff's Texas style rub (top side only).
- Place chicken wings into gallon sized zip top bag and seal it up. Place in fridge for 8 hours.
- Set up pellet smoker for cooking at 180°F (82°C) using indirect heat*
- Place wings on smoker grate and let them cook for 30 minutes then turn up the heat to 400°F (204°C) to finish. Total time is about 1 hour or until they reach 175°F (79°C).
- When wings are almost done cooking, make the garlic parmesan sauce.
- Grate parmesan cheese then melt 2 sticks of butter in medium sauce pan over low heat.
- Add parmesan to melted butter over medium low heat and stir until cheese is melted. Add garlic, red pepper flakes and leave on low heat while you go get the wings from the smoker.
- Pour sauce over chicken wings and toss to coat. Spritz top of wings with juice from whole lemon or about 2 TBS.
- Grate just a little more fresh parmesan over the top of the wings.
- Garnish with chopped green onions and chopped parsley and serve immediately.


We liked this recipe and will do again. I had an issue with the grated parmesan. When I added it to the butter, the majority of the cheese clumped and would not form a solution. HELP…what did I do wrong that the cheese clumped?
I removed the clumped cheese and used the remaining sauce on the wings along with additional grated cheese. They were excellent.
I like this recipe. I have a Masterbuilt 800 gravity fed smoker and I want to know the best way to make these so I get crispy skin.
A Definite one to try this weekend!!! My New smoker works great and these wings will be there next weekend.
ALSO……..Did you get my recipe for my Smoked Meatloaf??
Carl,
I’m glad to hear you’re liking your new smoker!
Thanks for sending the meatloaf recipe, I have it filed safely away and and I’ll be giving it a try as soon as I can.
I also do a buttermilk meatloaf but I’m not sure how close it is to the one you do. I love using buttermilk in a lot of different things. It does wonderful things to almost any meat.
Made this last weekend as part of a meal of appetizers. Used grana podano instead of parm as that’s what I had. Definitely enjoyable. Unfortunately I didn’t have enough of the grate-able cheese, so added in some Kraft shakeable parm to round out the balance. That was a mistake! The shakeable parmesan clumped up and changed the composition too much so it was a bit clumpy, but that’s on me, not the fault of Jeff or this recipe. Definitely will make again. -Added some crushed chilies to gain a little ZING and that definitely played well! Thank you!