Smoked Beef Back Ribs
Smoking-Meat.com is supported by its readers. We may earn an affiliate commission at no extra cost to you if you buy through a link on this page.
Read this article without ads
This week we are talking about smoked beef back ribs and many of you in the smoking meat community know these as dinosaur bones or “dino bones” due to their huge size. You must know that these are a lot of bone and not a lot of meat per rib but then the flavor is very rich due to the high fat content so you probably wouldn't eat as many of these as you would say a much leaner baby back pork rib.
I have a process that I use to cook these which tends to get them really tender and renders out a lot of that fat.. It is a method of smoking them directly on the grate for part of the time then transferring them to a pan for the remainder of the time. Keep reading and I will explain exactly how I do this.
What to Purchase
I bought the ribs for this experiment at my local grocery store and lucky for me they were already cut into individual bones. I look for ribs that are a nice, deep red and have plenty of fat marbling in the meat. I also try to pick out beef ribs that are as meaty as possible. Mind you, they're not going to be nearly as meaty as pork ribs usually but some are “meatier” than others if you pick through them.
How to Prepare
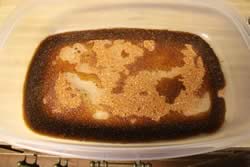
I highly recommend marinating these in some good flavor overnight before cooking these.. I think it does alot for the ribs. My own concoction is to pour about a half cup of worcestershire in the bottom of a large tupperware bowl then sprinkle about 1/4 cup of my rub recipe in the bottom.
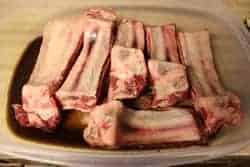
Lay a layer of ribs meat side down on top of this.
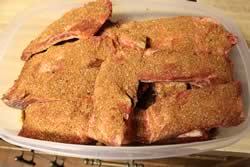
Lay another layer of ribs meat side up on top of the first layer and sprinkle on more Worcestershire and rub just like you did at the first. Continue adding layers meat side up with the Worcestershire and the rub until you are out of ribs or out of space.
Put a lid on the container or some foil/plastic wrap and place it in the fridge overnight.
The next morning..
Take the bowl of ribs out of the fridge and lay them on the cabinet top to warm a little while you go out and get the smoker ready.
Preparing the Smoker
I chose to use my gas smoker for this but you can easily use electric, charcoal or even the big wood smoker if you have one.
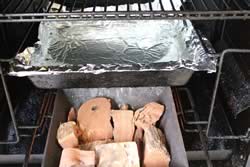
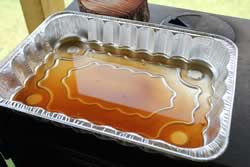
I lit the burner and while the smoker was heating up I covered the water pan with foil for easier cleanup and filled it with water. I also filled the wood box with about 6-7 chunks of mesquite.
I adjusted the temperature knob to high and quickly went in to get the ribs and get them in the smoker before the smoke started flowing.. I knew I had about 5 minutes tops.
Note: the best way to get the wood to smoking in you gas smoker is to turn the heat on high until you see smoke then turn it down to the proper setting. Leaving the door cracked during this time will allow some of the heat to escape so it does not get too hot inside the smoker.
Smoking the Ribs
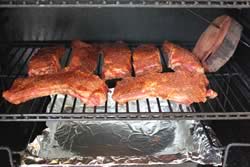
I laid the ribs bone side down directly on the grate for the initial smoke (I will do something a little different later on).
Note: You will notice my round of wood with a hole in it which I use to hold the temperature probe from my digital probe meat thermometer. My temperature gauge on this old smoker no longer works and this is how I know how hot my smoker is. You can also stick the probe through a potato if you like and it works just as well.
I adjusted the temperature knob to medium and made a few other adjustments over the next 10 minutes until I got the temperature to stay where I wanted it at about 215 degrees. I wanted low and real slow on these babies.
I let the ribs smoke real slow for the next 2 hours.
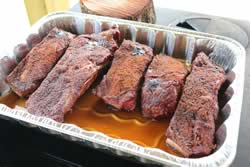
After 2 hours had elapsed, I got 3 pans and poured about 3/4 cup of beef broth in each one.
I then put 4-5 ribs from the grate into each pan bone side down and added more of my rub recipe on top for good measure.. gosh that stuff's good!
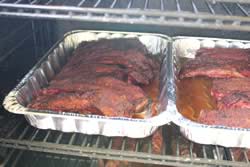
Once the ribs were in the pans, I placed the pans into the smoker to finish cooking the ribs at about 225 degrees.
I expected to leave them in the smoker for at least 2 more hours but I was in no hurry.. when they get tender, we'll eat them and not a second sooner.
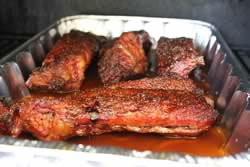
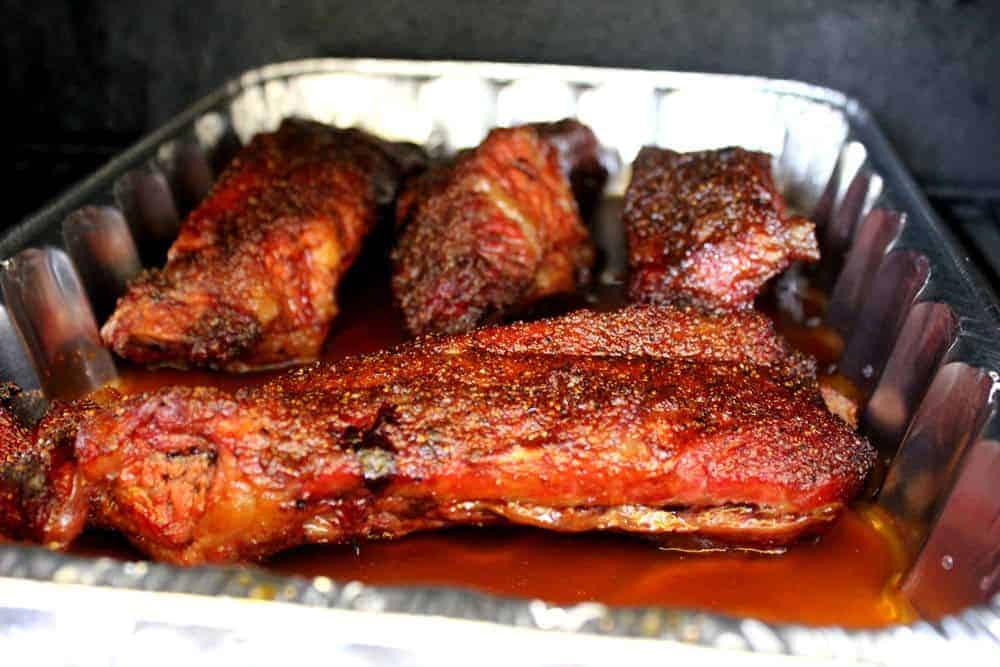
Here they are at about 1 hour after I put them in the pan
Why put them in a pan?
Well, my theory is that they will sit in the pan and soak up some of the juices. I also think the steam from the pan will help to super tenderize them and help to render out some of that fat. Since the fat is so flavorful, I want them to cook in the rendered fat until they are done.
I let the ribs go for about 2 hours in the pan at 225 then I turned them down to 200 degrees while I went and ran an errand.
Total time in the smoker was 5 hours with 2 hours on the grate and 3 hours in the pan. Total smoke time was 2 hours since I did not add more wood once they went into the pan. Feel free to add more wood if you like as the smoke will continue to flavor the meat even after they go into the pan.
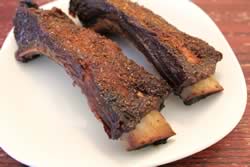
The ribs turned out beautifully and they were tender and juicy with very little fat left in the meat.
Notes: like most other ribs, it is nearly impossible to get a good read on the temperature of the ribs using a thermometer so the best way to tell when they are done is to check the tenderness. The ribs will get done to a safe temperature before they get tender. In this way, you can know that if they are tender, they are also safe to eat.
I recommend cooking these ribs at 225 degrees in order to keep the rub from burning. The rub will burn at temperatures hotter than 225 and that is not the desired effect.


