Apple Smoked Chicken in a Pie Pan
Smoking-Meat.com is supported by its readers. We may earn an affiliate commission at no extra cost to you if you buy through a link on this page.
Read this article without ads
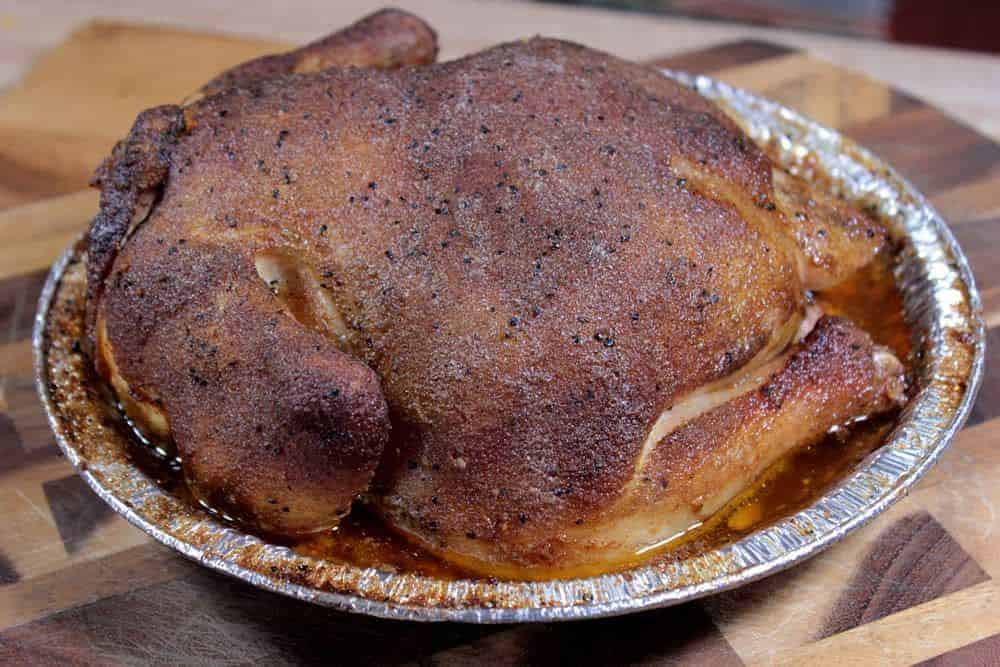
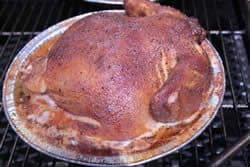
This week we are going to focus on apple smoked chicken in a pie pan. Why smoke chicken in a pie pan for crying out loud!
Well, as you may have already discovered, there is nothing better than smoked chicken but unless you brine it, the breast meat tends to not be as juicy as it could be.
My wife, for some reason, does not care for chicken that has been brined. I have tried not telling her it's brined and she can still tell the difference. In her opinion it changes the texture of the meat. I think she is correct to some extent but I still prefer the juiciness that brining adds to the process.
This problem eventually led me to think of a different way, other than brining or injecting, to keep the breast meat juicy and tender.
My solution is to place the chicken in a shallow pie pan which holds the fatty juices that cook out of the chicken. This means the chicken breast is sitting in about 1/2 to 3/4 inch of fatty juice keeping it extremely moist as it cooks.
The pie pan also keeps the chicken in good form which means it keeps the legs and wings tucked real nice even without trussing it.
The shallow pan allows plenty of smoke to get in and around the chicken as well.
I have to tell you that it is a win-win situation for me since my wife said that it might have been one of the best smoked chicken she has had in a while.
I don't plan to stop brining chickens but this is certainly a great alternative for those who do not prefer the brining. Give it a shot and let me know what you think.
Prep Time: 10 minutes | Cook Time: 2 hours 15 minutes | Smoker Temp: 275°F | Meat Finish Temp: 165°F | Recommended Wood: Apple
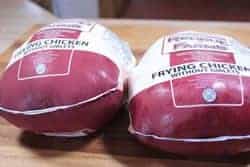
- 1 or more whole chickens
- Mayonnaise (use the REAL stuff like Hellmann's)
- 9-inch pie pans (1 for each chicken)
- 1/2 stick of real butter (1/8 lb) per chicken (unsalted is fine if you are watching your salt intake)
- Turkey baster or brush
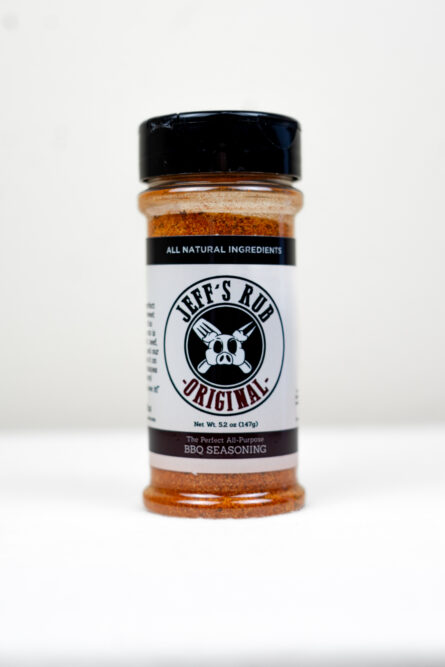
- Jeff's original rub
Place 1/2 stick of real butter inside of the cavity of each chicken. (this will melt and baste the chicken breast from the inside while it cooks)
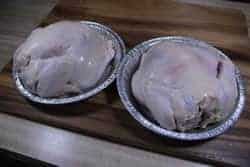
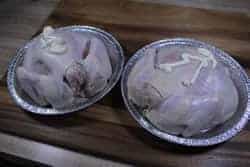
Place the chicken(s) breast side down in a 9-inch pie pan
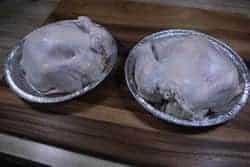
I like to use the squeeze mayonnaise to make it easy but that part is totally up to you. Place about 1-2 tablespoons of mayonnaise on top of the chicken.
Using your hands or a basting brush (hands work better), spread the mayonnaise evenly all over the chicken making sure to get it all around the legs, wings, etc.
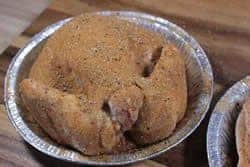
Sprinkle an ample amount of my original rub onto the top and sides of the chicken. My original rub is highly flavorful without a lot of salt so you can use as much as you like. It is not overpowering, salty or odd tasting like most other rubs that claim to be “perfect for chicken“.
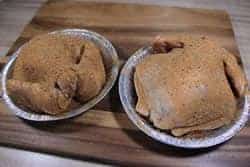
As usual, wait for the rub to get that “wet look” before messing with the chicken too much. This usually takes about 10 minutes.
I did not use the Bradley racks this time but it is a good way to transport the pans of chicken to and from the smoker. I highly recommend a set of these if you don't have any yet. Check them out at Amazon!
Prepare your smoker for cooking at 275°F if you can. The higher temperatures will help to crisp up the skin and it will get done a little faster as well.
Note: If your smoker tops out at 225-240°F or even less, this is ok but it will take longer and you will either have to be content with less than crispy skin or you will have to finish the chicken on the hot grill or oven to get some crispiness to the skin.
Do the best you can and the flavor will still blow you away once it gets finished.
Because it only takes about 10 minutes to prepare the chickens for smoking, I recommend getting the smoker ready first thing.
You will want to have the smoke going the entire time the chicken is in the smoker for the best flavor and results. If you are using a wood smoker then this is easy but if you are using a charcoal, electric or gas smoker then be sure to have plenty of wood chips, chunks or splits available and keep replacing the wood with new when the smoke stops.
Note: If your smoker has a water pan, use it.
My general recommendation is to use the water pan in your smoker every time you cook unless are making jerky or some other form of dried/dehydrated meat where humidity would hinder the process.
Place the pan of chicken directly on the grates and maintain 275°F until the chicken reaches 165°F in the thickest part of the thigh and/or breast.
Once the juice starts collecting in the pan, use a turkey baster to suck up some of the juices and baste the top of the chicken to keep it moist. Do this at about the 1 hour 30 minute mark and then again at about 2 hours.
Note: Feel free to baste as often as you like as long as your smoker can recover quickly from the lid being opened.
Use a digital probe meat thermometer such as the “Smoke” by Thermoworks or an instant read thermometer such as the Thermapen which reads in a mere 3 seconds or less to determine when the chicken is done cooking.
Once the chicken is finished smoke cooking, the pan will probably be full of juice and you will probably want to remove some of the juice using that turkey baster, before you transport it to the house to prevent spilling it. The juices are excellent for making a nice, slightly smoky gravy for the chicken.
Let the chicken rest for about 10 minutes before carving.


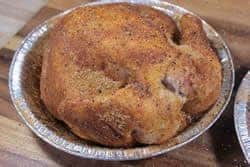

Spatchcock with apple pie rub. Done. Why all this extra stuff?
I have been following you for a long time and purchased lthe rub recipe years ago. I haven’t made this until today. I really love the rub recipe. Just the right balance of flavors.
This was really good but next time I’ll probably make it with the breast side up. it would make for a more crispy and flavorful skin. The breast has the better skin but it was too “wet”.
would like to smoke sausage stuffed chickens in my gas smoker. suggestions please
would like to smoke sausage stuffed chickens in my gas smoker. suggestions please
I have a stove top smoker can these recipes be used in it or is it only for out side smoking ???
Can anyone help.
I am looking for a brine and pheasant breast recipe. I also have bought your Rub and BBQ sauce recipe and we love them both. Thank you Dan
Jeff am on strict low sodium regimin. Will brining do any good w/o using salt, (isn't salt what brining means). Will the other ingredients penetrate meat if no salt used?
I nbought your sauce recipe & rub recipe. My computer crashed & I lost sauce recipe. I hadn't transferred it to my cookbook like I had the rub. Will you please resend that recipe to me>
IHi Jeff, just reading all about your pie pan smoked chicken and am really interested as I too am not sure I will be a fan of brining, only because Im afraid it will add so much salt to the chicken after brining all night, and my husband was just told he has to be on a low sodium diet! So today is the first day we are trying a whole chicken, which I already brined last night before finding this recipe of yours, and now I’m wondering if I can still put the chicken in the pie plate, or should it go in a rack as I was planning, or does it make any difference? If the brining makes it stay juicy, and so does the pie plate, I dont’ want the chicken to be mush from being too juicy, if there is any such thing! Im sure I won’t hear back before I do my chicken today, so Ill prob just use a rack, otherwise I’ll never know if the brining kept it moist when using a rack…But I would like to know your thoughts. Also, Im not sure how to handle the temp of diff meats at the same time? any advice? I’d like to cook several things at once, but then that means changing my thermometer from one meat to the next, cooking temps. etc and not sure how that all works? thanks for all your help. everyone seems to love you on this site, Im sure we will as well! Patti W.
When making the the apple smoked chicken in pie pan, the end result equals a black burnt look. It has happen to other items I've smoked to. Any suggestions on how to correct this issue?
This leads me to believe that your thermometer may not be giving you an accurate reading or that you are getting some direct heat from the firebox onto the chicken.
Check your thermometer with another tried and true thermometer to make sure it is reading correctly.
Also, make sure that the heat from your firebox is not allowed to hit the meat directly. There should be a barrier such as metal, or even a water pan to help deflect the heat so that it does not hit the meat directly.
It is normal for the skin to get dark but it should not be black or burnt at all.
Hello I am wondering if your rubs are low sodium,as i am on a low sodium diet. Thanks Bruce
Thanks for all the great recipes.
Just wanted to pass along a great way to add wood chips to smoker, I use a covered cast iron kettle like is used on wood stove for water in winter to put chips in ,close lid to keep out air and perfect smoke
I have tried most of your recipes that you have sent out the last year and a half. You have made me a legend among my neighbors and friends. I try to give you the credit for your recipes, but they insist that it is me. I bought your smoking book and go to your forum regulary. Thank you for helping us all please our friends and neighbors.