Smoked Bacon Wrapped Chicken Thighs
Smoking-Meat.com is supported by its readers. We may earn an affiliate commission at no extra cost to you if you buy through a link on this page.
Read this article without ads
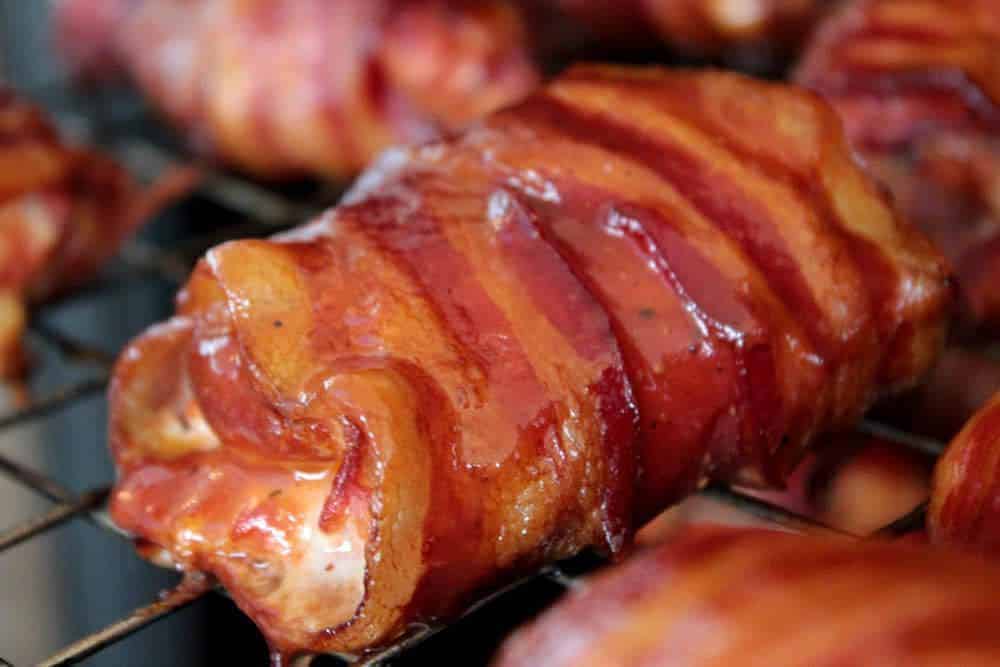
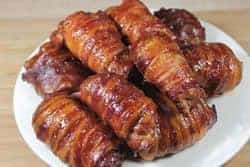
These smoked, bacon wrapped chicken thighs, absolutely must be tried to be appreciated!
The thigh meat is naturally the tastiest part of the chicken, in my opinion, and then to soak it in buttermilk (for tenderness and flavor), dry brine it with my original rub and wrap it in bacon and smoke it until perfectly done just takes things to a level that makes my mouth water just thinking about it!
I also made an orange barbecue sauce and brushed that on a time or two during the process to keep the meat nice and moist while it cooked in the smoker and the flavor in that really came through as well.
- Prep Time: 15 minutes
- Buttermilk Soak: 4 hours
- Dry Brine: 2 hours
- Cook Time: 2 hours
- Smoker Temp: 240°F
- Meat Finish Temp: 165°F
- Recommended Wood: Cherry
- 10-12 boneless, skinless chicken thighs
- ½ gallon buttermilk
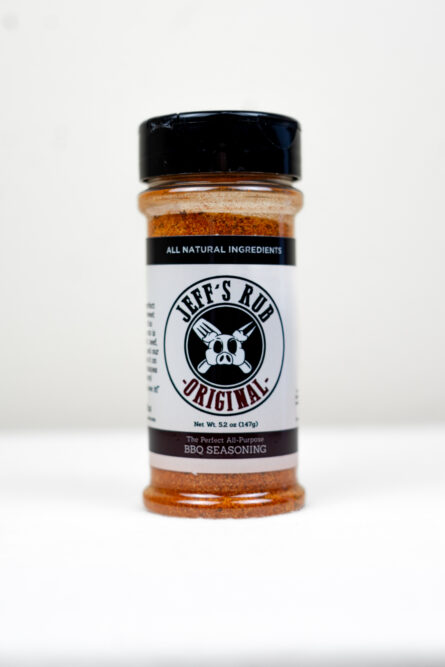
- Jeff's original rub
- 1 lb bacon (1 piece per thigh)
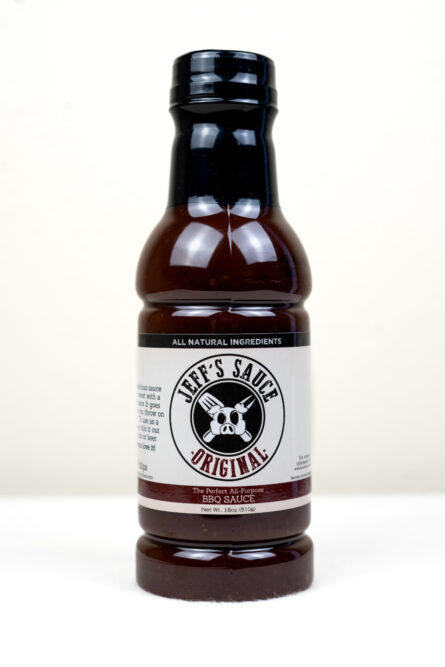
- Jeff's barbecue sauce
- ½ cup orange juice (I use medium pulp)
For years people have known that soaking chicken in buttermilk just does something to the meat in terms of flavor and tenderness.
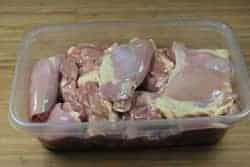
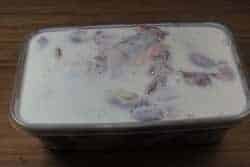
Remove the boneless chicken thighs from the package, trim off the extra fat with a pair of kitchen shears then place them in a medium sized bowl.
(As you can see, I got in a hurry and forgot to trim the fat before the soak. I took care of this afterwards.)
Pour enough buttermilk over the meat to cover, put a lid on it and place the bowl in the fridge for about 4 hours.
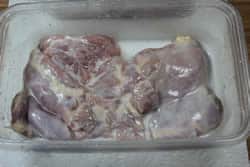
After 4 hours have expired, remove the chicken from the fridge and take the thigh meat out of the buttermilk, letting each piece drain a little bit before placing it into a separate, clean container.
Discard the buttermilk.

Some of you may be wondering, “why not just brine the chicken in buttermilk?”
Well, that's a great question!
The simple answer is that I have been experimenting with dry brining and I felt that these chicken thighs would be wonderful candidates for that process since brining just works so well for poultry.
In wet brining you mix water (or other liquids) with salt and then soak the meat in this salty solution. Dry brining is placing salt or even a rub with salt onto the outside of meat and allowing it to sit for a while. The salt pulls the meat juices to the surface where it mixes with the salt and other ingredients and forms a highly concentrated brine which then works the way any brine works in denaturing the meat proteins and causing it to end up more juicy and flavorful than it would be otherwise.
If you are interested in this process, I recommend you do a little research in Google and read up on it. Quite an interesting topic and one that I don't necessarily have to understand completely in order to know that it works very well.
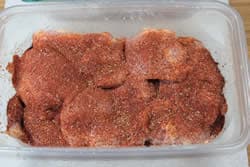
To dry brine these chicken thighs, simply place the meat that you removed from the buttermilk soak into a separate container and coat each layer with my original rub .
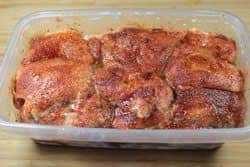
Place the chicken back into the fridge for about 2 hours.
After dry brining..
Anytime you are wrapping chicken or other meat with bacon, you are usually wanting it to end up somewhat crispy if possible and this is often not the case when cooking at smoking temperatures.
In thinking about this, I initially decided that I would cook the bacon partially before wrapping it around the chicken. However, I quickly found out that this made it very difficult to wrap correctly and that it make the bacon tear easily if I tried to get a nice, tight wrap.
After 4 or 5 attempts, I changed over to using uncooked bacon and decided that, crispy or not, uncooked bacon was the better option.
I also tried using 2 pieces of bacon per thigh, but decided that this would cook better if I used a single piece, not to mention being more economical.
My recommended method:
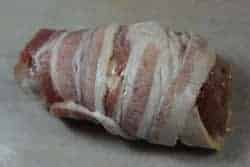
Stretch a single piece of bacon out as long as you can get it without tearing it in half. Then wrap it around the chicken starting at one end and ending up at the other.
Note: stretching the bacon before wrapping it helps it to firm up better in the low heat of the smoker better than it would otherwise.
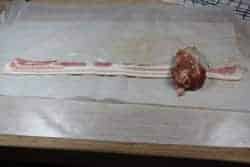
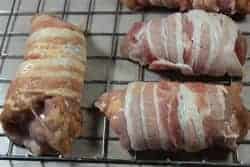
Place the wrapped chicken thighs on a cookie sheet or a Bradley Rack to make it easy to carry out to the smoker.
They were calling for rain/storms so I brought the Bradley smoker under a covered area attached to my house and pre-heated it to about 270°F. The temperature drops significantly when you open the door to put in the food so starting it out hotter than you actually need it seems to work quite well.
You can use a charcoal, electric, gas or wood smoker for these bacon wrapped chicken thighs and they will end up very good as long as you keep the temperature around 240°F and you remove them when they reach their perfect done temperature of 165°F.
Note: In colder weather, it is advisable to preheat the smoker at least an hour or more before you are wanting to use it. Keep the door closed as much as possible and even skip basting if necessary to maintain proper smoking temperatures.
Place the bacon wrapped chicken thighs directly on the grate or leave them on the Bradley rack, set onto the grate of your smoker.
Continue to add smoking wood, I recommend cherry for these, to keep the smoke going the entire time if you are using a gas, charcoal or electric smoker.
Maintain the heat at about 240°F if possible for about 2 hours or until a Thermapen inserted into the center of the meat reads 165°F .
The Orange Barbecue Glaze
I have added a lot of things to my barbecue sauce (Purchase formula here | Purchase bottled sauce) over the years and most of the time, what I envisioned, usually works out pretty well. It's very versatile which allows us to do a lot of things with it to change it up.
Some of the things I have added include beer, mayonnaise, mustard, jams, maple syrup, honey, carbonated beverages such as Dr. Pepper, minced habanero, and now orange juice.
I started by adding a little of the orange juice and kept adding until it got to the taste and consistency that I wanted.
To make it, I simply combined:
- ½ cup of Jeff's Barbecue sauce
- ½ cup orange juice (not sure if it matters a lot but I use medium pulp)
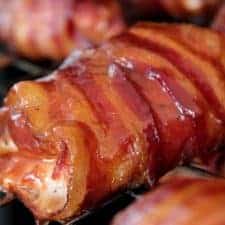
I brushed this onto the chicken twice during the last hour of the smoking process. This not only kept the chicken from drying out on the ends but it added another wonderful layer of flavor.
I don't usually like barbecue sauce slopped onto the meat so by thinning it out with orange juice, it became a nice glaze that did it's job without being too much.
Some things that affect the cook time:
I often get emails from folks complaining that my recorded cook times do not match what they are experiencing in their own smokers. To clarify, I want to point out some things that do affect the overall cook times.
- Opening the door/raising the lid is not necessarily a bad thing but if you do this a lot, your food will take longer to cook. Don't open the smoker just to look at the meat but if you need to baste or check temperature, then do that but do it as quickly as possible to minimize heat loss.
- The temperature of the meat, when it goes into the smoker obviously affects the cook time. Cold meat straight from the fridge will take longer to reach 165°F than meat that has been sitting on the counter for a little while and allowed to warm up a bit.
- The temperature of the smoker. Cooking at 250°F is going to get the meat done faster than cooking at 210°F.
- There is some debate on this but I have found that different types of heat and the way the air flows through a smoker, as well as other individual properties of a smoker, can affect the amount of time it takes meat to cook. Meat cooked in my BGE (indirect heat with plate setter) gets done faster than meat cooked in the Bradley for instance.
Because the cook time can vary from smoker to smoker and from cook to cook depending on a range of variables, it is best to use meat temperature for most things to determine when it is done cooking.
I recommend a Thermapen for instant temperature reading ( 2-3 seconds) and or a remote digital meat thermometer such as the Smoke by Thermoworks for constant monitoring of the temperature of the meat while it cooks.
The only thing left to do is enjoy!
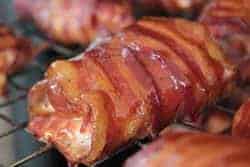
Smoked Bacon Wrapped Chicken Thighs
Ingredients
- 10-12 boneless (skinless chicken thighs)
- ½ gallon buttermilk
- Jeff's original rub
- 1 lb bacon (1 piece per thigh)
- Jeff's barbecue sauce
- ½ cup orange juice (I use medium pulp)
Instructions
Buttermilk Soak
- Remove any extra, loose fat from meat
- Place meat in bowl and cover with buttermilk
- Cover and place in fridge for 4 hours
- Remove from fridge and drain buttermilk.
- Discard buttermilk
Dry Brine
- Place single layer of meat into container
- Sprinkle a generous coat of rub onto meat
- Place another layer on top of the first
- Sprinkle a generous coat of rub onto 2nd layer of meat
- Repeat layers until all meat is coated with rub
- Cover and place in fridge for 2 hours
- Remove from fridge
Bacon Wrap
- Stretch a piece of bacon until it is about 2x it's normal length
- Wrap stretched piece of bacon around thigh
- Lay on cookie sheet or Bradley rack
Smoking the Chicken Thighs
- Preheat smoker to 240°F
- Smoke cook with cherry wood for about 2 hours or until center of meat reads 165°F using a digital meat thermometer or Thermapen
- Serve immediately


Jeff, I used precooked bacon on the chicken thighs and it worked well. I also tried the partly cooked bacon previously and I could never get it just right. Just a suggestion.
Mark
Once again I’m going to say if I spend the money for your cook book your rub recipes should b in it! I’m not going to pay Xtra for your rubs and bbq sauce u suck
Russ, Thank you for the feedback. There are many great recipes in the book but we decided to not put the original rub recipe or the original barbecue sauce recipe in the book due to the fact that so many people had purchased it prior to the book being published. There is absolutely no obligation to purchase them and you certainly don’t have to have those recipes to use this website. They are highly recommended and we use the sales from those recipes to support the website, forum and newsletter but you can certainly use other seasonings and barbecue sauces if you choose to do so. Have a great rest of the weekend and Independence Day!
Jeff. I bought your recipies, and use them often. Would be great if you consider to put Celsius in brackets after F. Your site is read world wide! R
Runar, I will look into doing this soon. Thanks for the feedback!
Jeff, going to try this recipe. But my wife purchased the thighs and they look like the are butterflied….they are real thin and flat. Is it OK to kind of roll them up with the bacon or fold them over once?
Thoughts?
Love your rub recipes by the way!!
It sounds like they’ve been deboned which does sort of leave them butterflied. Just fold them over and they should work just fine.
Did just that…and they turned out spectacular. And that orange juice added to your BBQ sauce recipe is the bomb!!
Thanks for all you do
Where do I log in to get ad-free? I bought the recipes.
This is only possible in the email version of the newsletter at this time. Unfortunately the archived versions of the newsletter on the website will still contain the ads.
Please let me know if you have further questions about this.
Just wanted to say that I tried these. 24 bone in thighs, removed skin and all fat. Only took 1 quart of B-milk to cover and soak for 8 hours. Did mild dry rub, wrapped each piece in 2 slices bacon and rested for 1 hour. Put on foiled rack and cooked 2 hours then turned and cooked 2 more hours, sprinkling with brown sugar each time, in a 250 deg. oven w/a water pan below. Best darn thighs ever. Tender, juicy meat and crispy bacon too. Bravo!
Hey, I made these this weekend and they were fabulous. I used a friends rub as that’s what I had and they came out a bit too salty. I’ll try mine or get yours next time. I also made a Jalapeno/Peach BBQ sauce that was perfect for it. Good recipe, Thanks.
I just cooked these at work and they were amazing! First time trying to run the Weber low and slow and was unsuccessful but hey we just had lunch early. I might add a pepper on the inside and sprinkle them with cheese towards the end.
http://i79.photobucket.com/albums/j123/faithoffroad/BALLIN%20ERRY%20DAY/535EF150-5408-4A9E-A306-E8ABCD183479.jpg
I tried this recipe last weekend and Damn these are good!!! The bacon wrapping as Jeff mentions is a little tricky, he mentioned about stretching the bacon but not to tear it. Here is the solution I used that worked great for me. I have a large cutting board I laid a piece on bacon on at one end and used a small pastry roller to stretch the bacon out length wise to the desired thinness, (I used a little of the chicken juice on the roller to help with the bacon from sticking to the roller), this thinned the bacon out perfectly. Keep the cutting boar clean so the bacon kind of sticks to the board (this is a good thing), once rolled out I take the chicken at one end and start rolling it up, with the bacon kind of sticking to the cutting board it helps keep it kind of taught which makes it much easier to to roll up. Once complete I didn’t need any thing to hold them together I just set the end on the bacon side down on the tray and in the smoker they went.
This is a genius suggestion. Just finished making a dozen using a small pizza roller and a wooden cutting board, and it worked like a dream. The bacon sticks nicely to the board, and I didn’t use anything on the roller. I put the bacon diagonally across the board, started in the middle and rolled towards both ends, using gentle pressure, and the pieces stretched out without breaking. I used a paper towel to wipe the board between pieces so that the bacon would stick to the board. I did not do all of the bacon at once as I figured it would not hold its length once removed from the board. Ergo, the need to wipe the board before each thigh assembly. Thanks for the tip Brett.
Once again Jeff, you never cease to amaze me with your wonderful creations. I whipped up a big batch (18) of these for a little get together and they turned out fabulous. I am a big fan of bone in chicken so this was right up my alley. Thank you!
Tried the recipe this weekend,,,all my friends loved it. Used your rub recipe,should have used the barbecue sauce too, my store bought stuff didn’t cut it in my book. Used a high quality applewood bacon which was a nice touch. This is definitely on my menu list !
The pictures look absolutely amazing! Great article, Will be trying this soon..Thank you for the great post!
Jeff! I am eating the bacon wrapped chicken thighs as I type this! Amazing taste! Thanks so much for this recipe!
WOW! These were amazing! Paired the chicken with a homemade potato salad and smoked stuffed jalapenos (counts as a salad, right?).
I did your chicken receipt today and you have a good one there. It was great good flavor and very easy to follow. My wife is glad I bought the Bradley smoker now.
I have tried some of your other receipts and all have been outstanding. Keep them coming. I would recommend this to everyone. Thank you Jeff
Hi Jeff, do you recommend thick or thin sliced bacon for these Bacon Wrapped Thighs? And would transferring them over open flame crisp up that bacon?
I got some thighs sitting in the freezer right now. Was going use them for chicken cupcakes, but I think they just got a new tasking. Thanks Jeff.
Did these today. I don’t have your rub recipe so I used mine instead. I think I used to much and I also got busy doing something else and forgot to baste with BBQ sauce. However, they did turn out good. I used some low sodium store bought bacon that was pretty thin and it crisped up pretty well. My UDS started out at about 190° for the first half hour or so and then finally started to rise. Not sure what caused the low temp but by the end of the cook, it was at 244° with the majority of the cook in the 235-240° range. Took about 1-1/2 hours. I’m going to try these again with a little less spice and the BBQ sauce glaze. Great and easy recipe to follow. Thanks again Jeff.
Jeff . Just love the new addition of printable recipe at the end as I have been printing buy cut and paste since my family obtain rub and sauce recipe ffor Christmas 3 or 4 years ago . Dont stop the great work. G