Smoked Brisket – No Fuss Method
Smoking-Meat.com is supported by its readers. We may earn an affiliate commission at no extra cost to you if you buy through a link on this page.
Support Smoking Meat and Read Ad Free
For just $19 per year, enjoy every article on the site without ads and help keep this place running.
Instant access • Cancel anytime
Often you see smoked brisket recipes and there's a lot of trimming, injecting, wrapping, and who knows what else just to get it ready for the smoker. This is followed by hours on end in the smoker while you mop it every few hours, flip it over now and then and sing to it to keep it happy while it morphs into a beautiful hunk of beefy goodness. Those things are all fine and wonderful and I do it myself from time to time but sometimes you have other things to do and you don't have a lot of time to spend with the small details.
Can you still smoke a brisket and have it turn out juicy and delicious even if you don't do all of those things?
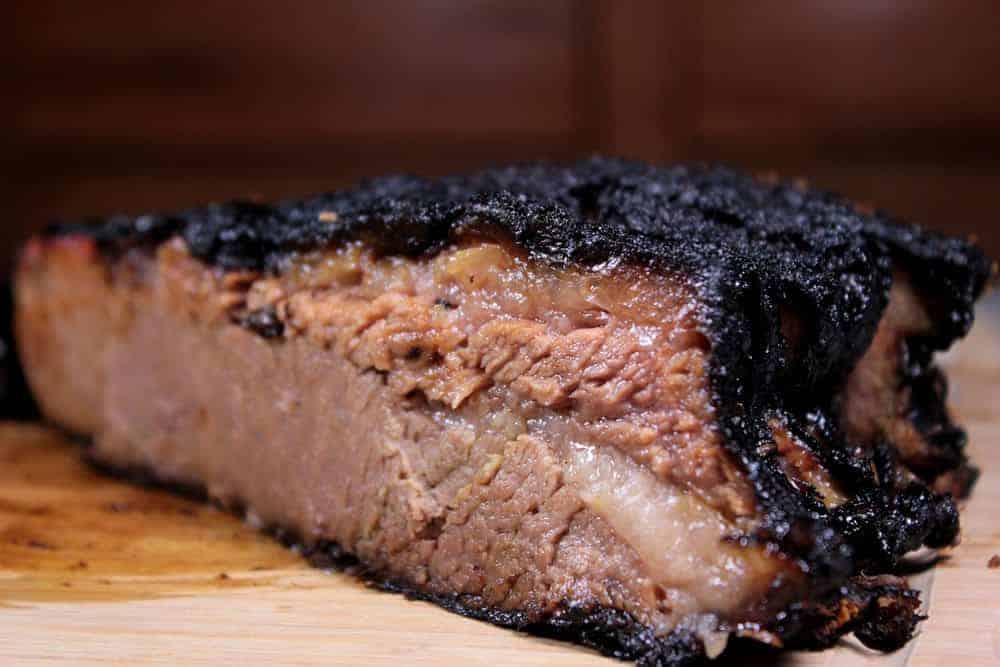
I propose a toast to the “no fuss, no muss” brisket where you don't trim, mop or mess with the hunk of meat until it is done cooking. It's as simple as adding spicy mustard and some of my rub and then bathing it with heat and smoke until it is cooked to tender.
I used my original rub recipe on this one but you can also use the Texas style rub recipe if you want a savory only seasoning on the outside of the meat with no sweet notes. Both are delicious and the option is yours to choose.
Please note: the Texas style rub recipe is included free when you order the original rub recipe. If you are a previous customer and did not get the Texas style recipe with your order, please request the recipe using our contact form.
- Preparation time: 10 minutes
- Cook time: 16-20 hours (varies based on size and muscle/fat ratio)
- Smoker temperature: 225°F
- Meat finish temperature: 195-205
- Recommended wood: Pecan or Mesquite
- Packer brisket, untrimmed
- Spicy mustard
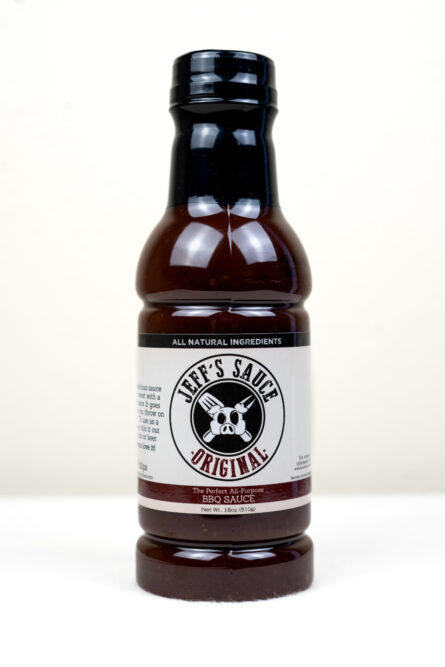
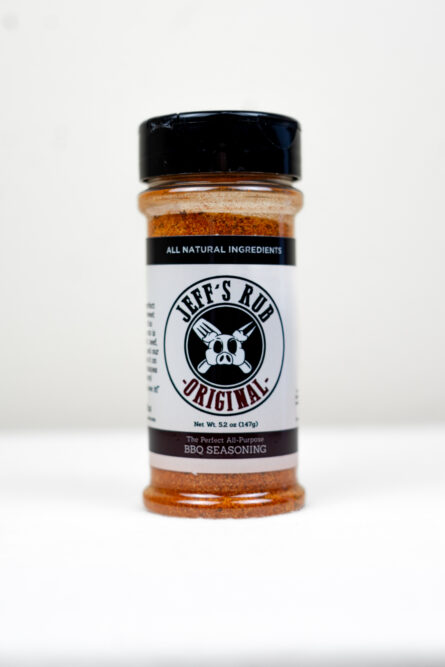
- Jeff's original rub
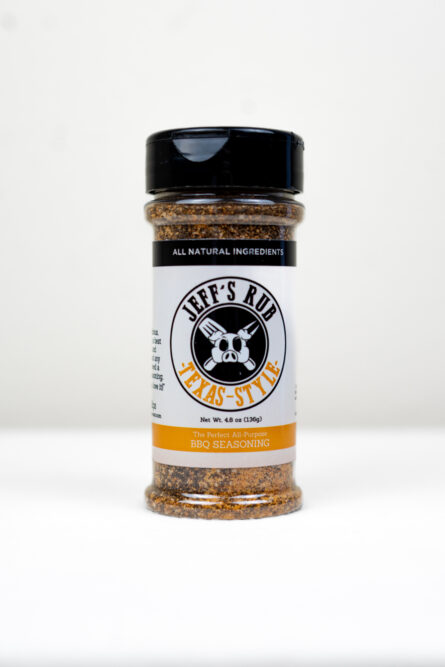
- Jeff's Texas style rub
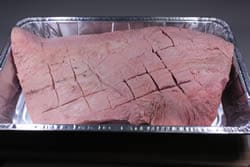
This step is optional but I think this is something that is pretty important and it only takes 30 seconds to do it if you have a sharp knife and don't worry about straight even lines.
Scoring the fat gives the juices and the rub a place to pool up without running off and helps the final flavor tremendously.
Lay the brisket fat side up on the cutting board.
Cut diagonal lines through the fat down to the meat.
When you are finished, it should be a crosshatch pattern of sorts.
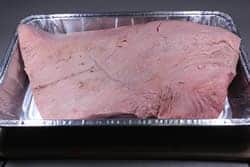
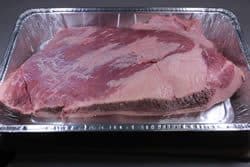
It's hard to tell which way the grain runs once the brisket is finished cooking so a quick and easy way to tell is to mark the grain ahead of time. This is optional and can be skipped but it is helpful later when you get ready to slice.
With the brisket laying fat side down…
Notice the direction the meat fibers are running and make a cut at the corner edge of the brisket about half way through the meat right across those fibers.
By only cutting half way, the meat stays attached, there's no waste but you can still tell which direction the slices should be cut later so they are the most tender.
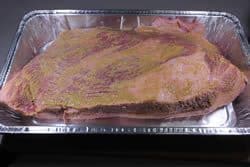
Add some spicy mustard and rub it all over the top and sides of the brisket.
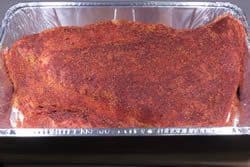
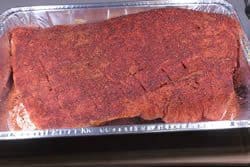
Pour on some of Jeff's original rub or the Texas style rub if you want a savory only seasoning. (be generous)
Spread the rub/mustard paste all over the top and sides of the brisket.
Flip the brisket over and add the mustard and rub to the other side as well.
The brisket is now ready to smoke.
Fire up, plug in, do whatever it takes to get your particular smoker going and pre-heat it to 225°F.
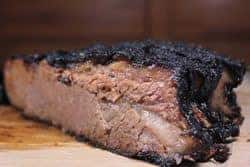
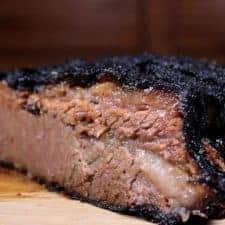
I used an electric cabinet style smoker for this brisket which is why you will not see a smoke ring on the edge of the meat. The wood chips placed into an electric smoker produce plenty of smoke flavor but most times do not produce the pink or red ring around the surface of the meat.
For ease of use and complete hands off experience, an electric smoker is a great way to go. To make it even more hand off, acquire an Amazen Pellet Smoker which uses pellets to produce smoke for up to 11 hours straight once you set it up.
Other great smokers that are easy to use and are able to be used as “set it and forget it” smokers are the pellets smokers such as the Traeger and the Bradley smoker which auto feeds wood pucks while maintaining the set temperature.
Once the smoker is holding the proper temperature, place the brisket directly on the smoker grate with fat side up and let the smoking commence.
I highly recommend using a remote digital meat thermometer such as the Maverick ET-733 or the “Smoke” by Thermoworks so you won't have to open the door and lose heat to check the temperature.
When the brisket reaches 160 degrees you can wrap it in foil if you want to but since this is a no fuss brisket cook, I recommend leaving it alone until it gets completely done.
When the brisket reaches 195°F, it is getting close. Stick a probe or a toothpick into the meat and when it feels like it's going into hot butter with almost no resistance, it's done.
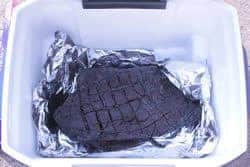
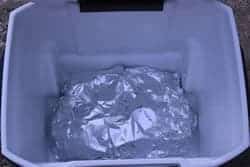
Have a cooler ready with towels, newspaper, etc. and when the brisket is finished cooking, lay the brisket down in the foil lined bottom area of the cooler.
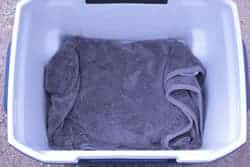
Pull the foil over the top of the brisket and cover with a couple of thick towels, newspapers or whatever you have to help insulate it.
Leave the brisket in the cooler for 2-4 hours before slicing. The longer you leave it in there, the more tender and juicy it will become
When you are ready to serve the brisket, take it out of the cooler and place it on the cutting board.
Remember that mark you made to show you the direction of the grain? Slice the brisket about the thickness of a pencil along that line.
Serve the beefy goodness with a couple of delicious side items and accept the slaps on the back graciously.
Printable Recipe
Smoked Brisket - No Fuss Method
Ingredients
- Packer Brisket (untrimmed)
- Spicy mustard
- Jeff's Original rub (option 1)
- Jeff's Texas style rub (option 2)
Instructions
Step 1: Score the Fat
- Lay the brisket fat side up on the cutting board.
- Using a sharp knife, cut a crosshatch pattern through the fat down to the meat.
- Make the cuts about 1 inch apart.
Step 2: Mark the Grain
- Flip the brisket over so that it is fat side down.
- Take notice of the direction the meat fibers are running.
- On the corner edge, make a cut halfway through the meat across those meat fibers.
- This is to mark the grain direction so you will know how to slice it once it's finished cooking.
Step 3: Mustard and Rub
- Apply a thin coat of spicy mustard to the top and sides of the brisket.
- Sprinkle Jeff's original rub or the Texas style rub onto the area coated with mustard.
- Flip the brisket over and repeat the mustard and rub on the other side.
Step 4: Smoke
- Setup and preheat smoker at about 225°F.
- Place the brisket on the smoker grate fat side up.
- Allow the brisket to cook for 18-22 hours or until it reaches 195-205°F in the center of the meat.
Step 5: Rest
- Once the brisket is finished cooking, place it in the foil lined bottom of an empty cooler.
- Cover top with foil.
- Place towels and/or newspaper over the brisket to help insulate it.
- Leave in cooler for 2-4 hours to tenderize.
Step 6: Slice
- Remove brisket from cooler and place on cutting board.
- Slice into pencil thick slices across the grain using the grain marker cut into the corner as a guide.
- Serve and enjoy!



This is a great simple recipe that keeps the focus on the overall cook process, times, temps, and finishing/tenderizing. It keeps the brisket front and center and allows you to rest and relax during the cook. Have used it man times now with great success.
Jeff we brought home a 11.6 lb Prime Briscut. i trimmed a LOT of fat off it. Its reached 165 in just 3 hrs!! 225 mostly i had a couple 300 flare ups but got the temp back down quickly. Old school fire box Char Griller w charcoal and apple wood..one peice may have been hickory..Question…do i stilp wrap it now @ 165? and cook to 200? Just truned it fat side up..going to render some more then plan to wrap and finish in the oven for the next leg.. its small..its 165!! it just seems like it should have taken much longer. thanks!! jana
Jana, usually it does take longer but every piece of meat is different and strange things can happen sometimes. Ultimately the temperature is your North Star. When the temp reaches 165 °F, if you’re wrapping it up, it’s time to do that. When it reaches around 200-203°F and it’s probe tender, it’s done and ready to rest for at least an hour before you slice it up.
Hey Jeff, I am planning on smoking a brisket this weekend. The smoker temp in the no-fuss method says 225. I would also like to smoke one of the 3lb turkey breast in the net bag. Smoker temp for the turkey breast is 240. Is it ok to set the temp somewhere in the middle, leave at 225 or set to some other temp. I was thinking about setting the temp to 230 and smoking both at that temp. What’s your suggestion? Thanks!
Yes.. you can definitely meet that temperature in the middle somewhere and be just fine. Let us know how it goes!
Great recipes and advice here on the website. It has been my go to for everything from turkey, pork and this wonderful brisket. I’ve done it this way with my electric smoker several times and come out great and is definitely NO FUSS which is why I like it. The only change for me is using molasses for the base before the rub which I think adds a bit to the bark on the outside. Also, the recommendation for resting in the cooler does this big piece of meat wonders. Just plan on a few extra hours after cooking. The cooler also works great for transport if you have some travel time to your event. Trust me you’ll make everyone’s day with this one!!!
I have a 12lb brisket packer that I want to try this on. I also have a Smoke thermometer that I want to use. Do I put this in the thickest part of the brisket and bring it to temp from there? 195 would be the temp I’m shooting for.
I’m concerned about the point drying out since its thinner.
We were having people over for my daughters birthday so I decided to smoke a brisket. I had done one before using a different recipe and had good results. But this time around I came across this recipe and decided to give it a try.
I was able to get a 13 lb. packer at the local grocery. I brought it home and trimmed the fat down to the 1/4 inch range. After that rather than using mustard as the binder I used some BBQ sauce and then covered it in rub. I started it at 7:30 Saturday evening so it would be ready for an early dinner on Sunday. I ended up taking it out of the smoker at 3:30 pm on Sunday with the internal temp at 194. I would have liked to leave it in a bit longer but wanted to let it rest for at least an hour before I cut into it.
There were 10 of us with plates ready. Once it was sliced we all dug in. When it was over there were only a few slices left. I got nothing be raves. Will gladly use this recipe again and again.
I’ve smoked brisket several times now on the Green Egg but with little success. While the meat was medium tender there wasn’t much taste or the meat consistency. Just about every article I read about smoked brisket they rave about it being the “king” of meats. I used the rub, smoke it for hours, wrap it in foil and add beef broth, then keep it wrapped in foil in a cooler for another couple hours after I take it out of the Egg. The results are just okay.
There are a lot of different opinions as to final temperature. Some say 185 deg, others 190 deg, and one well known pit master said 200 deg. Some say to just check for tenderness. They all love the finished product but I can never rave about my briskets. What am I doing wrong?
You said to place the brisket on the grate with the fat side up. How does it stay juicy and how can I collect juices if it’s not in a foil pan? Do I cook it part of the time in a pan and part of the time on the grate? If yes, which order will give the best results…first on the grate or in the pan? Great site.
Hi.
Just wondering how long do you think it would take a small 4 lb brisket to reach 195f at 225f? I want to plan my start time.
In my Horizon 16″ offset smoker donning 225 to 250 it took “about” 1 hour 15 minutes/pound.
I just did a 4lb flat this weekend using the Flat for Nacho’s method (In the pan with beef broth) on a 22′ Weber Smoky Mtn and I put it on a ready fire at 8:30 a.m. at 230°. Then knocked the heat down to about 180° at 2:30 and let it just sit until about 5:30. It was very tender. It wasn’t your usual ‘smoky’ comp style brisket but it didn’t go to waste either! More like a mildly smoked pot roast.
Hope this helps.
Just curious about how
Long per pound my brisket is just over 6 lb?
Jeff – With this being a full brisket including the flat and the point, where would it be best to measure the temp? Should we be putting the probe into the thickest part of the meat to reach 195 (more where the point is)? I’m concerned that if I wait to get that part of the brisket to 195, then the thinner flat part might be overcooked? Maybe I am just thinking about it too much. Let me know your thoughts when you get a chance. Love the site!
Tried this last weekend. I put it in the Bradley around noon on Saturday. When I went to check it before going bed, the smoker was only getting to about 125*. The outside temperature was only around 5*. When I checked it the next morning, it was still cold and the smoker was not able to keep up very well. I pulled the brisket and put it in the oven until the meat hit 205* – about 3 hrs. I then put it in an ice chest with a bunch of towels around it. It stayed in there until about 4:00 when we decided to check it out. Wow, it was still plenty warm and the wife and I agree that this was the best brisket we have ever had. Very moist, good flavor.
Thanks for sharing your recipes and suggestions.
Dan
How long should I keep the smoke going? Until it reaches 160?
My rule of thumb is to add smoke for about half of the estimated cook time. This usually means about 8 hours or so for brisket. Adding smoke until it reaches 160 is also a good way to measure it. You can then wrap it in foil at that point or even finish it in the house oven if you need to.
Looks like the fat side is down when doing the scoring from the photos you posted. Am I wrong?
Scoring is done to the fat cap in the “up” position;-)