The Minion Method on the Weber Smokey Mountain Cooker
Smoking-Meat.com is supported by its readers. We may earn an affiliate commission at no extra cost to you if you buy through a link on this page.
Read this article without ads
Many of you new to the craft may be asking, “what in the heck is this minion method you are talking about ?” while you long timers may know what it is but just haven't used it or experienced what it can do for your cooking especially if you are using the Weber Smokey Mountain cooker or a similar unit.
The way I understand it, Jim Minion was competing at a barbecue competition and sort of came upon this idea while trying to regulate the heat in his Weber Smokey Mountain cooker. Using the manufacturers instructions the charcoal smoker would be up to 350 degrees in no time and as we know, that is not the temperature that we aim for in the “low and slow”.
He decided to change things up a bit and it worked so great he started telling folks about it. Before long, Jim Minion's method of lighting and maintaining the charcoal smoker became known as the minion method and is something of a legend among barbecue enthusiasts.
I am going to do my best to break that method down for you and show you through text and pictures, what the minion method is and how it works.
~~~~~~~~~~~~~~~~~~~~~~~~~~~~~~~~~~~~~~~~~~~~~~~~~~~~~~
Please note: Jim recommends that you use charcoal briquettes since they tend to burn very evenly. I on the other hand much prefer lump charcoal even though it does not burn as evenly. I feel that I get a much cleaner flavor due to the lack of additives that you will find in charcoal briquettes. Feel free to use whichever type of fuel you like.. this is just personal preference for me.
~~~~~~~~~~~~~~~~~~~~~~~~~~~~~~~~~~~~~~~~~~~~~~~~~~~~~~
To summarize, fill the charcoal chamber with unlit charcoal then place a small bit of lit charcoal on top of the unlit charcoal. The idea is that the lit charcoal will maintain a consistent heat and slowly light the charcoal on the bottom over the course of several hours giving you a long, consistent burn time.
Here is the Minion Method all Broken Down for You:
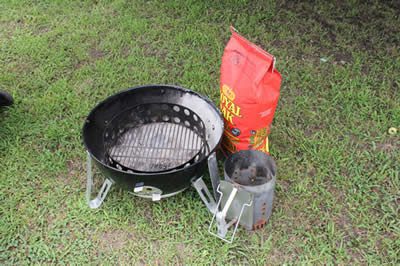
1. Here I have the charcoal chamber of the Weber Smokey Mountain, my charcoal chimney and a new bag of lump charcoal all laid out and ready to go.
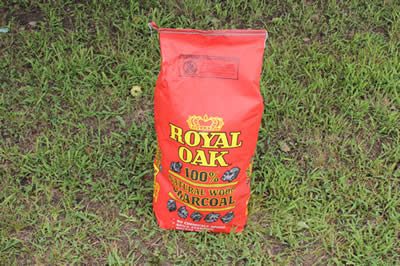
2. I like to use lump charcoal instead of briquettes since the lump is 100% natural hardwood whereas charcoal briquettes are a mixture of wood and other various and questionable ingredients. I have used briquettes from time to time and I'm not saying I will never use them but I prefer the lump as I feel it provides a much cleaner flavor.
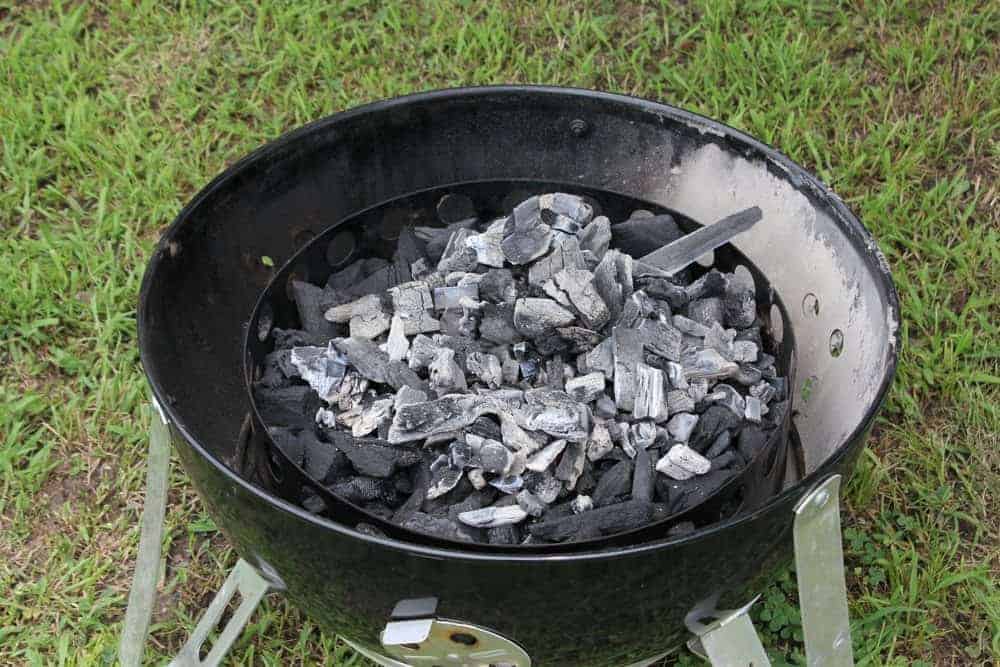
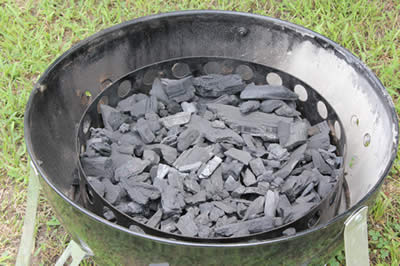
3. I have opened the bag of lump and filled the charcoal chamber almost full with the unlit charcoal.
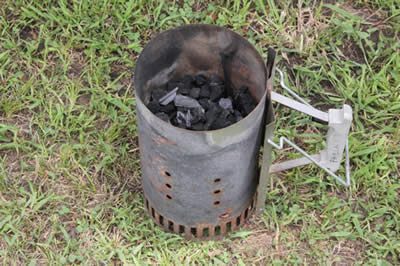
4. My trusty Weber charcoal chimney is old and a little rusty but it still works as good as the day I bought it. I have filled it about 2/3 full of lump charcoal. If you don't have one of these, you really need to invest in one. You can find them at your local hardware store or you can order one online at Amazon.com like this one.
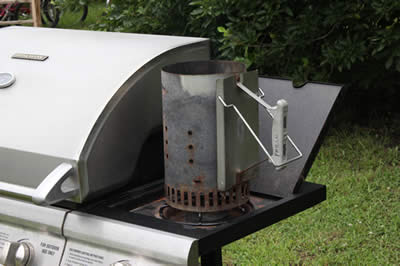
5. As you can see here, I have placed the filled charcoal chimney on the side burner of my gas grill. The normal way to start the chimney is to stuff some newspaper into the bottom and light it. That works great but if you have a grill with a side burner like I do, it works even better.
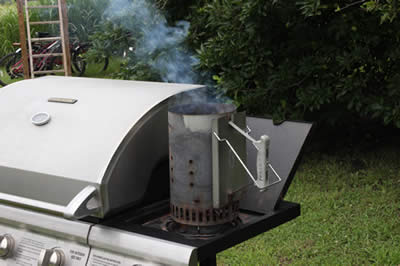
6. After only about 7-10 minutes the charcoal at the top of the chimney is glowing orange and ready to pour onto the unlit charcoal in the charcoal chamber.
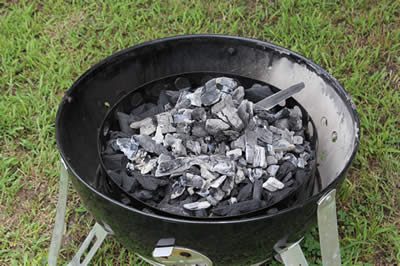
7. The lit charcoal has been poured on top of the unlit charcoal and spread out a little bit.
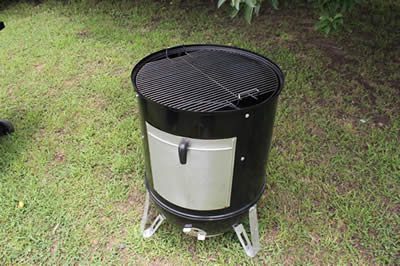
8. I replaced the body of the smoker onto the charcoal chamber and made sure the grates were in place. The vents are full open until I see what the temperature is going to do. Once it gets up to about 200 degrees, I will close the vents to half-way then a final adjustment once it reaches 225 or so.
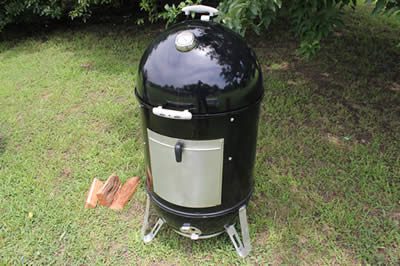
9. The lid has been placed on the smoker, I have some cherry splits ready to go on top of the charcoal and right now, I'm just watching the temperature and making some final adjustments to the vents. The minion method is doing a fine job at regulating the temperature.
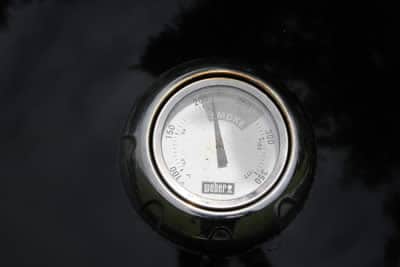
10. Ahhhh.. 225 degrees and a final adjustment to the vents so it will hold this temperature for 8-12 hours. This does not mean I won't have to make a couple of small adjustments during the process, but it won't stray too far off course. The ribs have been placed on the grate, a couple pieces of the cherry on top of the coals and it's smooth sailing now.
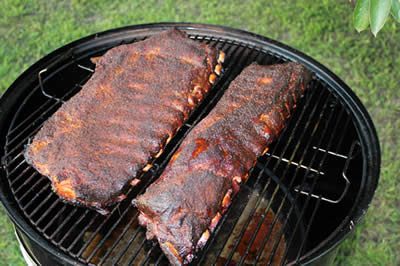
11. About 7 hours later those beautiful spare ribs and extra meaty baby backs are very tender and if I pick them up on one side, they bend at least 90 degrees. I also grasped (2) adjacent bones and pulled them in opposite directions and the meat began to tear very easily. They are very tender and I am ready to slice and serve!
The minion method has kept the smoker at a very consistent 225°F for around 7 hours and it will continue to maintain that temperature for at least 4-6 more hours if I don't touch anything.
Don't have a Weber Smokey Mountain Cooker?
Just because the minion method was invented for the Weber Smokey Mountain smoker, this does not mean that it cannot be used in other smokers. The important things is the charcoal is in a basket of some sort so that air can get to all sides of the charcoal. You will have to play around with the ratio of unlit charcoal to lit charcoal to find what works for you in whatever smoker you are using to maintain your goal temperature.



Okay, so I have a 22.5″ smoker. Are the instructions the same or does it change?
Same
Jeff, I used the minion method on labor day for ribs and chicken using the WSM. I used the chimney starter, however I used the weber starter cubes. I also placed the lite charcoal in the middle to creep inside out and the hickory chunks (3) around. I have a couple of ?’s. Do use water? Have you heard any problems with the cubes? I did not think it got hot enough so I stoked a few times. The meats were blackened with what appears to have been charcoal dust. Do you suggest stoking? Most of the meats were destroyed. There were however some tasty morsels and they were very tender. Thanks in advance!
I see in the picture, you appear to be adding split logs. Do you use split longs in a WSM? Or chucks of wood? Pros vs cons of using splits?
I have used this method a few times and the temps STILL get up to over 300. What am I doing wrong?
Terry –
Probably too much air flow. More air = higher temps. Chef Richard McPeak teaches that once you’ve got your fire going, to have the top vent only 1/4 to 1/2 open and 2 of the bottom 3 vents completely closed and the third wide open. I found that I sometimes have to open 1 of the closed vents about 1/3rd to get up to 225. Also make sure your water pan is full. This not only adds moisture to the cook, but acts as a heat sink.
One other thing he teaches is to make a “charcoal sandwich” by adding a thin layer of unlit charcoal over your lit coals at the start. The theory is, in part, that igniting the unlit coals absorbs some of the heat and keeps a steadier, lower temperature. It’s worked well with me!!
How much smoke should I notice in the smoke chamber , a light fog or a medium fog or more ?
Is it going to be ter to smoke a turkey on a bottom or top grill of my smoker?
should ribs go on room temp or cold?i heard if they go on cold they take longer to cook but create a better smoke ring…this true or no…im new to this…help