Hot Smoked Beer Can Chicken Recipe
Smoking-Meat.com is supported by its readers. We may earn an affiliate commission at no extra cost to you if you buy through a link on this page.
Read this article without ads
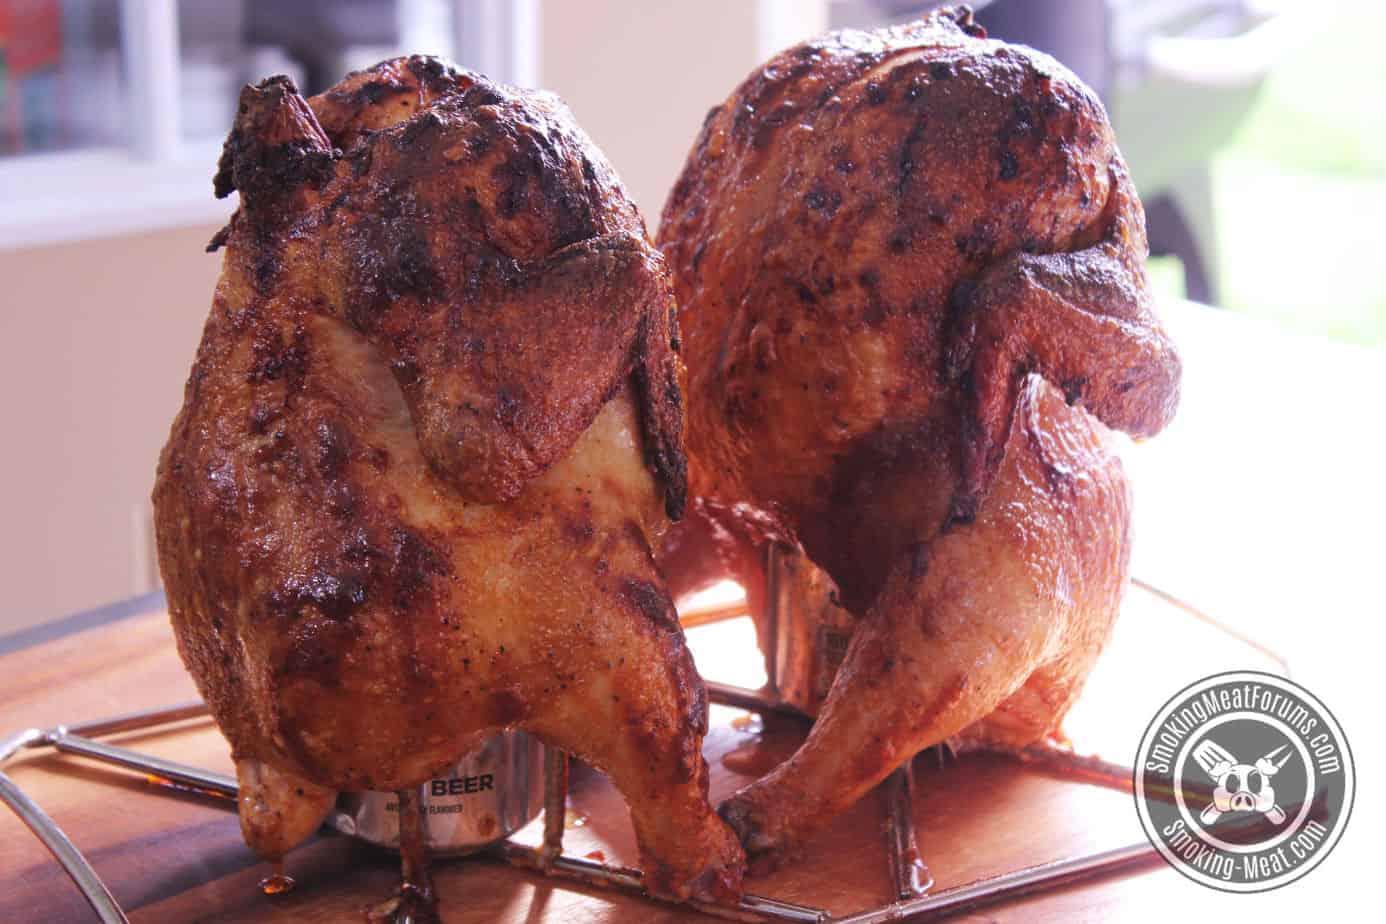
Smoked Beer can chicken (or root beer chicken if you prefer) is one of those things that people love to do in the smoker or grill and while the science seems to indicate that the liquid isn't all that important, it's super cool and as you know, presentation and aesthetics plays a big part in the meal.
I've been doing these for years, my family and friends love them and that's enough science for me;-)
- Hands-on Prep Time: 15 minutes
- Cook Time: 2-3 hours
- Smoker Temp: 225-275°F
- Meat Finish Temp: 165°F
- Recommended Wood: Pecan and/or cherry
- 2 whole chickens
- Mayonnaise
- Jeff's original rub recipe
- (2) cans of beer or a soft drink (I like to use root beer)
I'm a big fan of brining poultry which is just soaking it in some salty water for a few hours.
During this time some of the salt and water is drawn into the fibers of the meat and you can really taste the difference in the finished product.
Brined poultry also tends to end up being more juicy non-brined poultry– some of the brine is drawn into the meat and gets locked in during this process.
The result is fantastic and therefore I continue to do this anytime I cook chicken.
To brine the chickens just make a gallon of brine using the following ingredients:
- 1 gallon of cold water
- 1 cup of coarse kosher salt (I use Morton's)
- 1 cup of brown sugar
Add the salt and sugar to the water and stir until all is dissolved and the liquid is a clear amber color.
Place the chicken(s) in a plastic, glass or stainless steel container and pour the brine mixture over them to cover.
If you need more brine, just mix a 2nd batch.
Place the container in the fridge during the brining process.
Some examples of acceptable containers would be zip top bags, stainless steel stock pot, plastic or glass food storage containers. NO aluminum.
Note: This is not a cure and does not render the meat invincible to germs and bacteria. It is for flavor and juiciness only.
Leave the chickens in the brine for about 4 hours or 1 hour per pound. I would not brine them longer than this or they could end up being too salty and/or the texture of the meat can be affected.
Rinse the chickens when they are finished to remove any excess salt from the outside and they are ready to proceed with the process.
What if the chickens are already brined with a solution from the store? Have you ever tasted a chicken from the store that was even the least bit salty? Yeah, me neither. The process that they do in the factory is severely inferior to what you can do at home in my opinion. I brine nearly all poultry that I cook even if it's already had some sort of solution added. Mine is better, period.
Does the chicken end up being salty? No, as long a you follow the correct brine time, it will be flavorful, not salty. Salt should compliment the natural flavor of the meat not cover it up and that's what brining does.
Can I dry brine these instead of soaking them in the salt water brine? Absolutely. Just apply coarse kosher salt all over the outside of the chicken breast, legs, wings, thighs, and back at a rate of ½ teaspoon per pound. A normal 4 lb chicken will require about 2 teaspoons of coarse kosher salt.
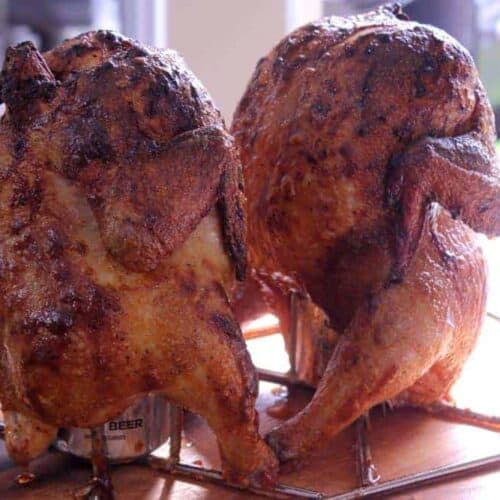
You don't need a fancy holding device for this although it is nice to have a rack that holds the cans in place.
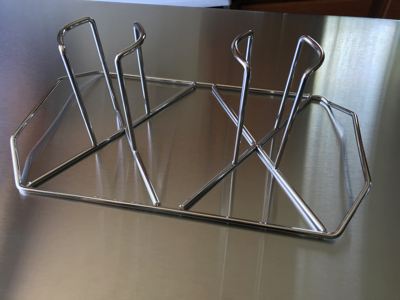
I used one for these and it made the job a little easier and I didn't have to worry about the chickens falling over.
Open the cans of root beer or whatever you are using and drink about half of it.
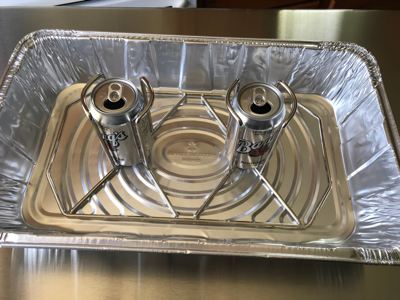
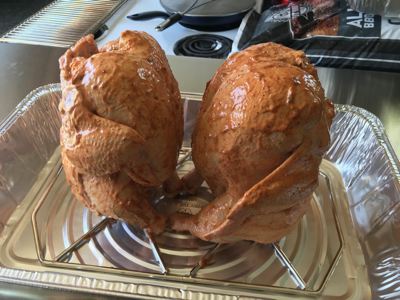
Lower the cavity of the chickens over the top of the cans with the legs supporting some of the weight.
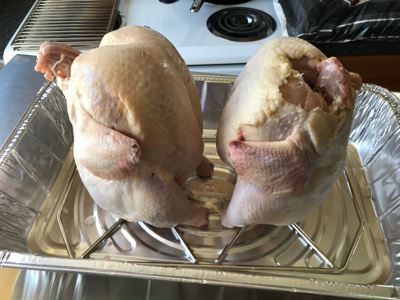
Now with the chickens in place on the cans, they are ready to be seasoned on the outside.
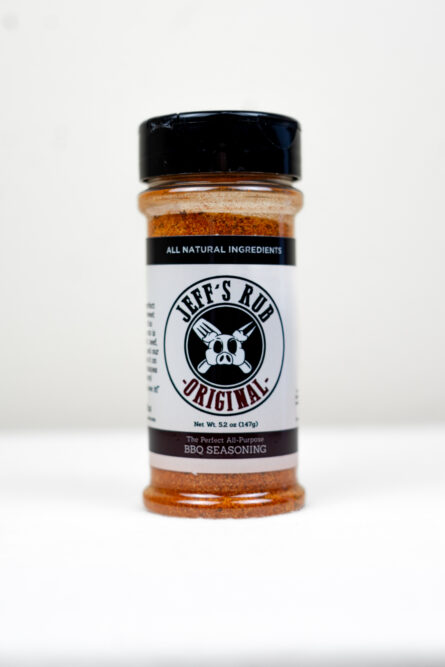
We are using the original rub on these simply because there is nothing better on chicken in my opinion. My original rub is low on salt, big on flavor and it creates a wonderful crust on almost anything.
I often apply the rub directly to the skin of the chicken but on these, I decided to mix the rub with mayonnaise and apply that all over. Mayo is an excellent base for the seasoning since it's essentially oil and egg.
1 cup of mayonnaise and 3 tablespoons of Jeff's original rub should be mixed together in a bowl.
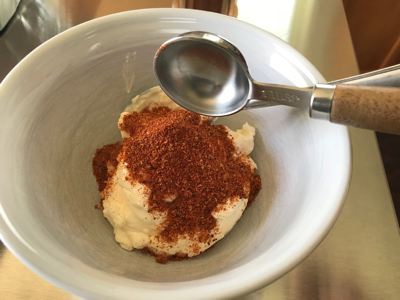
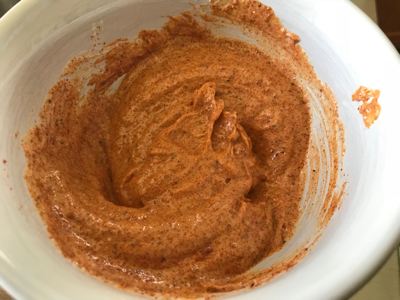
Make sure the chickens are dry then use your hands to rub the rub/mayo mixture all over the legs, wings, breast, back and sides of the chicken. Be generous with it.
Anytime you have need of versatility such as mixed temperature during a cook, look no further than a pellet grill. This type of cooker can usually cook at low temperature, fairly high temperatures and everywhere in-between.
The lower the temperature, the more smoke flavor you will have so while they are versatile, I recommend some slow smoke time before cranking up the heat. That was just the method I used for these beer can chickens on the Camp Chef pellet grill and it did not disappoint.
I've been using the Camp Chef Woodwind for a while and it does a fine job on these smoked beer can chickens.
You can obviously cook these on any smoker that you have, even the grill as long as you can maintain reasonably consistent temperatures in the range of 225 to 275°F
On pellet grills, use the special smoke setting which will simply say “Smoke”, Extreme Smoke, or something like that. On the Camp Chef Woodwind use “HI Smoke”.
Note: After one hour of smoke, we'll bump it up to 275-300°F
In all other smokers and grills, preheat to 275°F or as close to that as possible and leave it there throughout the entire cook.
Once it's ready, the chickens can be placed on the grate.
You will notice that I placed the chickens down in a foil pan. This is to keep the smoker clean by catching the drippings instead of letting them fall down into the smoker. Not only does the smoke get down in the pan just fine, the position of the chickens over the cans holds them up high so they get plenty of access to the smoke and the heat.
If you have a smoker with multiple racks, you could also place a pan on a lower grate.
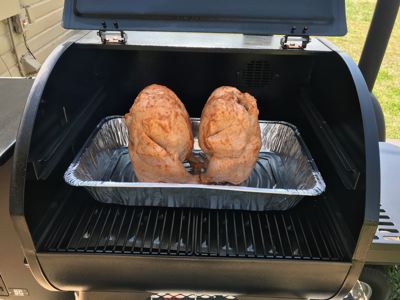
You can place it right on the grate if you prefer.. you have options.
In my pellet grill, I started out at 225°F and left it there for 1 hour. As I mentioned, in these cookers, the lower heat produces more smoke so I often cook in two stages, a lower heat, more smoke stage and then a higher heat, less smoke stage.
I think those who complain about these pellet grills not having enough smoke flavor, may be cooking too hot right out of the gate. At lower temperatures, I get tons of smoke, great smoke rings and plenty of smoky flavor in the finished product.
After 1 hour, I cranked up the heat to 275°F for about 2 hours to finish the birds and take them to 165°F internal temperature.
Using a Thermometer
I highly recommend using a thermometer to monitor the temperature of the meat while it cooks. My thermometer of choice was the Thermoworks “Smoke” but if you have something different that's ok too as long as it's accurate.
Apply smoke for as much of the cooking time as possible or at least 1 hour.
When the thickest part of the meat in the breast reaches 165°F, the chicken(s) are done and can be removed from the smoker right away and off of the cans.
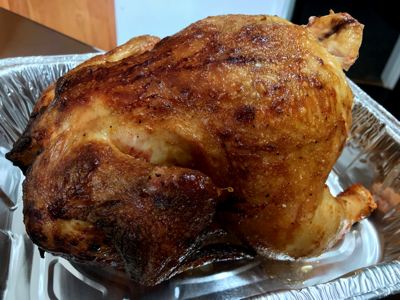
Tent some foil over the chicken once you bring it into the house out of the smoker and let it rest for about 10 minutes before slicing.
Serve it up!
Hot Smoked Beer Can Chicken
Ingredients
- 2 whole chickens
- 1 cup mayonnaise
- 3 tablespoons Jeff's original rub (get the recipes here)
- 2 cans beer or a soft drink (I like to use root beer)
Chicken Brine
- 1 gallon water (,cold)
- 1 cup kosher salt (,course)
- 1 cup brown sugar
Instructions
Brine the Chicken(s)
- Make the brine in a large 1 gallon pitcher by adding the water, kosher salt and brown sugar.
- Mix well until all ingredients are dissolved and the liquid becomes a clear amber color.
- Place the chicken(s) into a zip top bag or other plastic or glass container and pour the brine over the chicken to cover. Place the container with the chicken into the fridge for about 4 hours.
- At the end of the brining time, rinse the chicken under cold water and pat dry.
Season the Birds
- Place the chickens over cans of beer, root beer or other soft drink and use the legs to support some of the weight.
- Mix 1 cup of mayonnaise with 3 tablespoons of Jeff's original rub and apply this mixture all over the outside of the chickens.
Cook in the Smoker and Serve
- Preheat the smoker to 275°F and once it's ready place the chickens on the grate and cook until the internal temperature reaches 165 °F in the thickest part.
- Rest the chicken for 10 minutes before serving.


I HIGHLY recommend using a store bought ‘can system’ as most aluminum cans have the label made either with plastic or a lead based paint. Neither of which you want in/on your food. Additionally, they are stainless and aluminum is not the best to come in contact with your food.
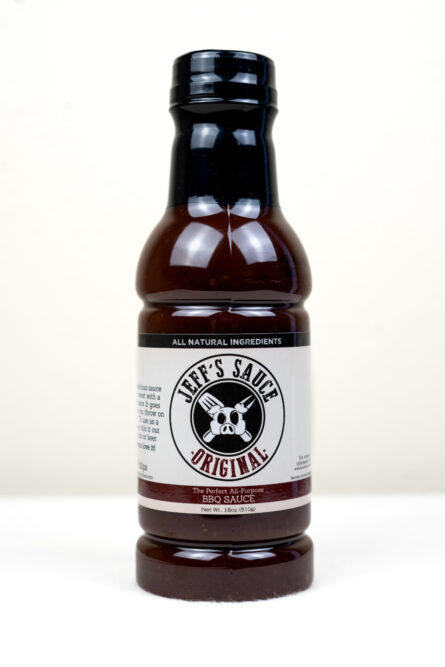
Ok so I used this as a starting point with something other than Beer can chicken! I spatchcocked the bird used your brine then your dry rub and put it on the Webber grill with a little cherry wood for smoke, just before it was done (maybe ten minutes) I brushed some of your sauce on it ! That bird didn’t fly but was gone pretty darn fast ! Thanks for the direction
Again, smoking a chicken with a can of liquid inside is just plain dangerous. The inside of the chicken is the last to heat up to 160, and that can blocks the heat and slows down the process. The liquid is the last to het to 160. There is NOTHING inside that can that gets into the chicken either. The beer can holder is GREAT – lets the smoke and heat pass through. If you wouldn’t lick your beer cans, why would you put them inside a chicken?
Bad idea but it sounds cool.
Loved this recipe! My chicken was huge; a 6 lb bird. I think that is big for a chicken. Anyway, I followed the recipe and it was the moist, pull a part chicken ever.
I am a novice when it comes to smoking and recipes like this make me feel like I’m a pro!
Thank you, Jeff!
Can you use something beside the mayo for the rub on the beer can chicken my wife can’t use mayo on anything she is alegete to mayo
found this double chicken holder:
https://www.walmart.com/ip/Camp-Chef-Double-Beer-Can-Chicken-Holder/20468067?wmlspartner=wmtlabs&adid=22222222222014945991&wmlspartner=wmtlabs&wl0=e&wl1=o&wl2=c&wl3=10355192587&wl4=pla-1105765493673&wl12=20468067_10000002214&wl14=double%20beer%20can%20chicken%20holder&veh=sem&msclkid=d656cd42ba3215e7464f91725370d5a4
Cooking a chicken with a can inside is dangerous. The liquid is the last thing to warm up, and keeps the inside of the bird in the danger zone too long. If you have a beer can holder, use it without the can to hold the bird up. NOTHING in that can ever gets into the meat, because it will not evaporate before the chicken is done. Lastly, you don’t know what is on the outside of the can – whatever it is, it is unlikely food grade. You WANT hot smoke going through that bird, not a can of liquid that collects fat in the can…which further prevents any evaporation…
you are super negative just chill. Drink the beer instead seems like a good idea
Hi Jeff, Chicken looks Great can’t wait to try it! Just one question how much did each Chicken weight before Smoking? Thanks for all Great Recipe and tips for novices like myself.
Hi Jeff. I have always done chickens by cutting in half and cook with the cavity up poke it with a fork and fill with beer. It drains down into the chicken that way and get great flavor. Was wondering if there is much flavor putting the whole bird on a can.Thank you.
My wife loved the chicken. I have to hide the brining because she thinks it will be salty. The mayonnaise makes it all happen.
So what she doesn’t know, just might taste good ;-)
Hey Jeff, I see that the beer can holder for the chickens you used is back for sale on Amazon! There’s also a couple of other two can holders available also!
What kind of wood would (haha that’s fun) you suggest for your beer butt chicken?
I have never cooked chicken this way before. I looks interesting and it’s something I will try.
Hi Jeff.
I’ve been a fan for a few years and tell everyone I hear of that has a smoker about your web site. My wife and I no longer go to a restaurant to have steaks. I was just reading Hot Smoked Beer Can Chicken on a pellet grill and the cold start to hot transition you do. That’s what I do to any kind of beef. I have a Traiger and I start on smoke for 45 min, then 350 Deg. for 10 to 15 min. Always a good smoke flavor and seared just right. Thanks for your web site.
Hi Jeff, should I use my water pan when doing these or not?
Thanks
It doesn’t hurt to use a water pan with these as long as you can still get the heat high enough. In some units like the bullet smokers, less water or even no water means you can obtain higher temperatures and for chicken that’s not a bad thing.