Smoked Beef Tenderloin
Smoking-Meat.com is supported by its readers. We may earn an affiliate commission at no extra cost to you if you buy through a link on this page.
Read this article without ads
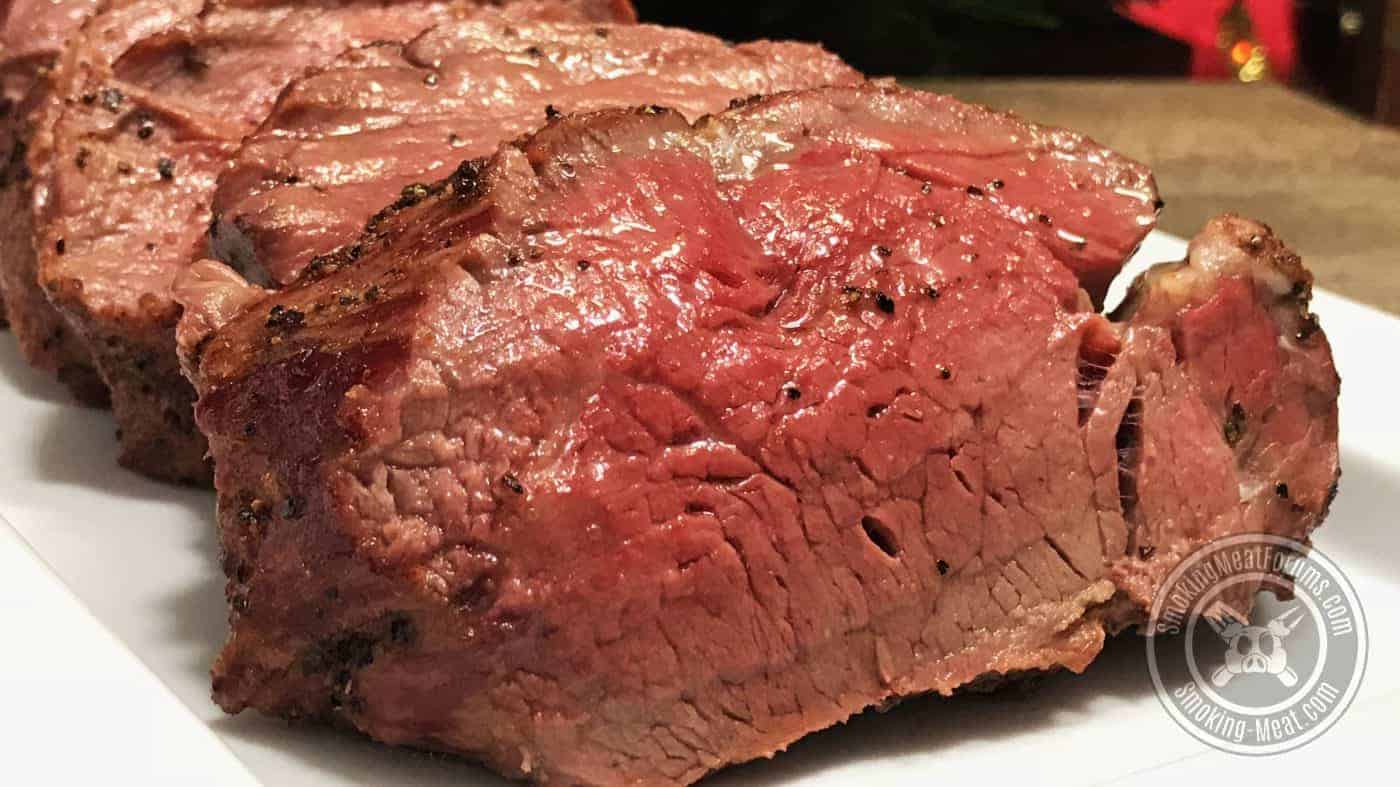
We did this smoked beef tenderloin for Christmas but it's a great meal for anytime.While it does not have the fat of say a ribeye, it is still super tender and full of great beefy flavor.
The Texas style rub and the smoke did not overpower the meat at all and I highly recommend it!
Get ready to have the best meal in town!
- Prep Time: 15 minutes
- Dry Brine Time: 12 hours (overnight)
- Cook Time: 2 hours
- Smoker Temp: 225°F (107 °C)
- Meat Finish Temp: 130°F (54°C)
- Recommended Wood: Oak
- Whole beef tenderloin (about 4 lbs average)
- 1 TBS coarse kosher salt
- 1 TBS vegetable or olive oil
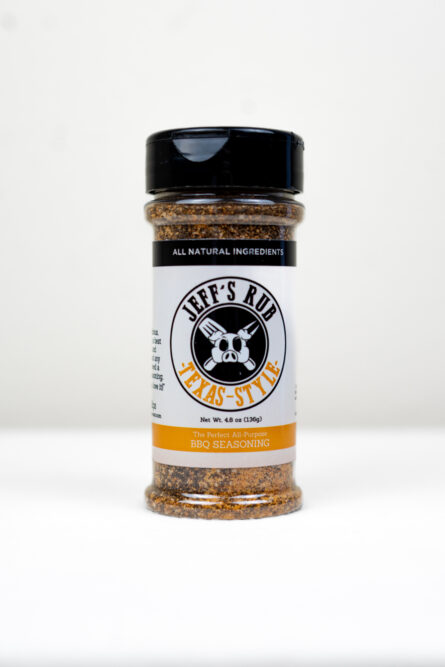
- ¼ cup Jeff's Texas style rub
Place the beef tenderloin on a pan, preferably with a rack if possible.
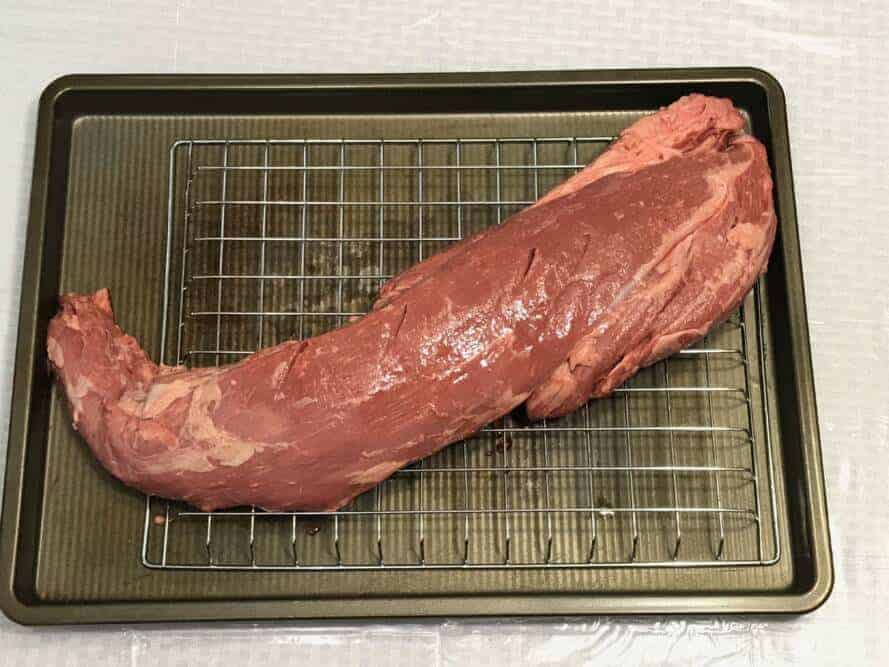
To dry brine the meat, use about ½ tsp of coarse kosher salt per pound of meat. Apply the salt to the top of the meat then place it in the fridge for about 12 hours or overnight for best results.
The salt pulls moisture to the surface which in turn dissolves the salt and that salty mixture is then reabsorbed back into the meat.
Learn more about dry brining and/or brining in general.
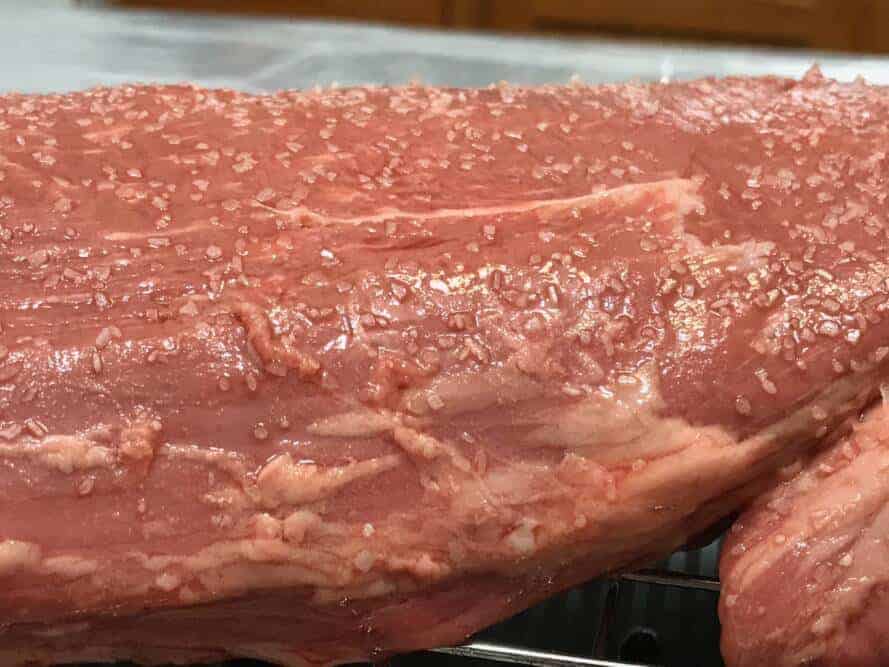
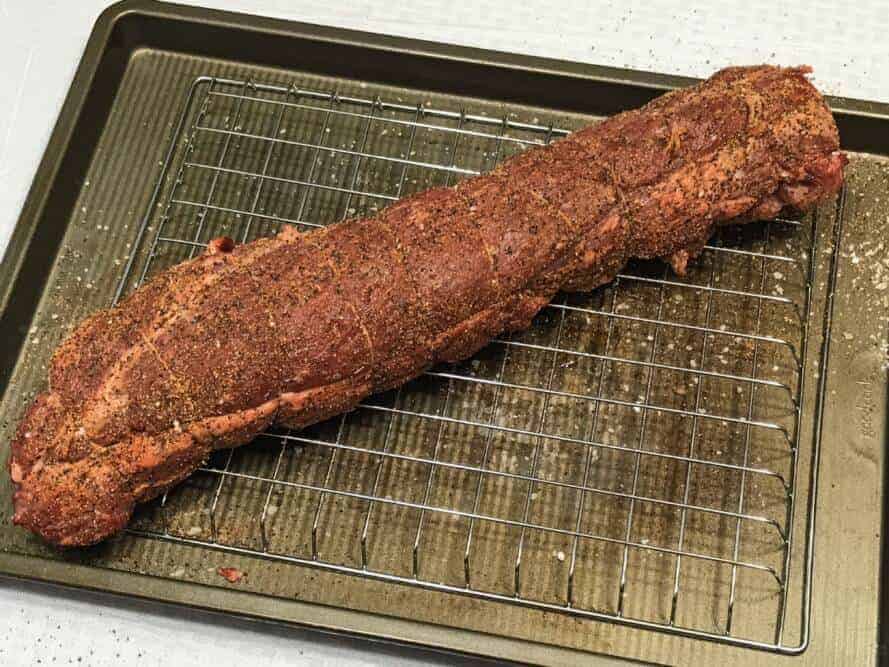
Here's a visual of the salt coverage I used. At this point in the process, you can see how the salt was already pulling moisture to the surface and the salt was already beginning to be dissolved.
When the meat is finished brining, DO NOT RINSE.
You can now prepare the beef tenderloin for smoking.
If you look closely at the picture of the tenderloin, you will notice that it has one end that tapers down to a smaller size, this is called the tail. It is best to tuck this part under the meat and tie it up. Otherwise, this smaller portion will cook faster than the rest and end up dry and inedible.
Any clean cotton string will work if you don't have butcher's twine. Tuck the tail under then tie it up tightly using a piece of string that is about 12 inches in length.
If you are not familiar with the butcher's knot, you can use a basic square knot. It's always helpful to have someone put their finger on the string once you pull it tight while you finish tying it off.
Continue to place strings around the meat and tie it off about every 2 inches as this will make it more round and therefore will cook more evenly. If you do not tie it up, it will end up being less round, more oval and will cook less evenly.
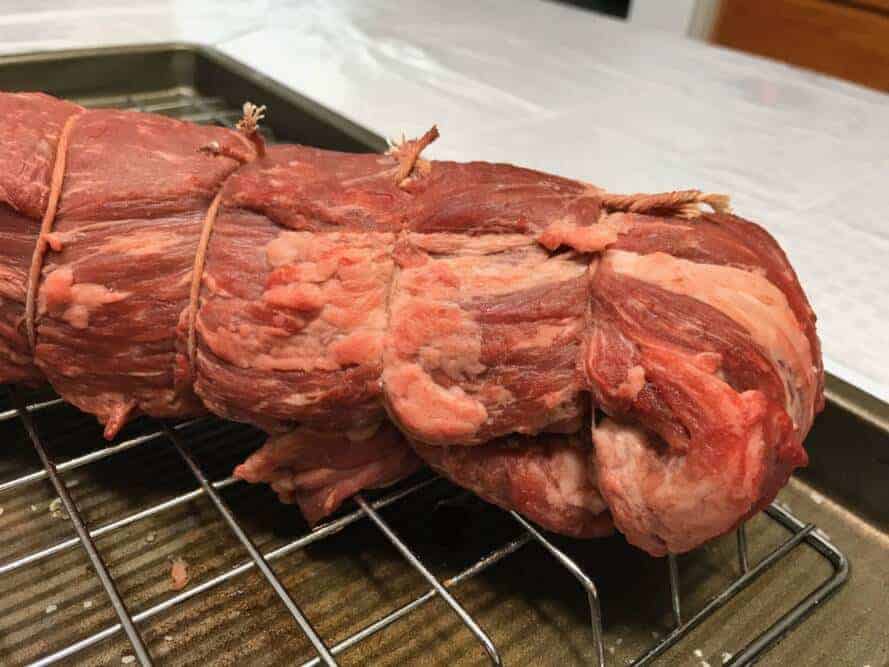
Don't forget to cut off the extra string AND don't forget to remove the string when it's finished cooking.
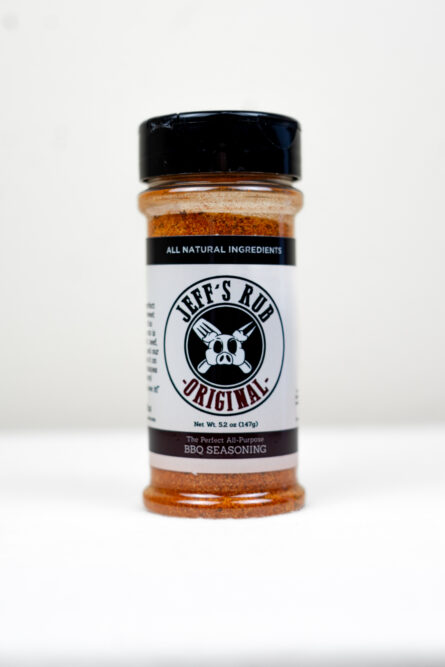
Dry brining is a great thing to do but it does not take the place of using a good low-salt seasoning. If you are looking for a good low-salt seasoning that's amazing on beef as well as pork, chicken, seafood, etc. then look no further than than my Texas style rub.
Season the entire beef tenderloin by brushing on a little vegetable or olive oil then sprinkling the Texas style rub on to the meat. Be generous with it.
Fire up the smoker using indirect heat. You'll want to set it up for cooking at about 225°F (107 °C) for best results. If your smoker uses a water pan, fill it up.
I used oak for smoke which is amazing on beef but if you don't have any oak, you can use hickory, pecan, maple, etc. whatever smoking wood you have and it will work just fine.
Pellet smokers cook a little different and I recommend starting these out on the special “smoke” setting. After you place the meat on the smoker, let it cook at this setting for about 45 minutes then turn it up to 225°F (107 °C) to finish.
Here's 9 of my best tips for smoking on a pellet smoker/grill
Once the smoker is ready, place the pan/rack with the meat onto the smoker grate and let it begin to cook.
You can also just place it directly on the smoker grate if you prefer.
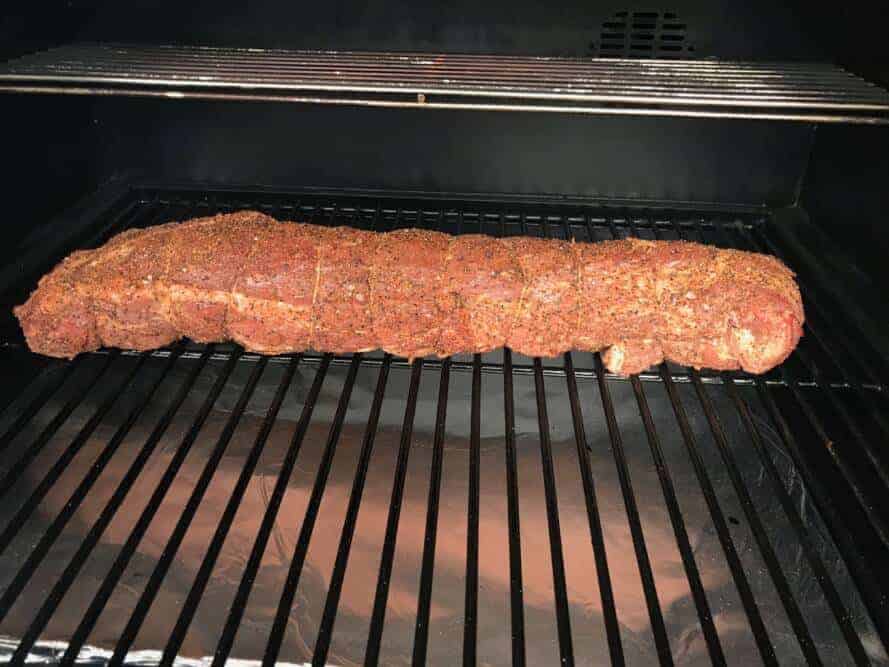
At 225°F (107°C), you can expect it to take about 2 hours but this will depend upon several things:
- the thickness of the meat
- weather conditions
- how often you open the lid
- The temperature of the meat when it goes on the smoker
This means you'll want to use a meat thermometer to monitor the temperature of the beef tenderloin so you'll know once it reaches medium rare or the level of done that you like.
My favorite meat thermometer is the ThermoWorks Smoke.. you can read my complete review here.
I recommend removing it at about 130°F (54°C) which is a good medium rare.
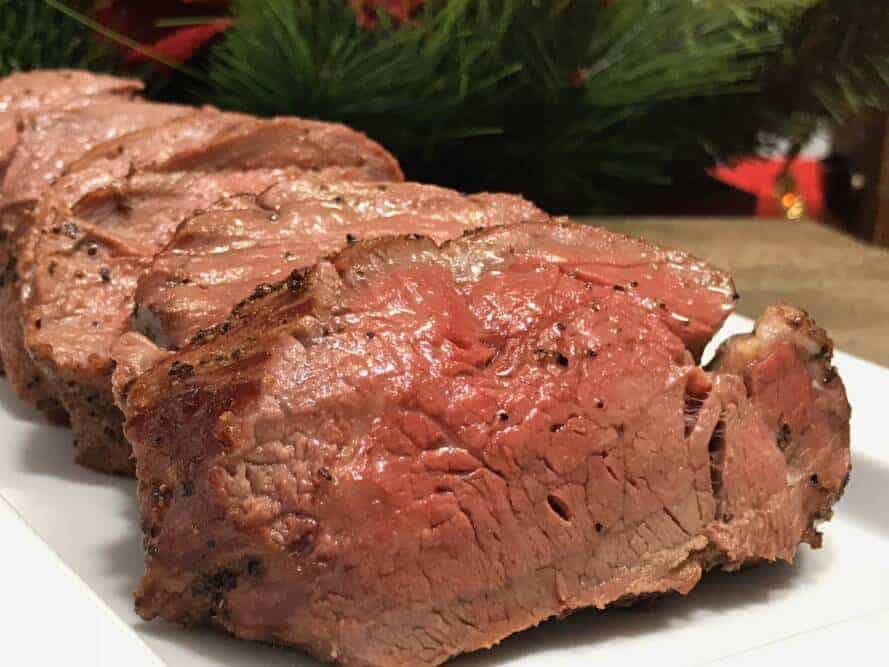
Does that look good or what!!
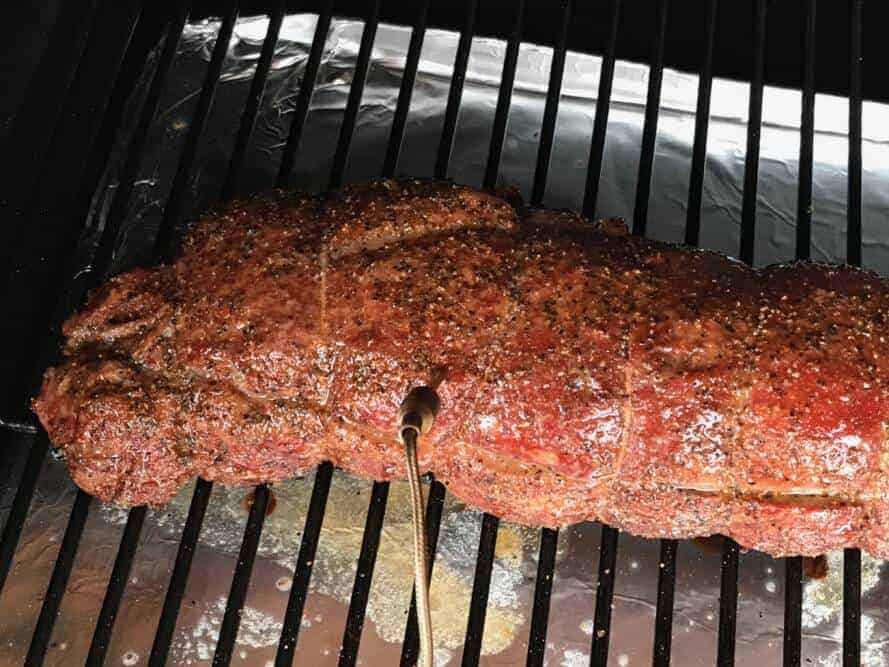
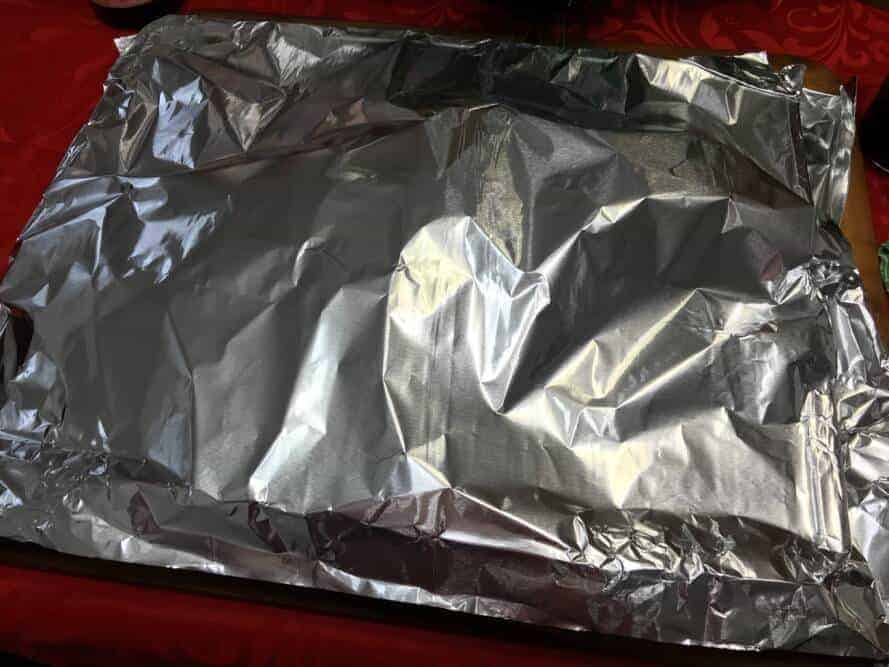
When it's finished, bring it in and lay a piece of foil over the top for about 15 minutes to let it rest. During this time, the juices will redistribute throughout the meat.
Using a very sharp knife, slice into steaks that are about ¾ inch thick and serve immediately with plenty of other tasty side dishes.
I'm sure you're wondering if you can sear this when it gets finished or if it even needs it. I don't usually sear large beef roasts such as this but I certainly have done it and you can definitely do it if you want to.
If you plan to sear it, you might want to remove it from the heat at about 110- 115°F (43-46°C) and have a really hot griddle, pan or grill ready to go so you can go straight from smoker to sear.
Another option is to smoke it, then slice it then sear the individual steaks but I feel like if you're going to go that route, you might as well, slice it ahead of time and just cook them as steaks from the git-go. This gives you more seasoning on each slice and the ability to cook the steaks to order if necessary. Not a bad option at all.
Smoked Beef Tenderloin
Ingredients
- 1 whole Beef tenderloin (about 4 lbs average)
- 1 TBS Coarse kosher salt
- 1 TBS Vegetable or olive oil
- ¼ cup Jeff's Texas style rub
Instructions
- Lay beef tenderloin on a pan with a rack and sprinkle about 2-3 teaspoons of coarse kosher salt evenly on the top of the meat
- Place the meat into the fridge overnight (about 12 hours)
- Tuck the tail of the tenderloin under the remaining meat and tie it up. Continue to tie up the entire beef tenderloin about every 2 inches.
- Season all sides of the tenderloin with Jeff's Texas style rub
- Setup smoker for cooking at about 225°F (107°C) using indirect heat. If your smoker uses a water pan, fill it up.
- Cook the meat for about 2 hours or until it reaches 130°F (54°C) or your desired level of done.
- When the meat is finished cooking, place a piece of foil over the meat for about 15 minutes to allow it to rest.
- Slice into ¾ inch steaks and serve immediately.



Thanks for making me look good Jeff! Made this for Xmas Eve. It was probably 6.5 lbs after trimming and tying. I figured 3 hours smoke time but done in 2hrs @ 134degrees. No problem, rested it, foiled it then wrapped it in towels and put it in a cooler. A couple hours later I sliced (it was still warm). Perfect medium rare. Forth time making it and it was a big hit – melt in your mouth good!
Dry brine uncovered?
I usually leave the meat uncovered because I have a fridge in the garage that no one else gets into. If you are dry brining in the house fridge that is shared by the family, it might be prudent to cover it up to protect it.
I’ve made it 3 times with the last time being yesterday for New Year’s Eve. Turned out fantastic each time. Everyone loved it! So tender and delicious!
Can I wrap the tenderloin in bacon and cook as directed or will it make the meat too salty?
Shouldn’t be a problem at all with the saltiness or otherwise. Be sure to keep an eye on the tenderloin and when it reaches your desired finish temperature, it’s done even if the bacon isn’t crispy.
If the bacon isn’t crispy enough when the meat is finished cooking, you can use a butane torch to crisp it up without raising the temperature of or harming the tenderloin.
What’s your recommendation on transporting this after cook? I’ll be smoking this at my house, then driving to my sister’s for family meal on Christmas Day – about 15-20 minute drive. I’m thinking pull it onto a pan, wrap with foil, and place it in a warmed up cooler for transport and then slicing on arrival but would love any tips.
Andrew, a short drive like that is perfect for letting it rest. It never hurts steak, or any meat for that matter, to rest for a while after removing it from the heat and it just serves to make it better.
Your plan is perfect!
I would remove it just a tad early– for instance if you like it medium rare and usually shoot for 130°F (54°C) then pull it at 125°F (52°C) and wrap it in foil. Place it down in a cooler with some towels over it to hold in the heat during the drive.
And of course, if it’s like most family events, there’ll be 20 minutes of hugs and bringing things in from the car, etc. so just leave it in the cooler until you’re ready to slice and it’ll slice up perfect once you’re ready.
Sounds great, going to give this a try. My tenderloin is going to be 6-8 pounds, wont have it until tomorrow, any recommendations for that large of tenderloin? Thanks, Rich
Rich, Not a lot needs to change as far as preparation and cook but it will likely take longer to cook. I would allow for an extra 60-90 minutes to be safe and if it gets done sooner, you can just rest it longer than normal.
So for an 8lb @ 225…you’d think closer to 3 hours? Going to mass on xmas eve and trying to tie this perfectly..Thanks!
Mike, An 8 lb tenderloin is going to be a little longer and quite a bit thicker than mine but I still don’t expect it to take more than 3 to maybe 3.5 hours if you maintain 225°F (107°C). Even so, these things are really difficult to time perfectly and my wife still gets annoyed at me when dinner is an hour late because the entree just happened to take longer this time. #SmokerLife
Looks rock solid! Question: any reason I couldn’t use mustard to coat instead of oil. Sort of a beef wellington vibe minus the puff pastry.
Mustard would work great.. go for it!
It says, “Place the meat into the fridge overnight (about 12 hours)”…covered or not? Thanks.
Ronny, it sort of depends on your fridge and how it’s used. I usually leave mine uncovered but I have a garage fridge that no one touches but me. If I had to place these in the main kitchen fridge, I’d cover them to make sure they stay clean and safe.
Sounds Yummy
to many advertisements, ruins the whole project… Merry Christmas