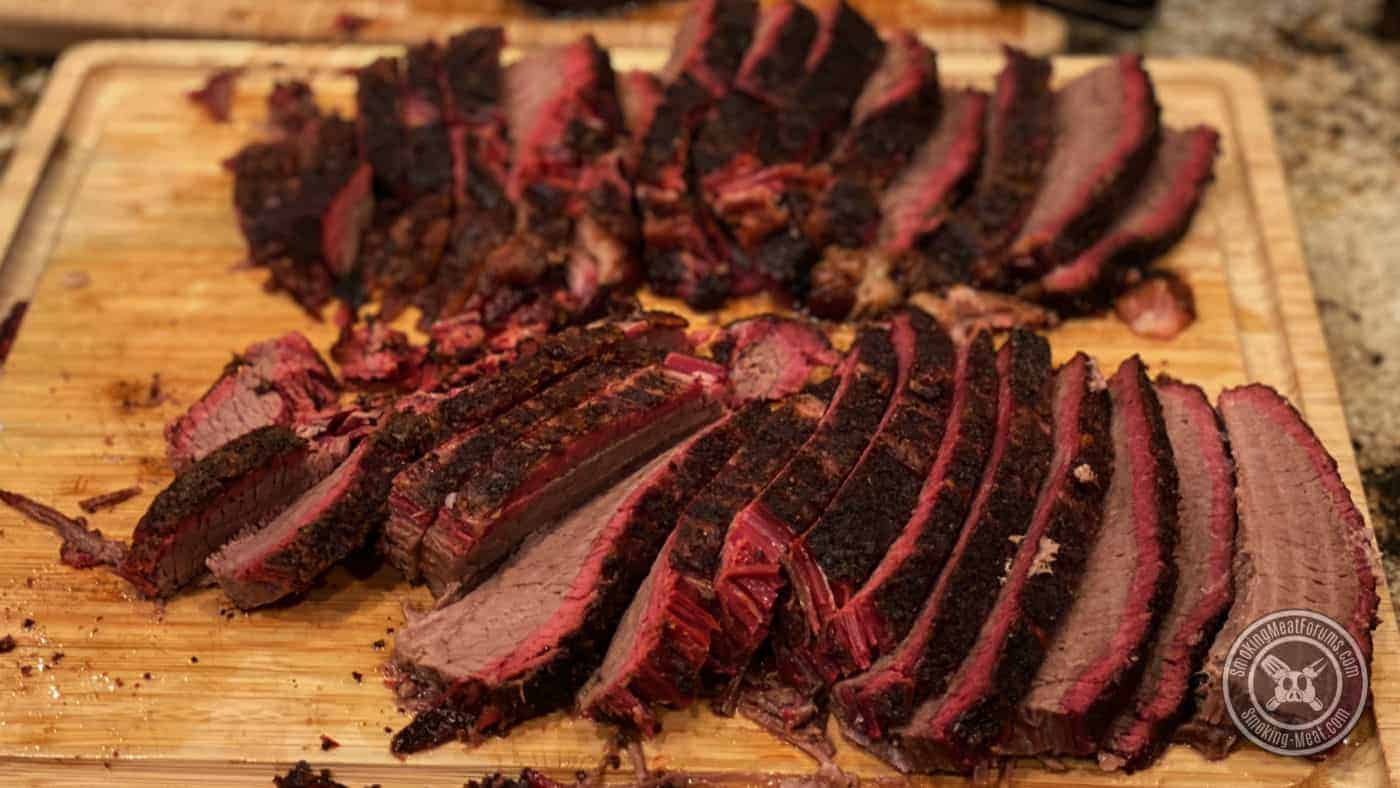
Smoked Dry Aged Brisket
Smoking-Meat.com is supported by its readers. We may earn an affiliate commission at no extra cost to you if you buy through a link on this page.
Read this article without ads
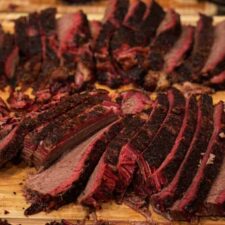
Is dry aged beef really better than normal beef? Well, let's find out with this recipe for smoked dry aged brisket.
- Prep Time: 30 minutes
- Cook Time: 12-14 hours
- Smoker Temp: 225-240°F
- Meat Finish Temp: 198-203°F
- Recommended Wood: Oak
- 12-17 lb Brisket (preferably dry aged)
- ~2 TBS Kosher salt
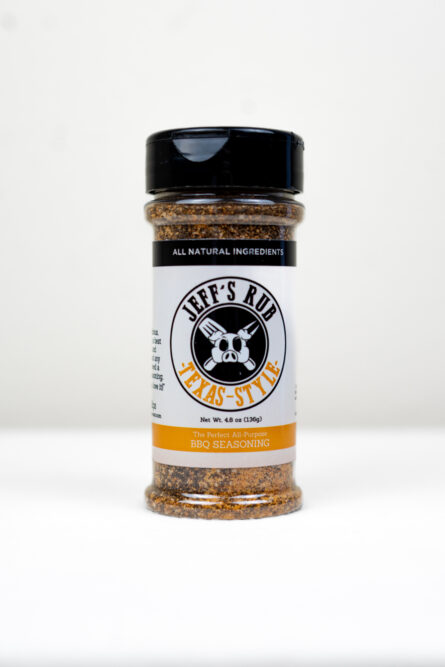
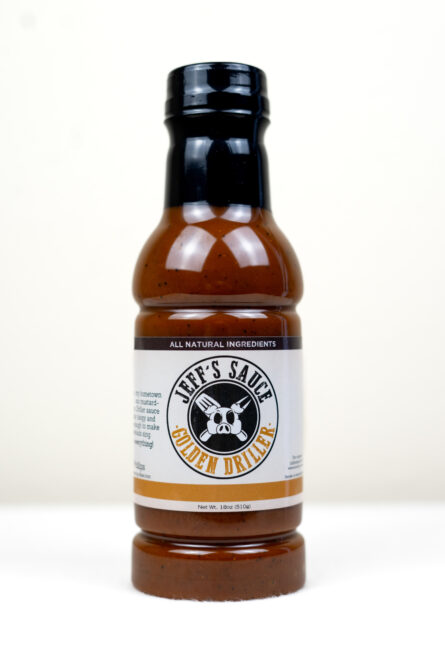
- ¼ cup Jeff's Texas style rub
- ¼ lb (1 stick) Butter
- 5 feet of 24-inch uncoated butcher paper (foil also works)
- Full size pan (recommended)
If you're not familiar with dry aging, it's when you place meat, like beef, into a controlled environment where the temperature, humidity and airflow is controlled to certain specifications. These conditions cause the meat to start breaking down and are known to increase the tenderness and depth of flavor in the meat and product a quality product that is also safe to eat.
Unfortunately, this process is usually not practical to do at home since, to do it safely and correctly, it requires expensive equipment.
Note: Wet aging is a completely different process that we will not touch on in this article.
I don't do a lot of trimming on briskets but I do remove some of the large areas of hard fat, extraneous fat on the meaty flat side and some of the silver skin.
We are going to dry brine the meaty side with salt in the next step and since salt will not permeate that fat, I won't it to be mostly meat on top.
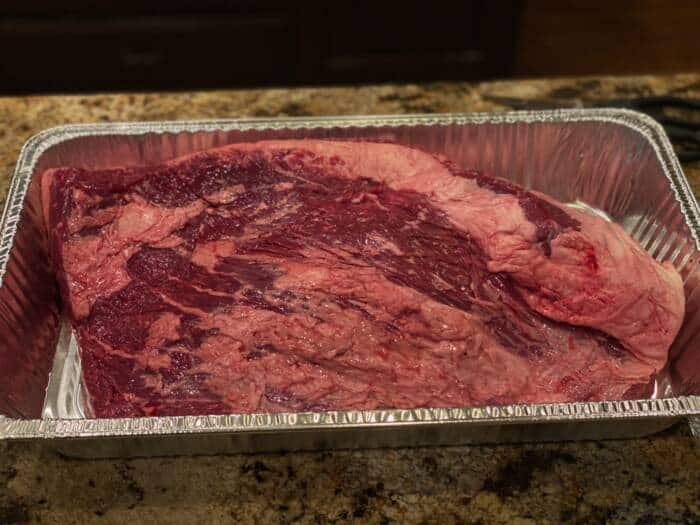
Here's my untrimmed 14 lb brisket, fat cap down in a full size foil pan:
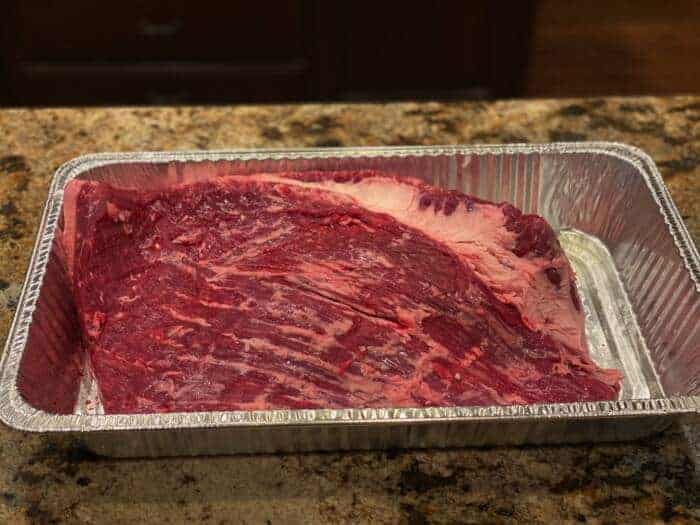
Here's that same brisket after trimming. As you can see, I removed that large knob of fat on the right side and a lot of that fat on top.
I dry brine almost every piece of beef that I cook nowadays. From steaks to brisket, dry brining enhances the flavor and it's minimal effort so I figure why not.
If you want to learn more about dry brining, see my article HERE.
Professionals recommend ½ teaspoon per lb of meat. I don't follow this religiously but it's a great guide for starting out.
This brisket took about 2 TBS of coarse kosher salt (coarse sea salt or pickling salt also works) and here's what that looked like visually:
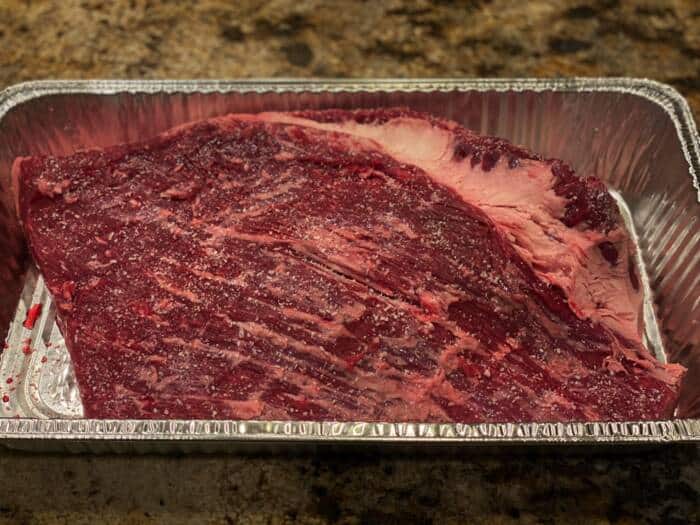
Let the salt sit on the meat for about 20 minutes and you'll see it start to pull moisture to the surface. This is a natural binder (sticking agent) and is your cue to go head and add a good coat of Jeff's Texas style rub to the top and sides.
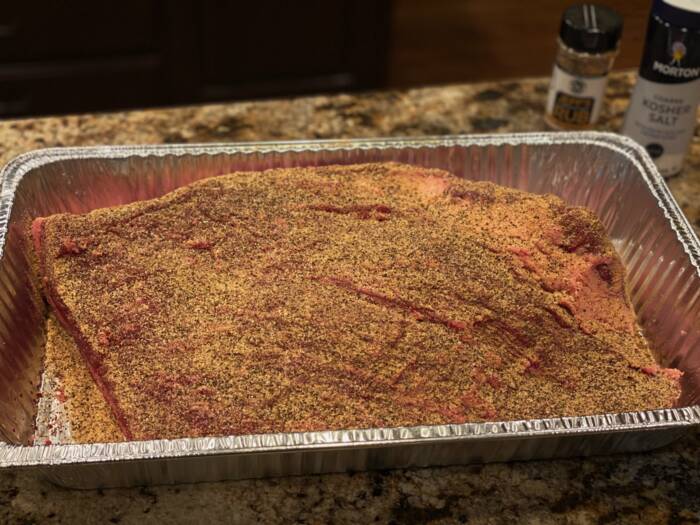
Plan ahead so you can place this in the fridge for 8 hours or up to 48 hours before smoking it.
Setup your smoker for cooking at about 240°F using indirect heat. If your smoker utilizes a water pan, fill it up.
Note: Pellet smokers produce the most smoke at low temperatures. If you are using a pellet smoker, consider starting out in the “smoke” mode for the first hour or two and then turning it up to 225-240°F.
I usually cook briskets fat cap down in a full size foil pan to help with cleanup. I have found that I get plenty of smoke this way and an excellent finished product. Feel free to place it directly on the smoker grate if you like.
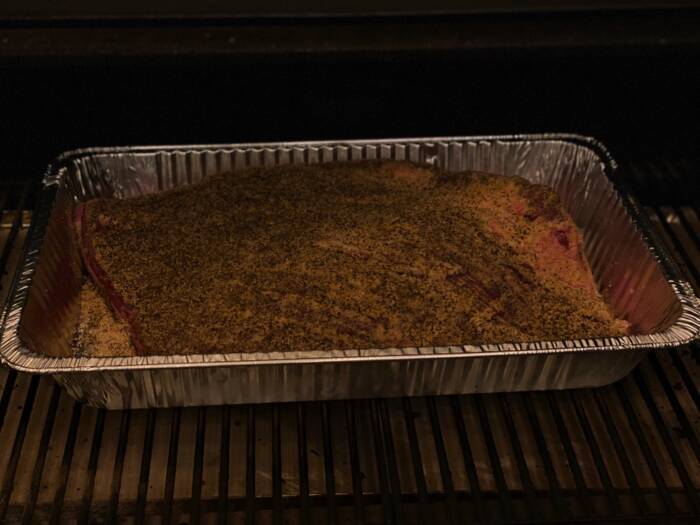
Let the brisket cook for about 6 hours to get plenty of smoke flavor and let the bark form on the outside of the meat.
Many pitmasters use apple cider vinegar on the outside of the brisket while it cooks to keep it moist. I like to use melted butter. I feel like it evaporates more slowly than vinegar and everything is better with butter!
Baste with butter at 4 hours and again at 6 hours for best results.
It will have reached about 160°F during this time and you can wrap it in paper or foil after this to help the meat to tenderize and power it through the stall.
A stall is when you are cooking a large piece of meat like a pork butt or a brisket and the evaporation of the liquids on top of the brisket cools the brisket at about the same rate as the heat is trying to cook the brisket. The temperature will stall out and not go up for an hour or two before the heat finally overcomes this condition.
By wrapping it, evaporation is minimized and the heat can continue to cook the meat and raise its temperature.
Let's wrap it up!
I used foil to wrap brisket for years but in the last few years, paper has been shown to work the best by helping to tenderize the brisket while allowing it to breath. Paper also creates a better bark on the outside of the brisket.
The paper must be unlined, uncoated and unwaxed otherwise you may as well use foil.
I use 24-inch pink butcher paper cut to about 5 feet in length.
Lay the brisket about 12-14 inches from the end.
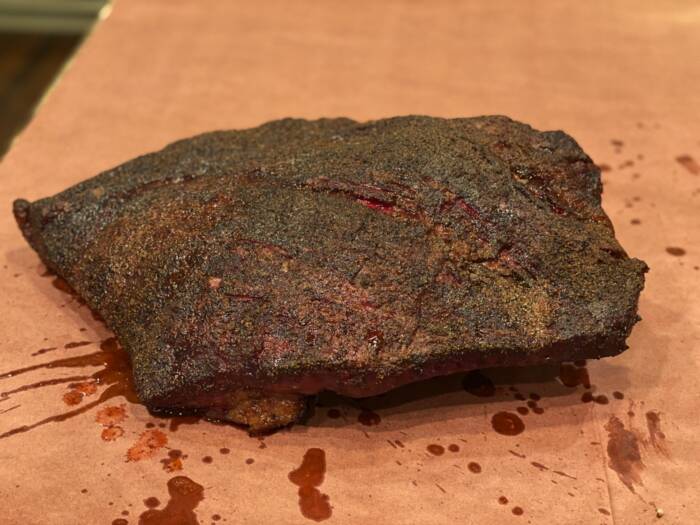
Bring the paper over the top of the brisket and tuck it under. Flip the brisket end over end while keeping the sides tucked in.
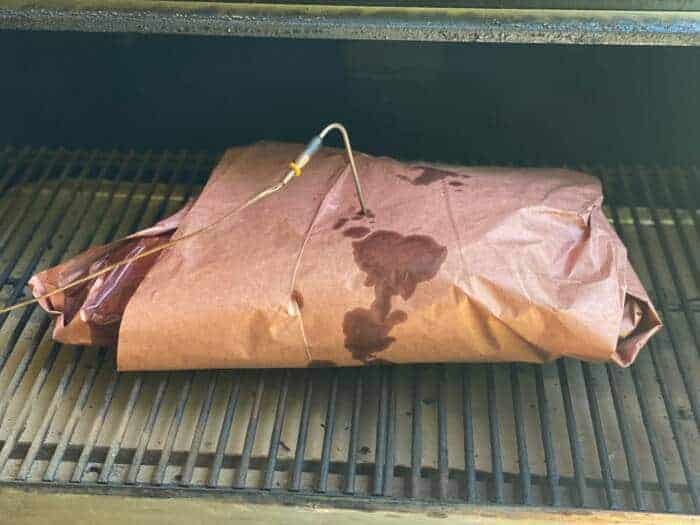
Once the brisket is wrapped, place it back onto the smoker grate and re-insert the thermometer probe.
You will notice that I did not place it back into the full size foil pan after wrapping since the paper will absorb most of the grease at this point.
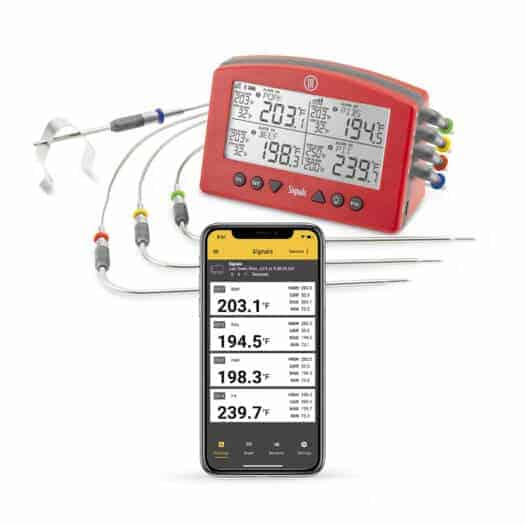
I used the 4-channel Signals thermometer by ThermoWorks so I could go about my daily chores and still know the temperature of the pit and the meat. It connects via bluetooth for when I am close range and to my wifi for when I am more than about 30 feet away or away from the house. The ThermoWorks app on my phone keeps me apprised of the temperatures and I can even set alarms, see graphs of my temperature over time, and see a calculation of my rate of change on the temperature so I can guesstimate when the meat will be finished.
The brisket will generally take between 12 and 16 hours depending on:
- it's thickness
- how often the smoker lid/door is opened
- how cold it was when it went into the smoker
- how well your smoker maintains temperature
- the quality of the brisket (USDA grade, dry aged, etc.)
I know that seems like quite a range of time but that is the way of briskets. You must be a little flexible in order to turn out a great piece of meat. It's o k to plan but always plan with plenty of padding that way if it takes the maximum amount of time to get finished, it's still done before the guests are scheduled to arrive.
We are looking for a temperature that is between 198 and 203°F for it to be perfectly tender but still sliceable without falling apart. Every brisket is different and the only way to know when it's done is to check it with a something sharp like a long toothpick or a probe. When you can push a sharp object into the brisket with no resistance, it is finished.
I usually start checking for this at 195°F or so and the finish temperature is usually within a degree or two, if not right on 200°F.
This smoked dry aged brisket took 13 hours and 7 minutes
Once the brisket is finished cooking, remove it from the smoker but don't unwrap it just yet. It benefits greatly from at least an hour of resting but 2-3 hours is even better if you can.
To rest, leave it wrapped in paper and place it down into an empty cooler or ice chest. I use a cooler with a full size foil pan in the bottom to catch leaks. On top of the brisket, place wadded up paper, towels, etc. to fill in the space and further insulate the meat.
You want it to stay good and hot throughout the entire rest time.
During this rest the brisket will continue to tenderize but most importantly, the juices will settle down and redistribute throughout the brisket. When you cut into a rested brisket, you don't lose as must juice as you do a non-rested brisket.
After resting, place the unwrapped brisket on a cutting board and you will notice a vein of fat that runs right between the top and the bottom of the brisket. I use a long 11 inch brisket knife to follow that vein and separate the flat from the point.
I found where the vein started on the left side and just slid the knife to the right. It will naturally follow since the fat is so soft at this point.
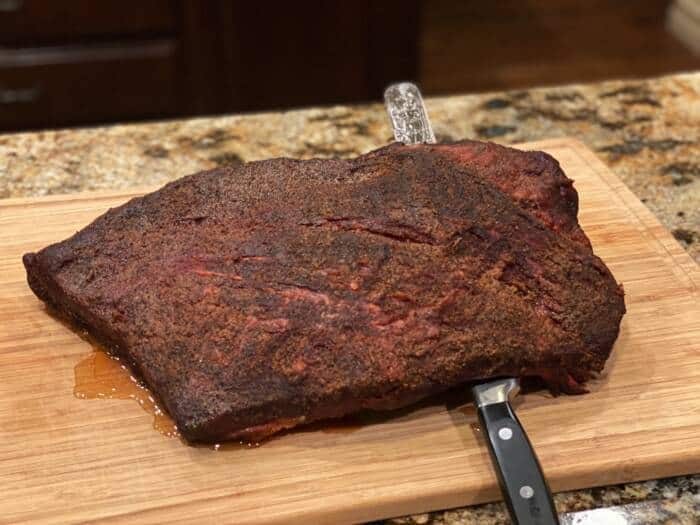
Separated!
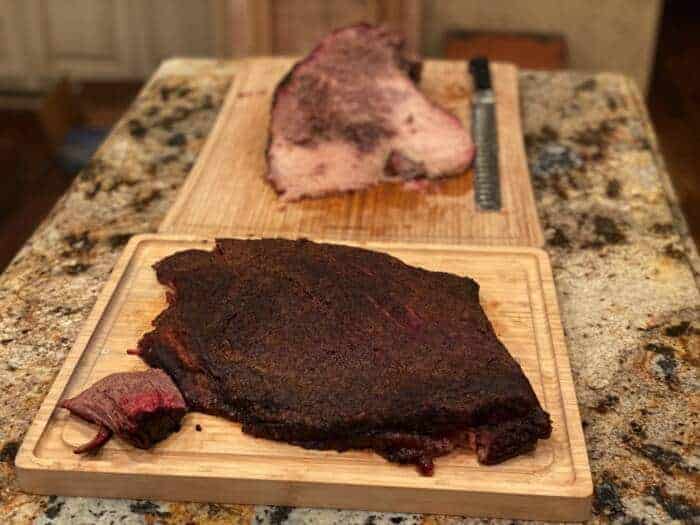
Typically the flat portion is sliced across the grain and the point is cubed up for burnt ends. (I will be showing you the burnt ends from this cook in a later recipe.)
Always take note of the direction of the grain so you can slice it properly once it's done cooking.
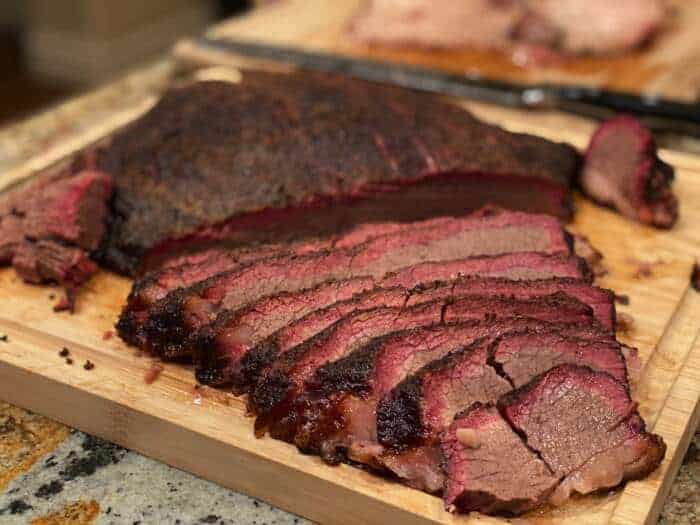
Let the serving and the eating commence!
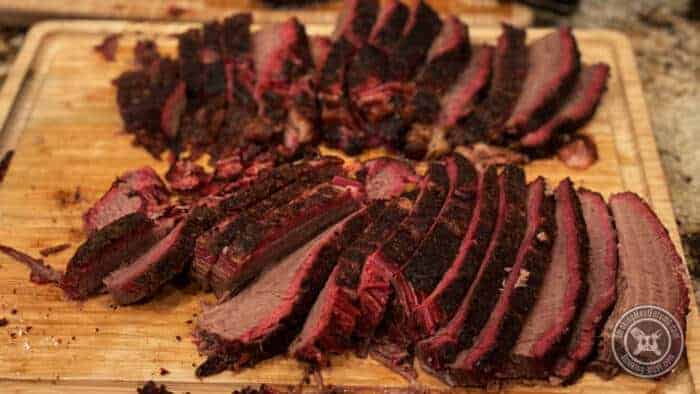
Was the dry aged brisket better than any other non dry aged brisket? In my opinion, the tenderness was better and based on the people who were eating the brisket, the flavor was better than any I'd cooked in a while. I usually do the prime briskets from Costco. They are not dry aged but they are good quality briskets with plenty of fat marbling. I have to agree that there is just something a little better about beef that is dry aged.
Briskets are not easy to cook and have them turn out perfect every time so any help you can get ahead of the cook is worth it in my opinion.
Can I cook a smaller flat or even just the point? You certainly can but I highly recommend that you dry brine and wrap the brisket in paper like we did here to minimize moisture loss. Unfortunately, I cannot give you a time per pound since the cooking time is mostly about the thickness, not the weight.
Had I cut this brisket in half and only cooked one of the halves, that would have been a 7 lb brisket, but it still would have taken the same amount of time due to the thickness. Less thickness, shorter cook time.
I generally stick with briskets that are 12-17 lbs and of a similar thickness so I can estimate my cook times better.
Smoked Dry Aged Brisket
Ingredients
- 12-17 lb Brisket (preferably dry aged)
- 2 TBS Coarse kosher salt
- ¼ cup Jeff's Texas style rub
- ¼ lb butter (1 stick )
- 5 feet 24-inch uncoated butcher paper (foil also works)
- 1 each Full size pan
Instructions
- Trim Trim large areas of hard fat from edges of brisket and all fat and silver skin from the meat side of the flat.
- Place To keep the smoker clean, place the brisket into a full size foil pan, fat cap side down.
- Dry Brine Sprinkle about 2 TBS of coarse kosher salt onto meat side of brisket flat and let sit for 20 minutes.
- Season Apply about 1/4 cup of Jeff's Texas style rub to the meaty side of the flat and point as well as the sides of the brisket.
- Fridge Place brisket into fridge overnight or up to 48 hours before cooking.
- Set up Set up smoker for cooking at 225-240 degrees using indirect heat. If your smoker utilizes a water pan, fill it up.
- Cook Let the brisket cook for about 6 hours or until it reaches 160 degrees internal temperature.
- Wrap Wrap the brisket in unlined, uncoated butcher paper or foil and place it back into the smoker to finish cooking.
- Cook When the smoker reaches between 198-203 degrees it is finished. A sharp object such as a long toothpick or meat probe should go into the meat with no resistance.
- Rest Leave the brisket wrapped and place it into an empty cooler to rest. Fill in any extra space with paper, towels, etc. to insulate the container.
- Slice With the brisket on a cutting board, separate the flat from the point. Slice the flat across the grain. The point can be used to make burnt ends (search burnt end recipe on this site)
- Serve Serve immediately.


