Smoked Brisket Burnt Ends
Smoking-Meat.com is supported by its readers. We may earn an affiliate commission at no extra cost to you if you buy through a link on this page.
Read this article without ads
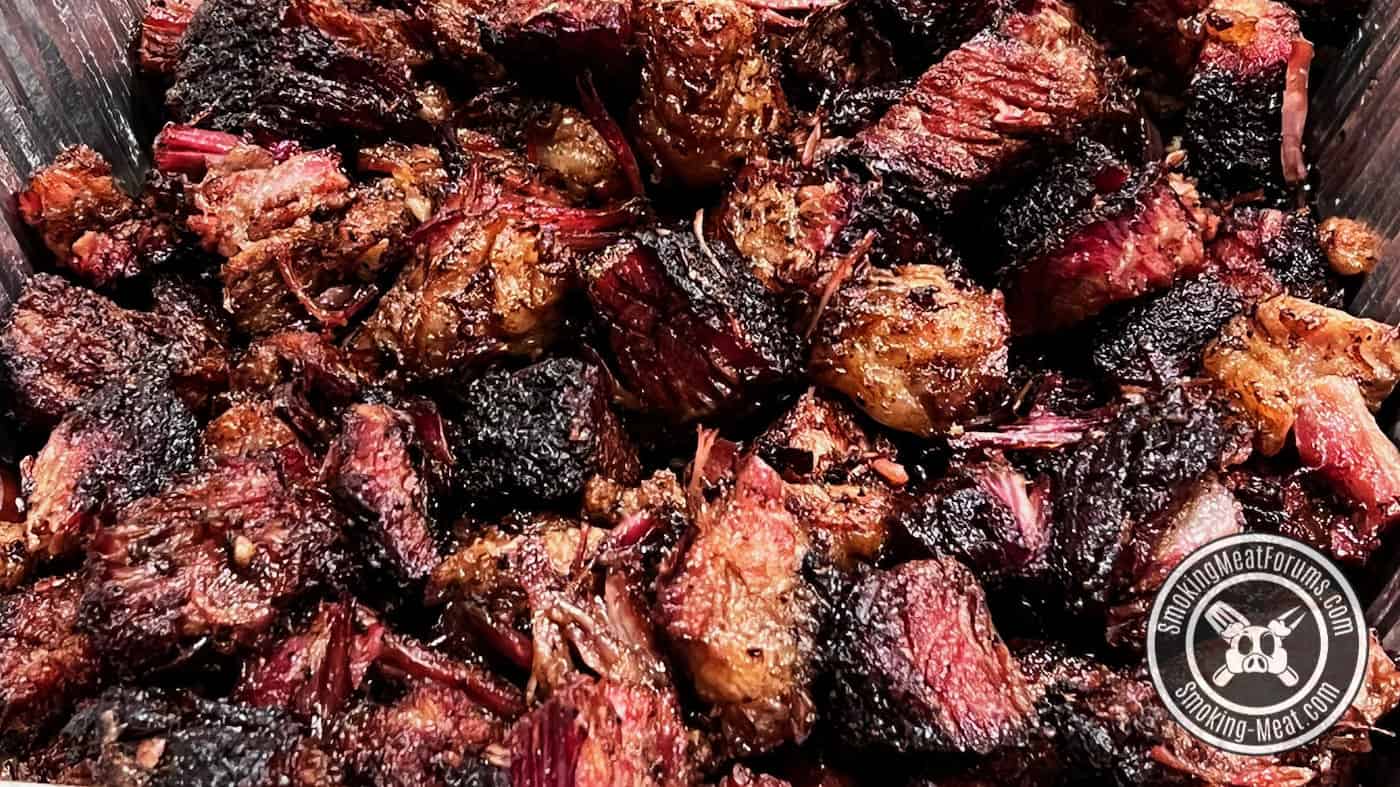
Smoked brisket burnt ends are made from the point end of the brisket, not the flat. In this recipe, I'll show you how to transform the point of the brisket into bite-sized morsels of goodness that melt in your mouth!
Helpful Information
- Prep Time: 30 minutes
- Dry Brine Time: 10 hours
- Cook Time: 10 hours
- Smoker Temp: 250°F (121°C)
- Meat Finish Temp: 200°F (93°C)+
- Recommended Wood: Mesquite
What You'll Need
- Full Packer Brisket (mine was 15 lbs)
- Coarse kosher salt
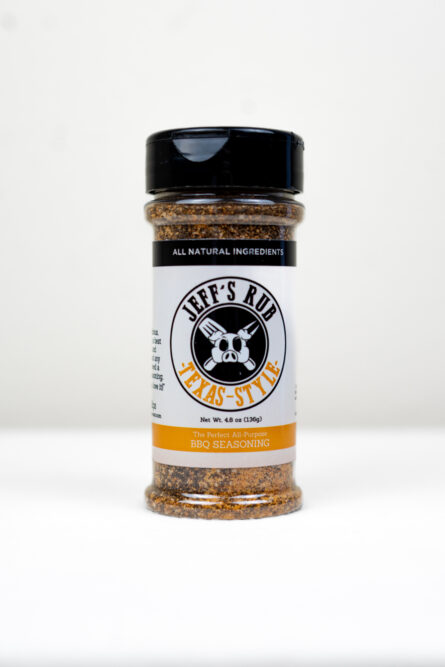
- Jeff's Texas style rub (Purchase formulas | Purchase bottled product)
Did you know? You can order the MASTER FORMULAS which allow you to make Jeff's original rubs and original barbecue sauce at home using your own ingredients! Order the Recipes
What exactly are smoked brisket burnt ends?
“Original” burnt ends were made from the larger, fattier end of the smoked brisket. This end has a LOT of fat that takes much longer to break down.
The best way to do this is to cut that fatty end up into bite-sized cubes and let them cook for a longer time than the rest of the brisket in order to break down that fat and turn them into beautiful, delicious morsels of goodness that melt in your mouth.
In my opinion, “burnt ends” has morphed into more of a process or method than a single thing but everyone does not agree with me and that's perfectly okay.
I make burnt ends from pork butt, pork belly, chuck roast and even hot dogs. They are not the same as the original smoked brisket burnt ends but the same method turns out something very tasty and should not be ignored.
I always get “corrective” emails from readers when I send out a recipe for burnt ends made from anything other than brisket and that's fine. I understand where they are coming from but it's okay to color outside of the lines with food.
This recipe is all about the real deal smoked brisket burnt ends though so let's get started!
How to Make Smoked Brisket Burnt Ends
Step 1: Separate the Point from the Flat
By cooking the point and flat separately, you can give each part the special attention that they deserve.
There is a fatty layer that separates the two and I guide my extra long knife right between the two. This does not have to be perfect.
I won't go into great detail with this here since I plan to create a separate guide for this soon.
You can also purchase just the point end of the brisket from wherever you purchase meat if you prefer.
Step 2: Trim the Fat
I usually leave about ¼ inch of fat on the top side of the brisket but this brisket was a prime grade brisket and had plenty of marbling within the meat. I removed most of the fat cap to allow the seasoning more access to the meat.
I removed much of the exterior fat from the point before proceeding.
Step 3: Salt and Rub
Note: I recommend placing the point down in a foil pan during the cooking process. This catches the rendered fat, makes it easy to transport the meat to and from the kitchen and helps to keep the meat from drying out while it smokes.
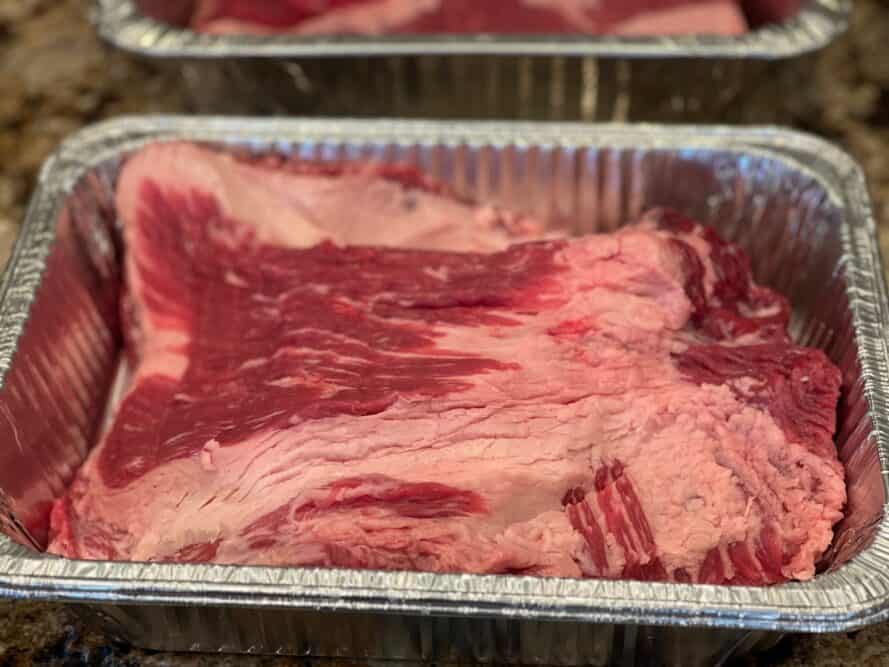
It is difficult to dry brine really fatty meat since salt does not draw moisture from or absorb into fat the same way it does meat.
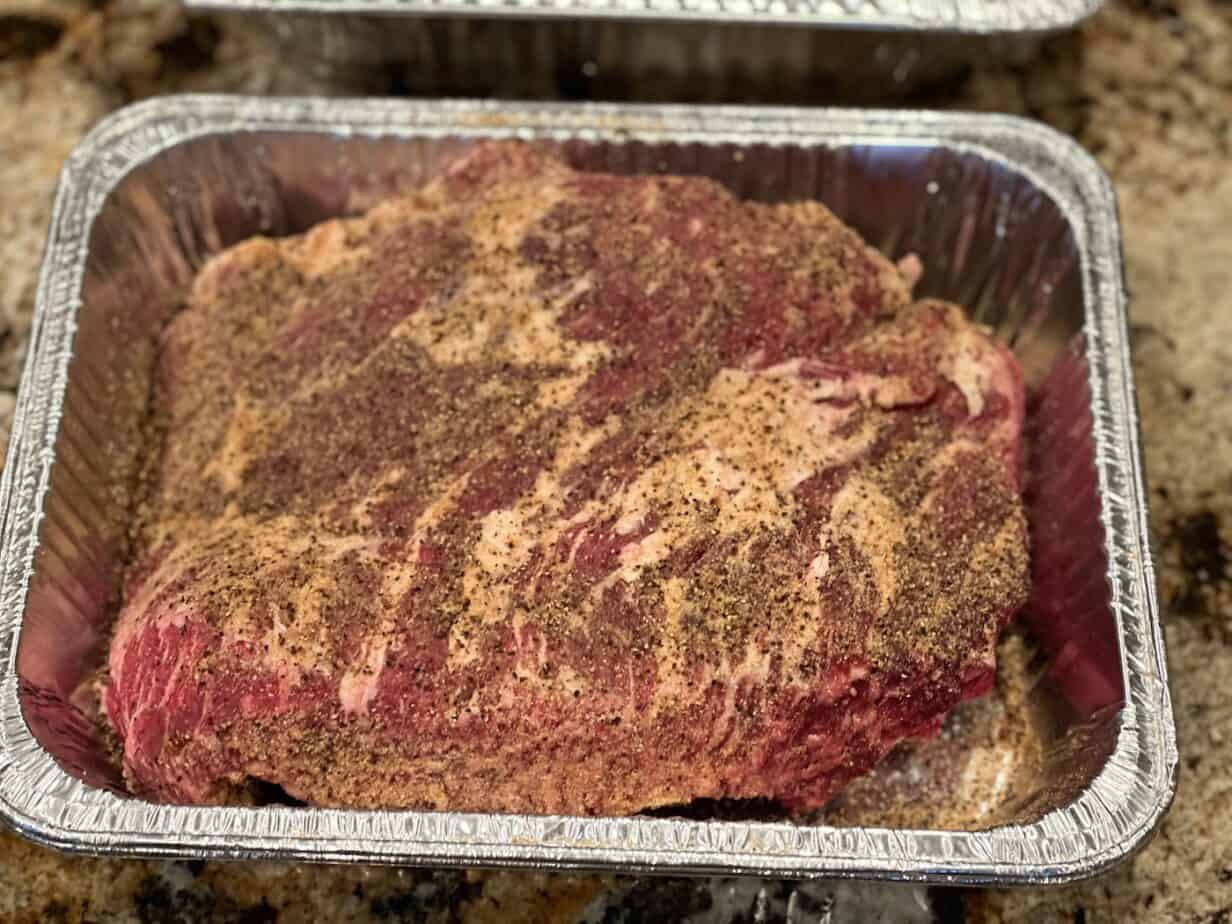
Having said that, I sprinkled coarse kosher salt on the meaty areas of the brisket.
Professionals recommend ½ teaspoon per pound when adding coarse kosher salt to meat as a dry brine. I tend to add a little more than this and you can see in the pictures below what the coverage looks like.
I usually just go by visual coverage rather than measuring.
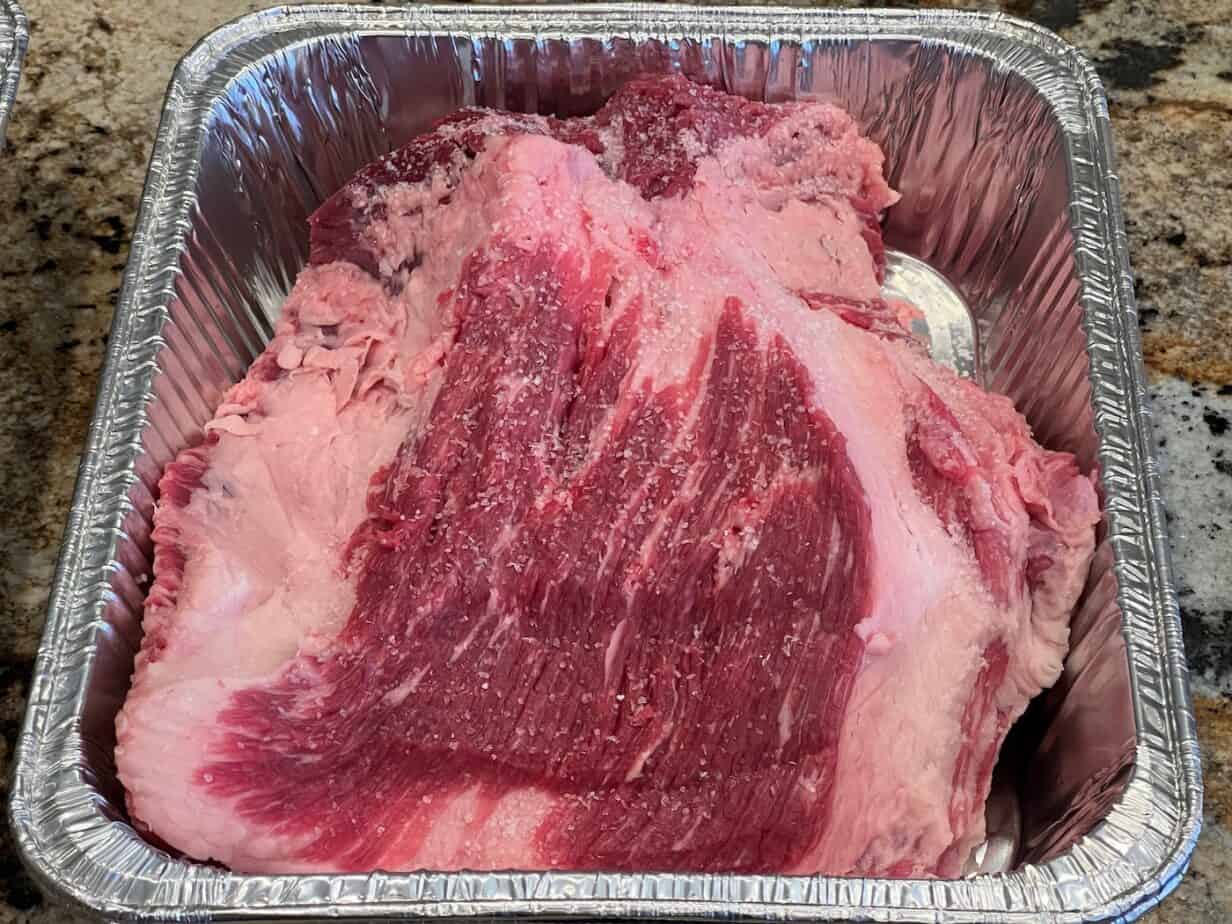
After the salt is right, I let it sit for about 20 minutes to start pulling moisture to the surface.
An application of Jeff's Texas style rub (Purchase formulas | Purchase bottled product) finishes off the seasoning process just before it goes into the fridge.
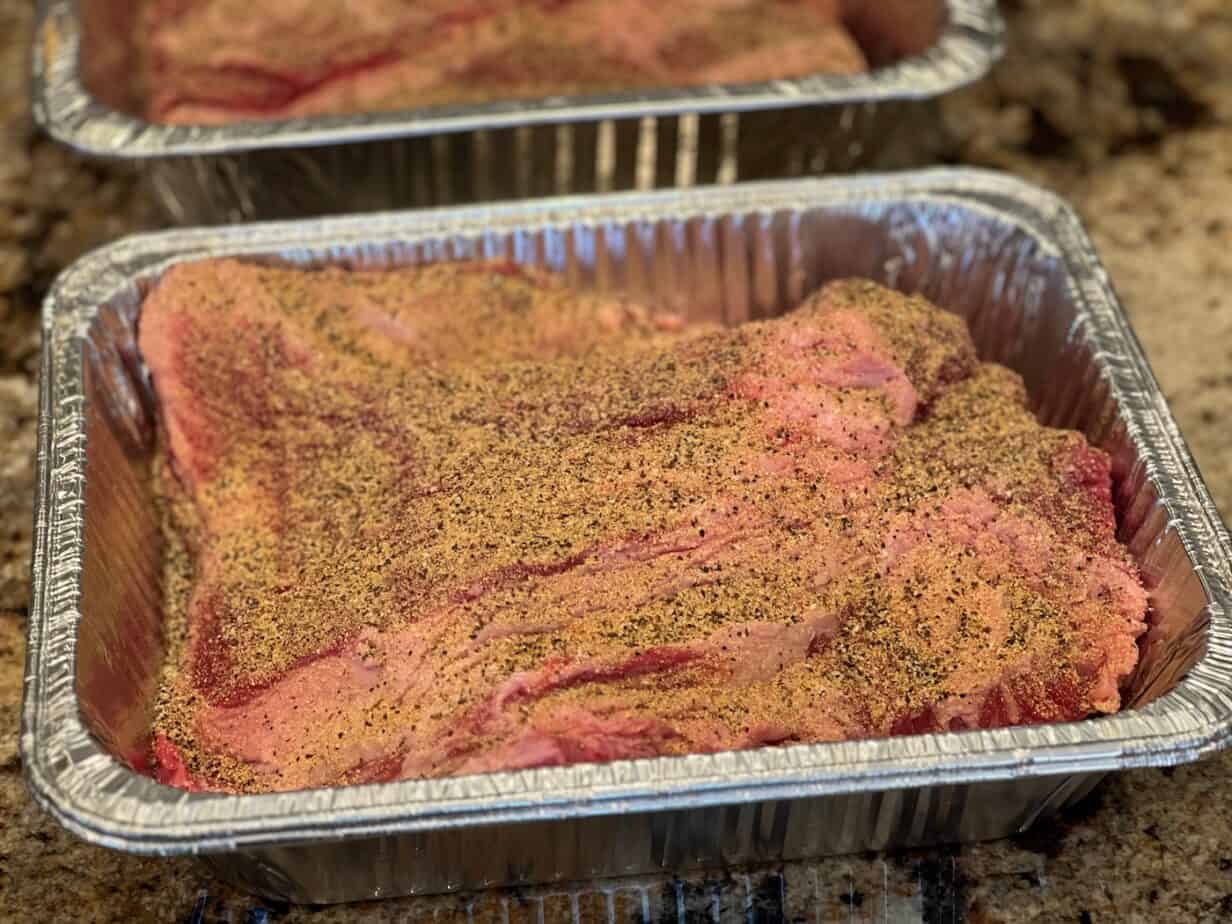
With something as large as a brisket, I recommend salting and seasoning one side then placing it into the fridge for 4 hours. The flipping the meat over and salting/seasoning the other side and leaving it for another 4 hours.
You can also do both sides back to back but some of the salt/seasoning will fall off this way. You can use a little binder such as yellow mustard before adding salt and Texas style rub to help with this if you prefer.
I highly recommend letting the brisket sit in the fridge overnight once the salt/seasoning is applied.
After the fridge time:
Step 4: Setup the Smoker
Set up your smoker for cooking at 250°F (121°C) using indirect heat.
If your smoker uses a water pan, fill it up.
I love mesquite wood for smoke on brisket but I also regularly use oak, cherry, and any number of other types of wood with great results. Use the smoking wood that you have available.
Once the smoker is ready, it's time to cook!
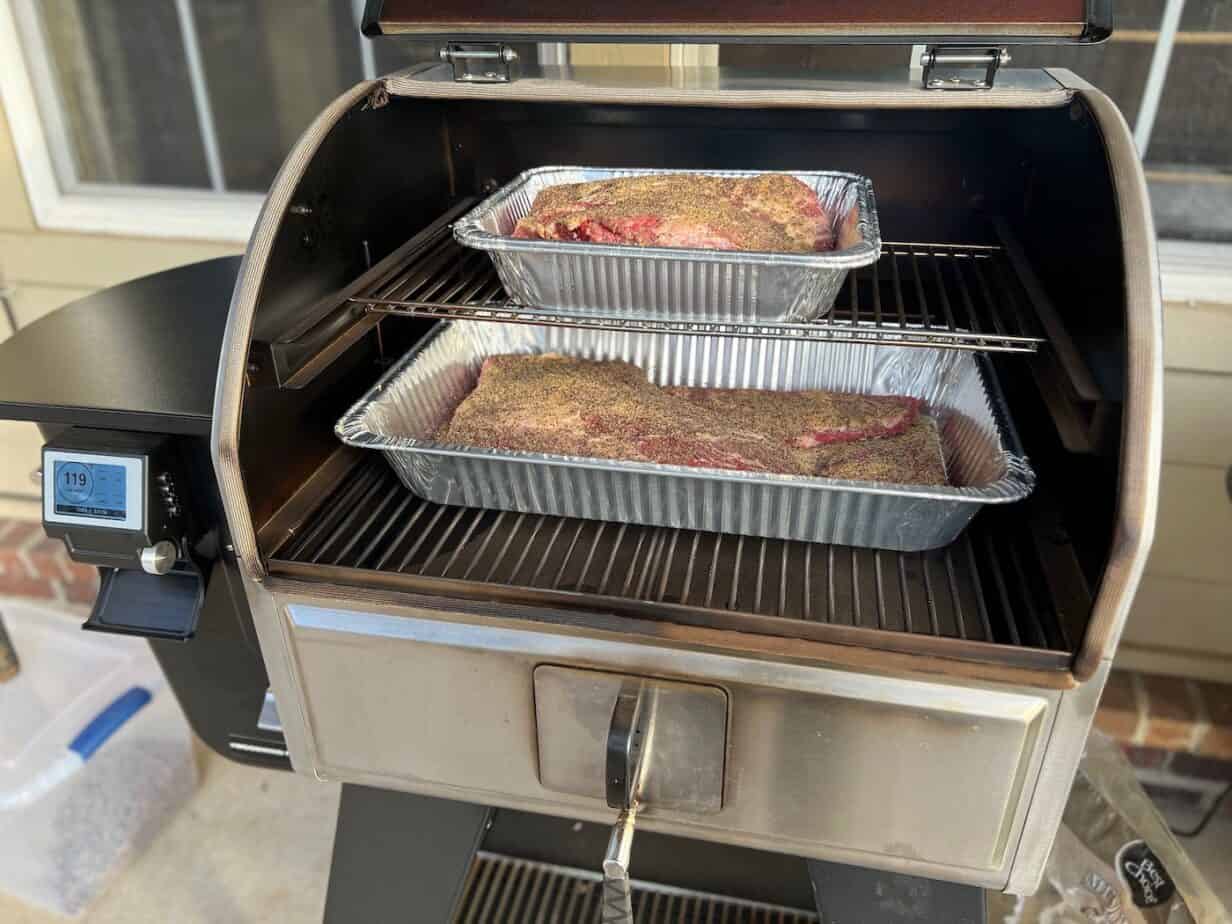
The smoker above is the new Camp Chef Woodwind Pro in the 24-inch version. What makes it so great? It has a drawer in the very front that sits right above the burn pot AND in that drawer, you can place chunks of wood, wood chips, etc. for that wood flavor you can only get when burning real wood over a fire.
Be watching for my review of this smoker.. SOON! (and in case you're wondering, like most of the other Camp Chef products, I really like this one and it does exactly what it was designed to do)
Step 5: Smoke Time
I cooked this brisket at 250°F (121°C) but you can adjust this temperature if you prefer.
At this temperature, it took my brisket about 8 hours to go from fridge temperature to 200°F (93°C) and in some locations on the point, it read as high as 207°F (97°C).
During this time, I left it alone, did not wrap it and made sure it got plenty of smoke for about 4 hours.
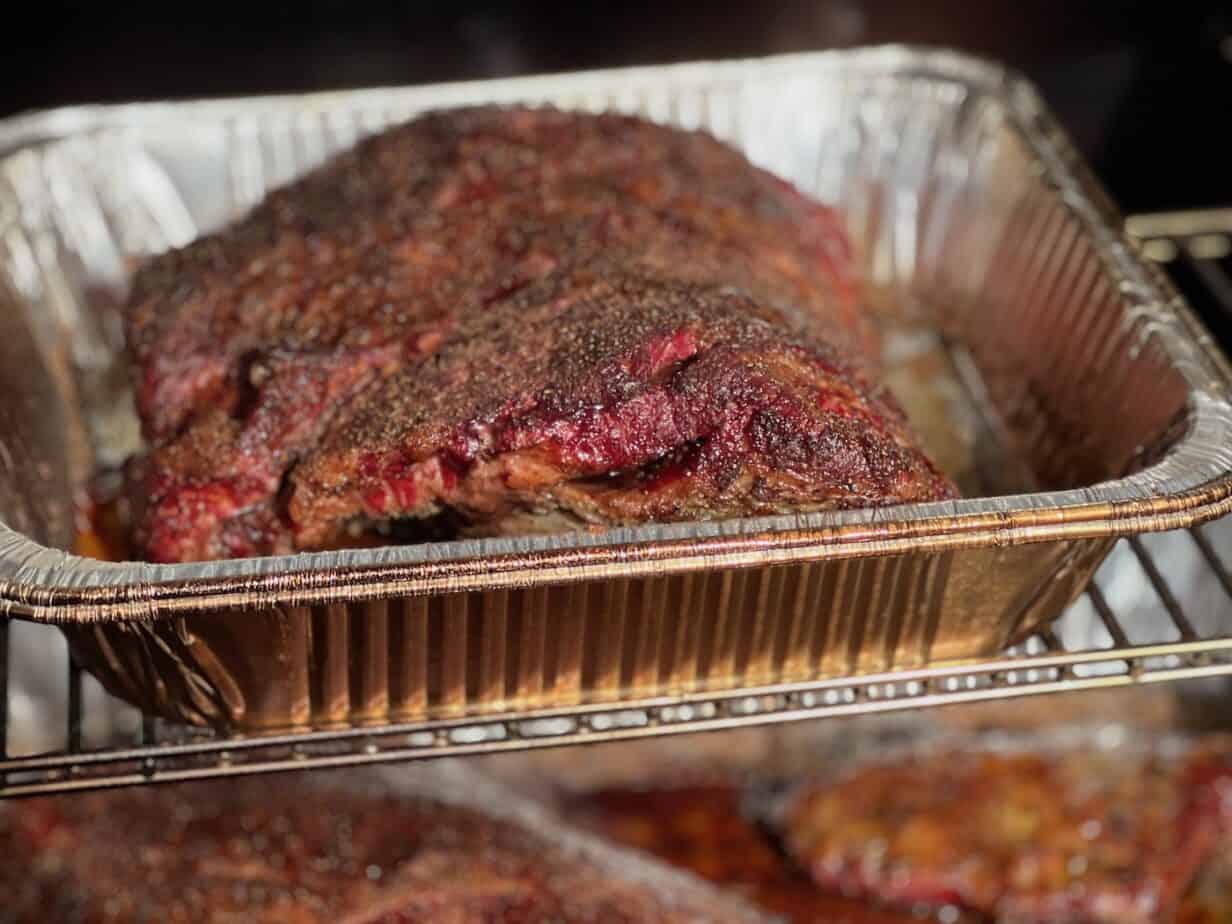
Here's the brisket point at 3 hours in.. (starting to look real good!):
Once the point was super tender and a probe inserted into the meat gave no resistance, I knew it was time to start the process of turning this lump of meat into what I really wanted, smoked brisket burnt ends!
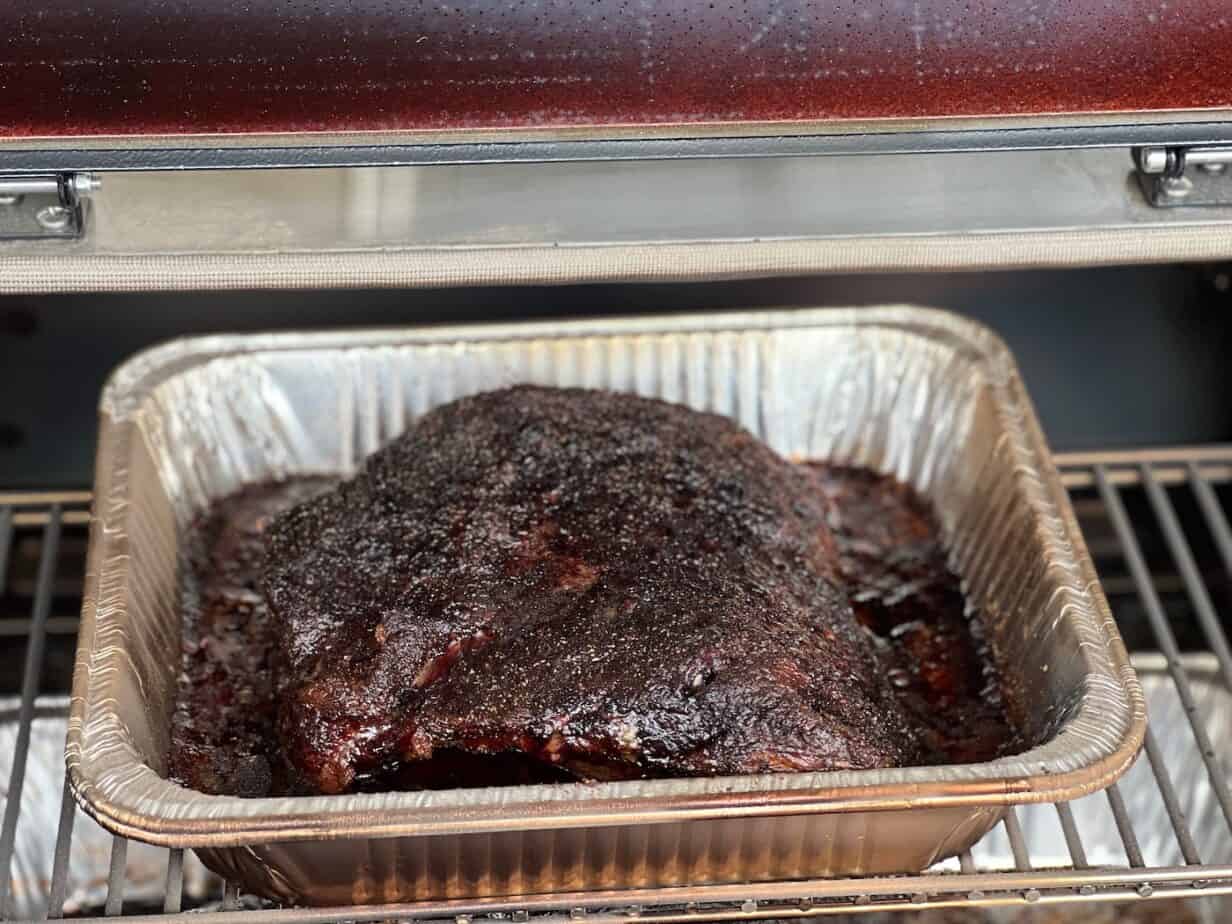
Bring the brisket point into the kitchen, remove the meat to a cutting board and pour any rendered brisket fat into a jar (you may want to use it later).
Step 6: Cube 'em Up
This part is easy, just slice the point into pieces that are about ¾ inch wide then cut the pieces into segments that are no wider than about ¾ inch at any point.
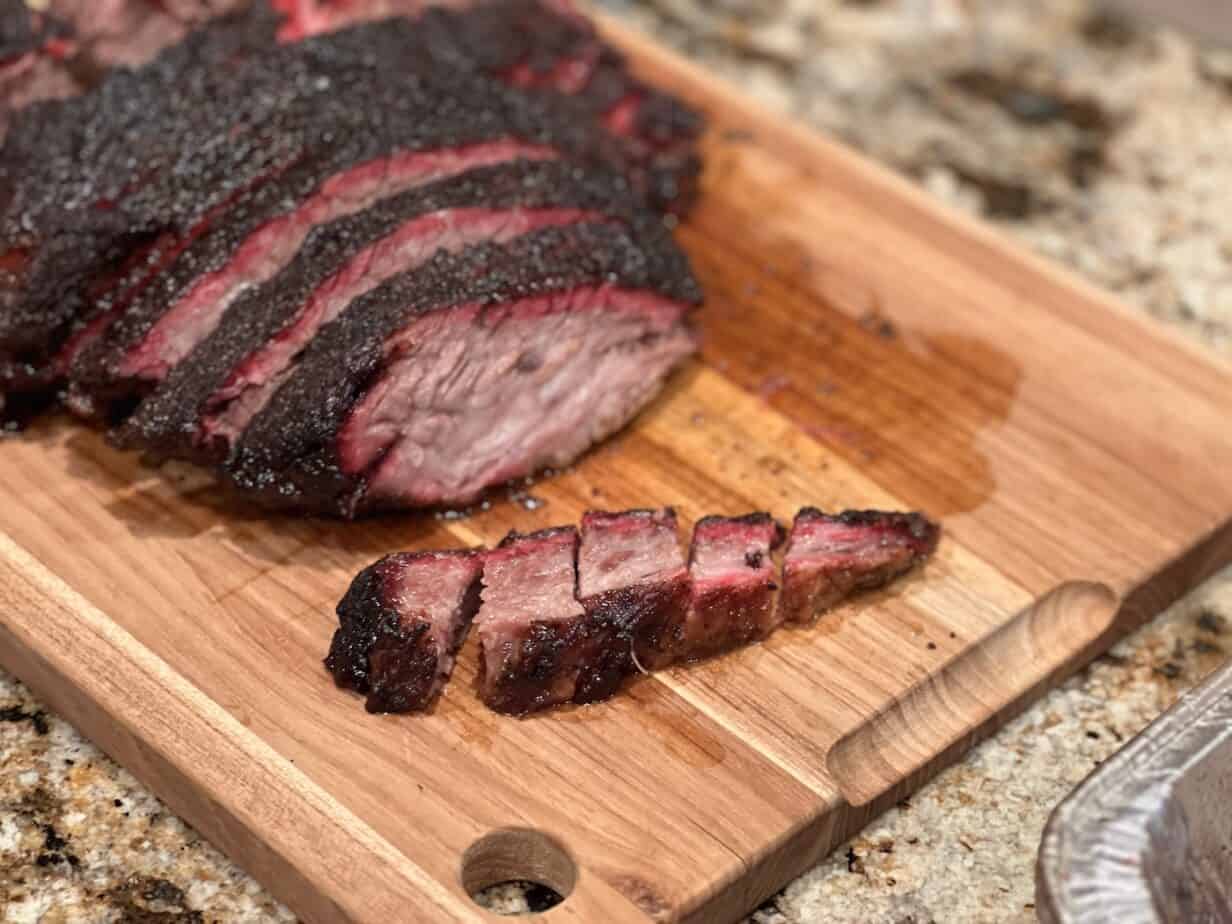
Obviously you can make them larger or smaller if you like but, in my opinion, this is a perfect bite.
Place the cubes back into the pan the brisket point came out of.
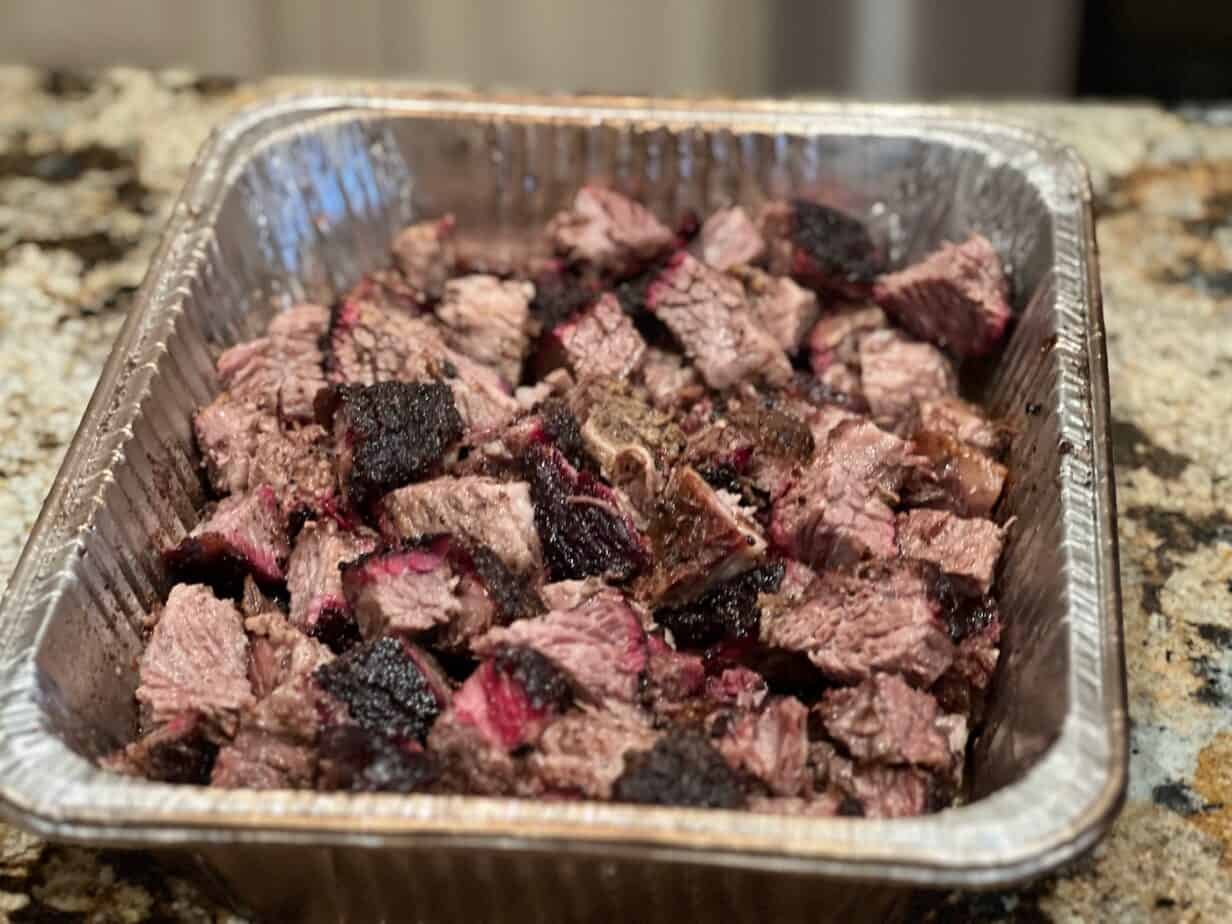
We often add barbecue sauce and even more rub to the burnt ends to make them sticky and more flavorful with more bark but I decided to keep these simple.
I wanted these to be all about the beef with no extra flavor from my rub or barbecue sauce.
Step 7: The Final Cook
Place the pan of cubed brisket point back into the smoker at 250°F (121°C) and let them cook for about 2 more hours, stirring them every 20 minutes or just when you feel like it.
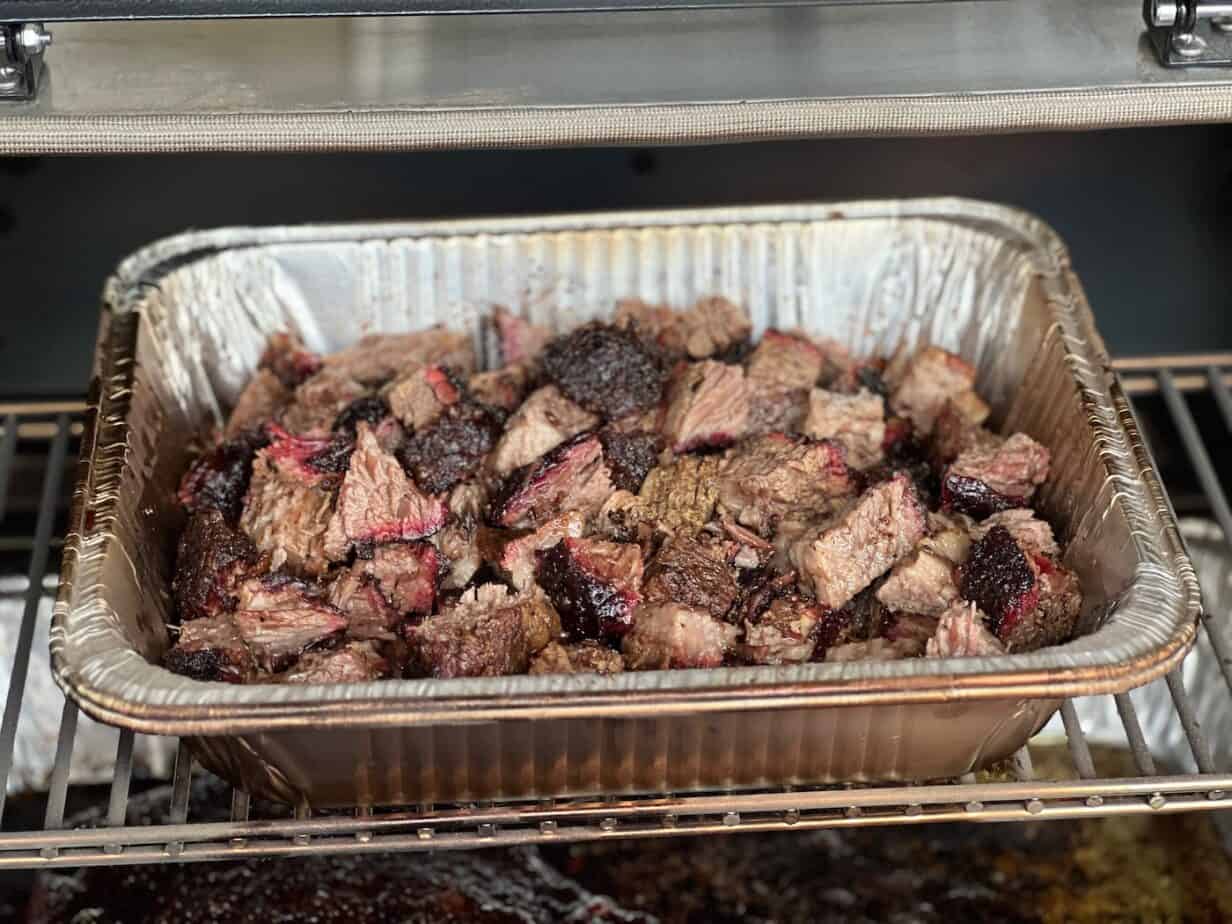
2 hours later:
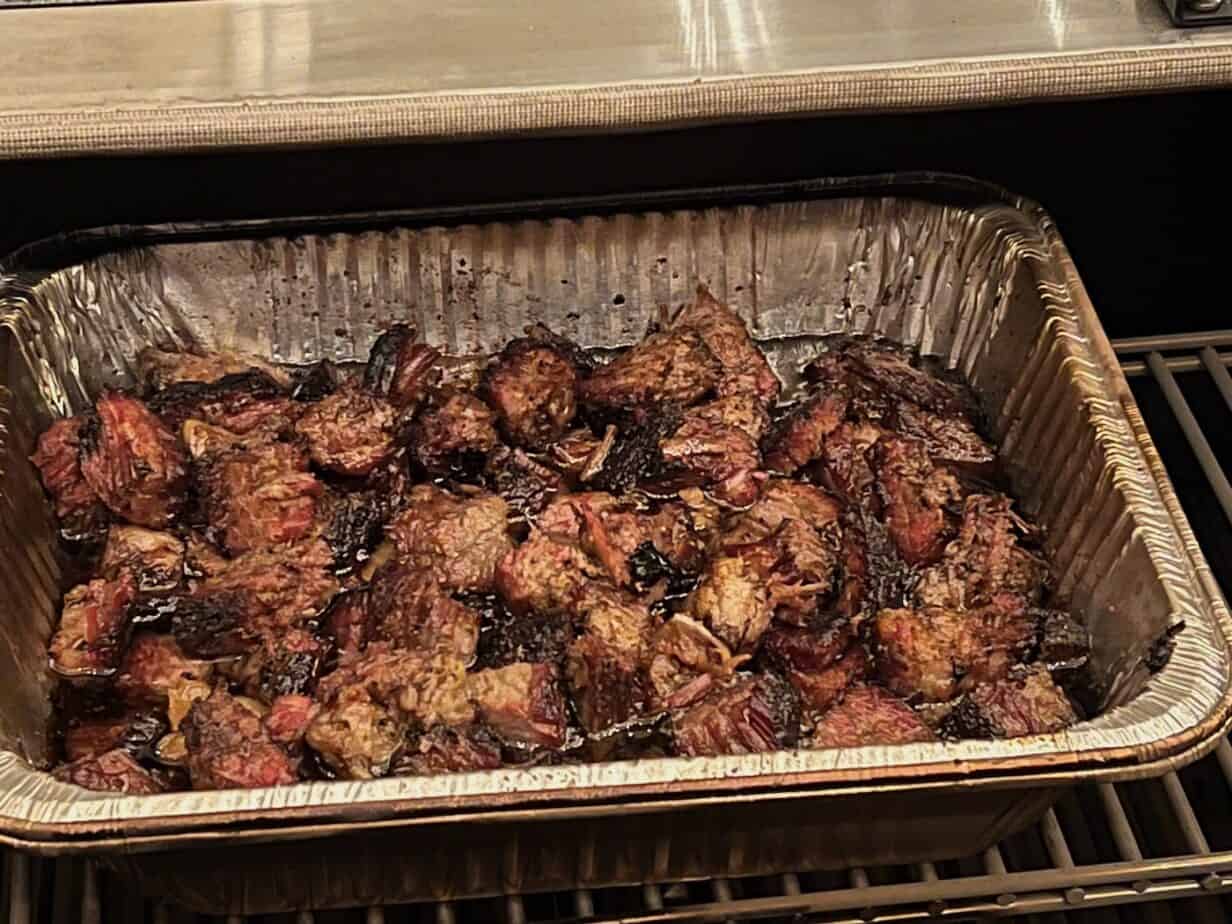
Stirring them around, helps them to cook evenly and gives you more bark on more edges.
Step 8: Serve 'em Up
Everyone loves smoked brisket burnt ends.. well, almost everyone and there's no wrong way to serve them or eat them.
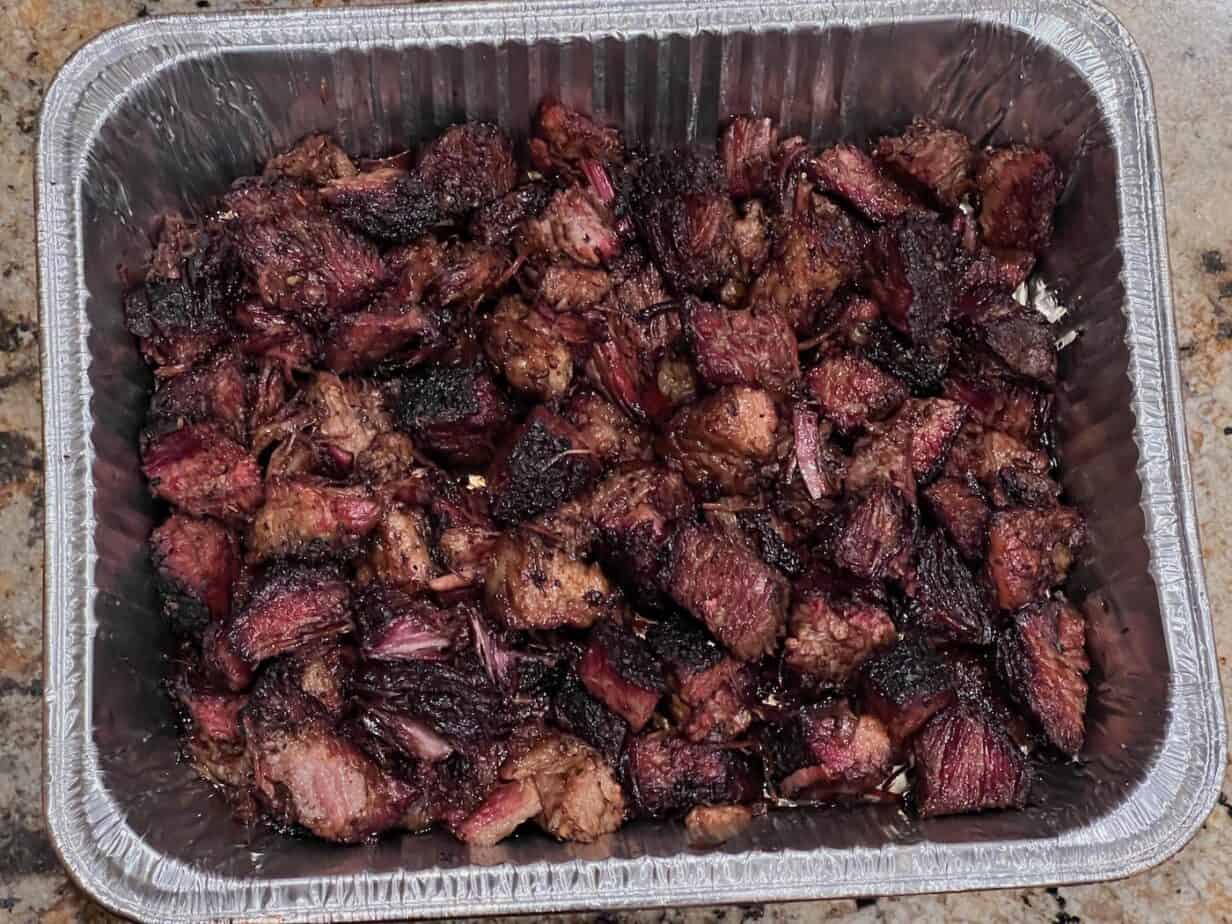
You can serve these as an entree or an appetizer. I had some recently with fried eggs for breakfast!
Did you know? You can order the MASTER FORMULAS which allow you to make Jeff's original rubs and original barbecue sauce at home using your own ingredients! Order the Recipes
Smoked Brisket Burnt Ends
Ingredients
- Full Packer Brisket (mine was 15 lbs)
- Coarse kosher salt
- Jeff's Texas style rub
Instructions
- Place brisket point down into a foil pan
- Apply a light coat of coarse kosher salt to all sides of the brisket point. See image on main page for visual on salt coverage.
- Apply medium coat of Jeff's Texas style rub to all sides of brisket point.
- Place pan with meat into fridge overnight.
- Set up smoker for cooking at 250°F (121°C) using indirect heat. If your smoker uses a water pan, fill it up.
- Once smoker is ready, place pan of meat onto smoker grate and let it cook until it reaches ~200°F (93°C) or until a probe inserted in the meat shows no resistance.
- When the brisket point is finished cooking, bring it into the kitchen. Remove the meat to a cutting board and drain the rendered fat that is in the pan into a jar.
- Cut the point up into cubes that are about ¾ inch and place them back into the pan.
- Cook the smoked brisket burnt ends for about 2 hours stirring every 20 minutes.
- Serve right away as an entree or an appetizer.


Jeff, your website is my go-to spot for great recipes! I used this recipe yesterday for a gathering of friends and not only got rave reviews from all of them, but my wife just suggested we make this again soon – for a different group of friends.
IT WAS OUTSTANDING!
Thanks for sharing your passion!
Mike, I love it when readers succeed in making amazing food! Sounds like more burnt ends on the menu soon!
Is there a resting time before cutting the point into cubes?
Chris, no rest time. The idea is to get them cubed up and back on the smoker or grill as quickly as possible.
While I’m sure many people will disagree with me, but I “REALLY” don’t like the bark on my meats.
Jeff , I noticed u had the point on the top shelf. Was that the companion flat u had in the pan underneath? If so, did u smoke it at 250 as well, at the same time, and did u cook it in an aluminum pan as apposed to a rack? Wrapped at 165 or left open in the pan?
I like the idea of both together in separate pans.
Yes, for the purpose of this recipe and making burnt ends, I separated the point and flat before cooking so I could give each one some specific attention. I cooked the point and flat in separate foil pans at 250°F (121°C) and covered the flat only with foil once it reached 165°F (74°C) internal. The point has plenty of fat and doesn’t need the foil covering for braising, in my opinion.
I really enjoy your articals and can’t wait yo try this receipe. Thanks for sharing.
Looks great I’ve tried doing it with pork belly didn’t turn out the best I’ll give yours a try keep up the great job haven’t seen you on for quite a while glad your on
no estimate cooking times
It says it took about 8 hours to get the brisket to temperature, you cube it up and cook for 2 more hours.
This is almost exactly what I do, though the dry brine step is new, and I cook the burnt ends after cubing them for 4-6 hours. Need to try the dry brine next time.
Awesome advice and recipe.
Absolutely great results and flavor
Hey Jeff, what did you do with the other part of that brisket? Also, I recently got the Woodwind Pro. I would really be interested to see your review of it. The drawer for wood junks is a game changer as far as smoke flavor goes. I have only used it a few times and it seems pretty easy to over-smoke the meat. I did this with your jalapeno/cream cheese chicken breast recipe. I made this twice, once without using the drawer and once using it. The difference in smoke flavor was huge. The second time had a strong smoke flavor, versus very mild smoke flavor the first time.
I always slice the flat. Typically, I will pull the whole brisket when it gets to temp, serve the flat, and refrigerate the point until the next day when I finish the burnt end process.
When you cut the 3/4″ cubes and put back into the pan and cook for two hours – what temp? Oven, stove top or smoler?
Hi Jeff, could you demontrate how to cut the point into cubes. With or against the grain?
Making some for 4th of July. Thanks for all your teachings!
Roland, this is a great question!
It is my observation, in the years that I have been making these, that it doesn’t matter which way you cut the cubes. The meat becomes super tender and if they are cooked long enough and the fat renders enough, the cubes will melt in your mouth.
I usually slice the point top to bottom, and then lay those wide pieces flat on a cutting board and cut them into cubes.
Thanks for your prompt reply and thanks for all you do for us in advancing the art of BBQ.
May be a stupid question but the part where you ‘PLACE THE POINT SIDE DOWN’ AND THEN RUB WITH SALT ALL OVER CONFUSES ME. WHY NOT HAVE IT FACING UP FOR THE RUB AND THEN TURN IT OVER. HOW DO YOU GET TO THE SURFACE IF IT’S FACING DOWN. PLMK Thanks for everything!
Let me try to clarify: In this recipe I separated the point of the brisket from the flat part of the brisket. I don’t always do that when I’m just smoking a brisket, but this recipe is all about the burnt ends, so I wanted to really feature the point end, which is the end that makes the best burnt ends.
I place the point into a pan for salt/seasoning. It really doesn’t matter which side is facing up. I like to salt/season both sides, but that’s just how I do it. I salt and season one side, then place it in the fridge for about 4 hours.
I then flip the point end of the brisket over to the other side and salt and season that side, then place it back into the fridge for another 4 hours or even overnight.
It’s ready to cook in the smoker now.
If you’d rather keep it simple, you could salt and season both sides at the same time, place it in the fridge overnight, then cook it the next morning. I get into the details in my written recipes, but you can always simplify if you prefer, and chances are it’ll be just as good as it would if you take a lot of pains with it.
I tend to be detailed when I can, but my stuff tends to turn out just as good when I’m in a hurry and start skipping things for the sake of time.
Jeff, I have been told that to get what everyone considers a good smokey crust, you need to sprits with a juice of something often during the smoke until you wrap. My wife gets upset with me for staying up those 12 hrs or so getting all this done. Can I still get a great finished product just cooking at 205 and leaving it totally alone till it reaches 205? Please sens an answer to my email, i am not usually at your web page.
It is true that smoke sticks best to wet surfaces and spritzing a few times during the cook never hurts anything, I only spritz the meat here and there and only when it’s convenient for me. If I start the brisket at say 7 PM in the evening, I may spritz a few times before bed and then maybe once during the night (if I happen to wake up) and a couple more times early the next morning as it’s finishing up but I don’t go crazy with it.
I also don’t wrap most of my briskets.. I usually set the brisket down in a pan to catch the juice and allow the brisket to absorb some of the fat that renders. Plenty of smoke gets down in the pan to flavor the brisket so it’s not a problem.
My briskets end up with a nice crust and plenty of smoky flavor even if I don’t spritz at all. Spritzing adds another layer of flavor but it’s not worth losing a whole night of sleep over in my opinion. Others may disagree. You do as much as you WANT to do and in the end, it’ll be a darn good brisket if you put a good rub on it, cook it with plenty of smoke and let it cook until it reaches 200°F+
Try different ways and design a method that works for you.
Note: I answered this for everyone here in the comments but I will forward this to your email also, as requested.
Have you ever thought about doing burnt ends with cheap steak, just wondering.
So I live in Broken Arrow and was wondering if your store is still open on Fridays.
John, I have not tried cheap steak for burnt ends but I think it would probably work just fine. Might be nice to get a good char on the outside and keep the inside medium rare but not sure if that would be possible in that indirect cooking situation.
We no longer open the store on Fridays. The Nuthouse in Claremore carries our product currently and we are actively looking for other stores as well.
Here’s the address for The Nuthouse: 26677 S Highway 66, Unit A Claremore, OK 74019
Looking into the future: Scheels is coming to Tulsa in 2024 and will carry all of our products.
Jeff, as usual your recipes and instructions are amazing and delicious. I tried to make burnt ends previously and it was a bust, so with your directions as soon as I get home from wintering in Florida I’ll make it your way!